Step 1.
Download the zip file to your desktop, now Unzip the file to your desktop and note the location of the “unzipped” folder containing your new brushes. Note: If you have purchased the Creative Flow you will want to locate the “Local Adjustment Presets” folder.

Step 2.
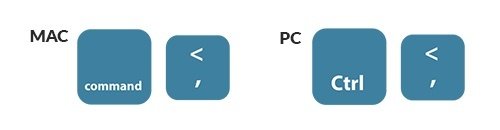
Open Lightroom and press on the following keys to open the Preferences Window in Lightroom.
Step 3.
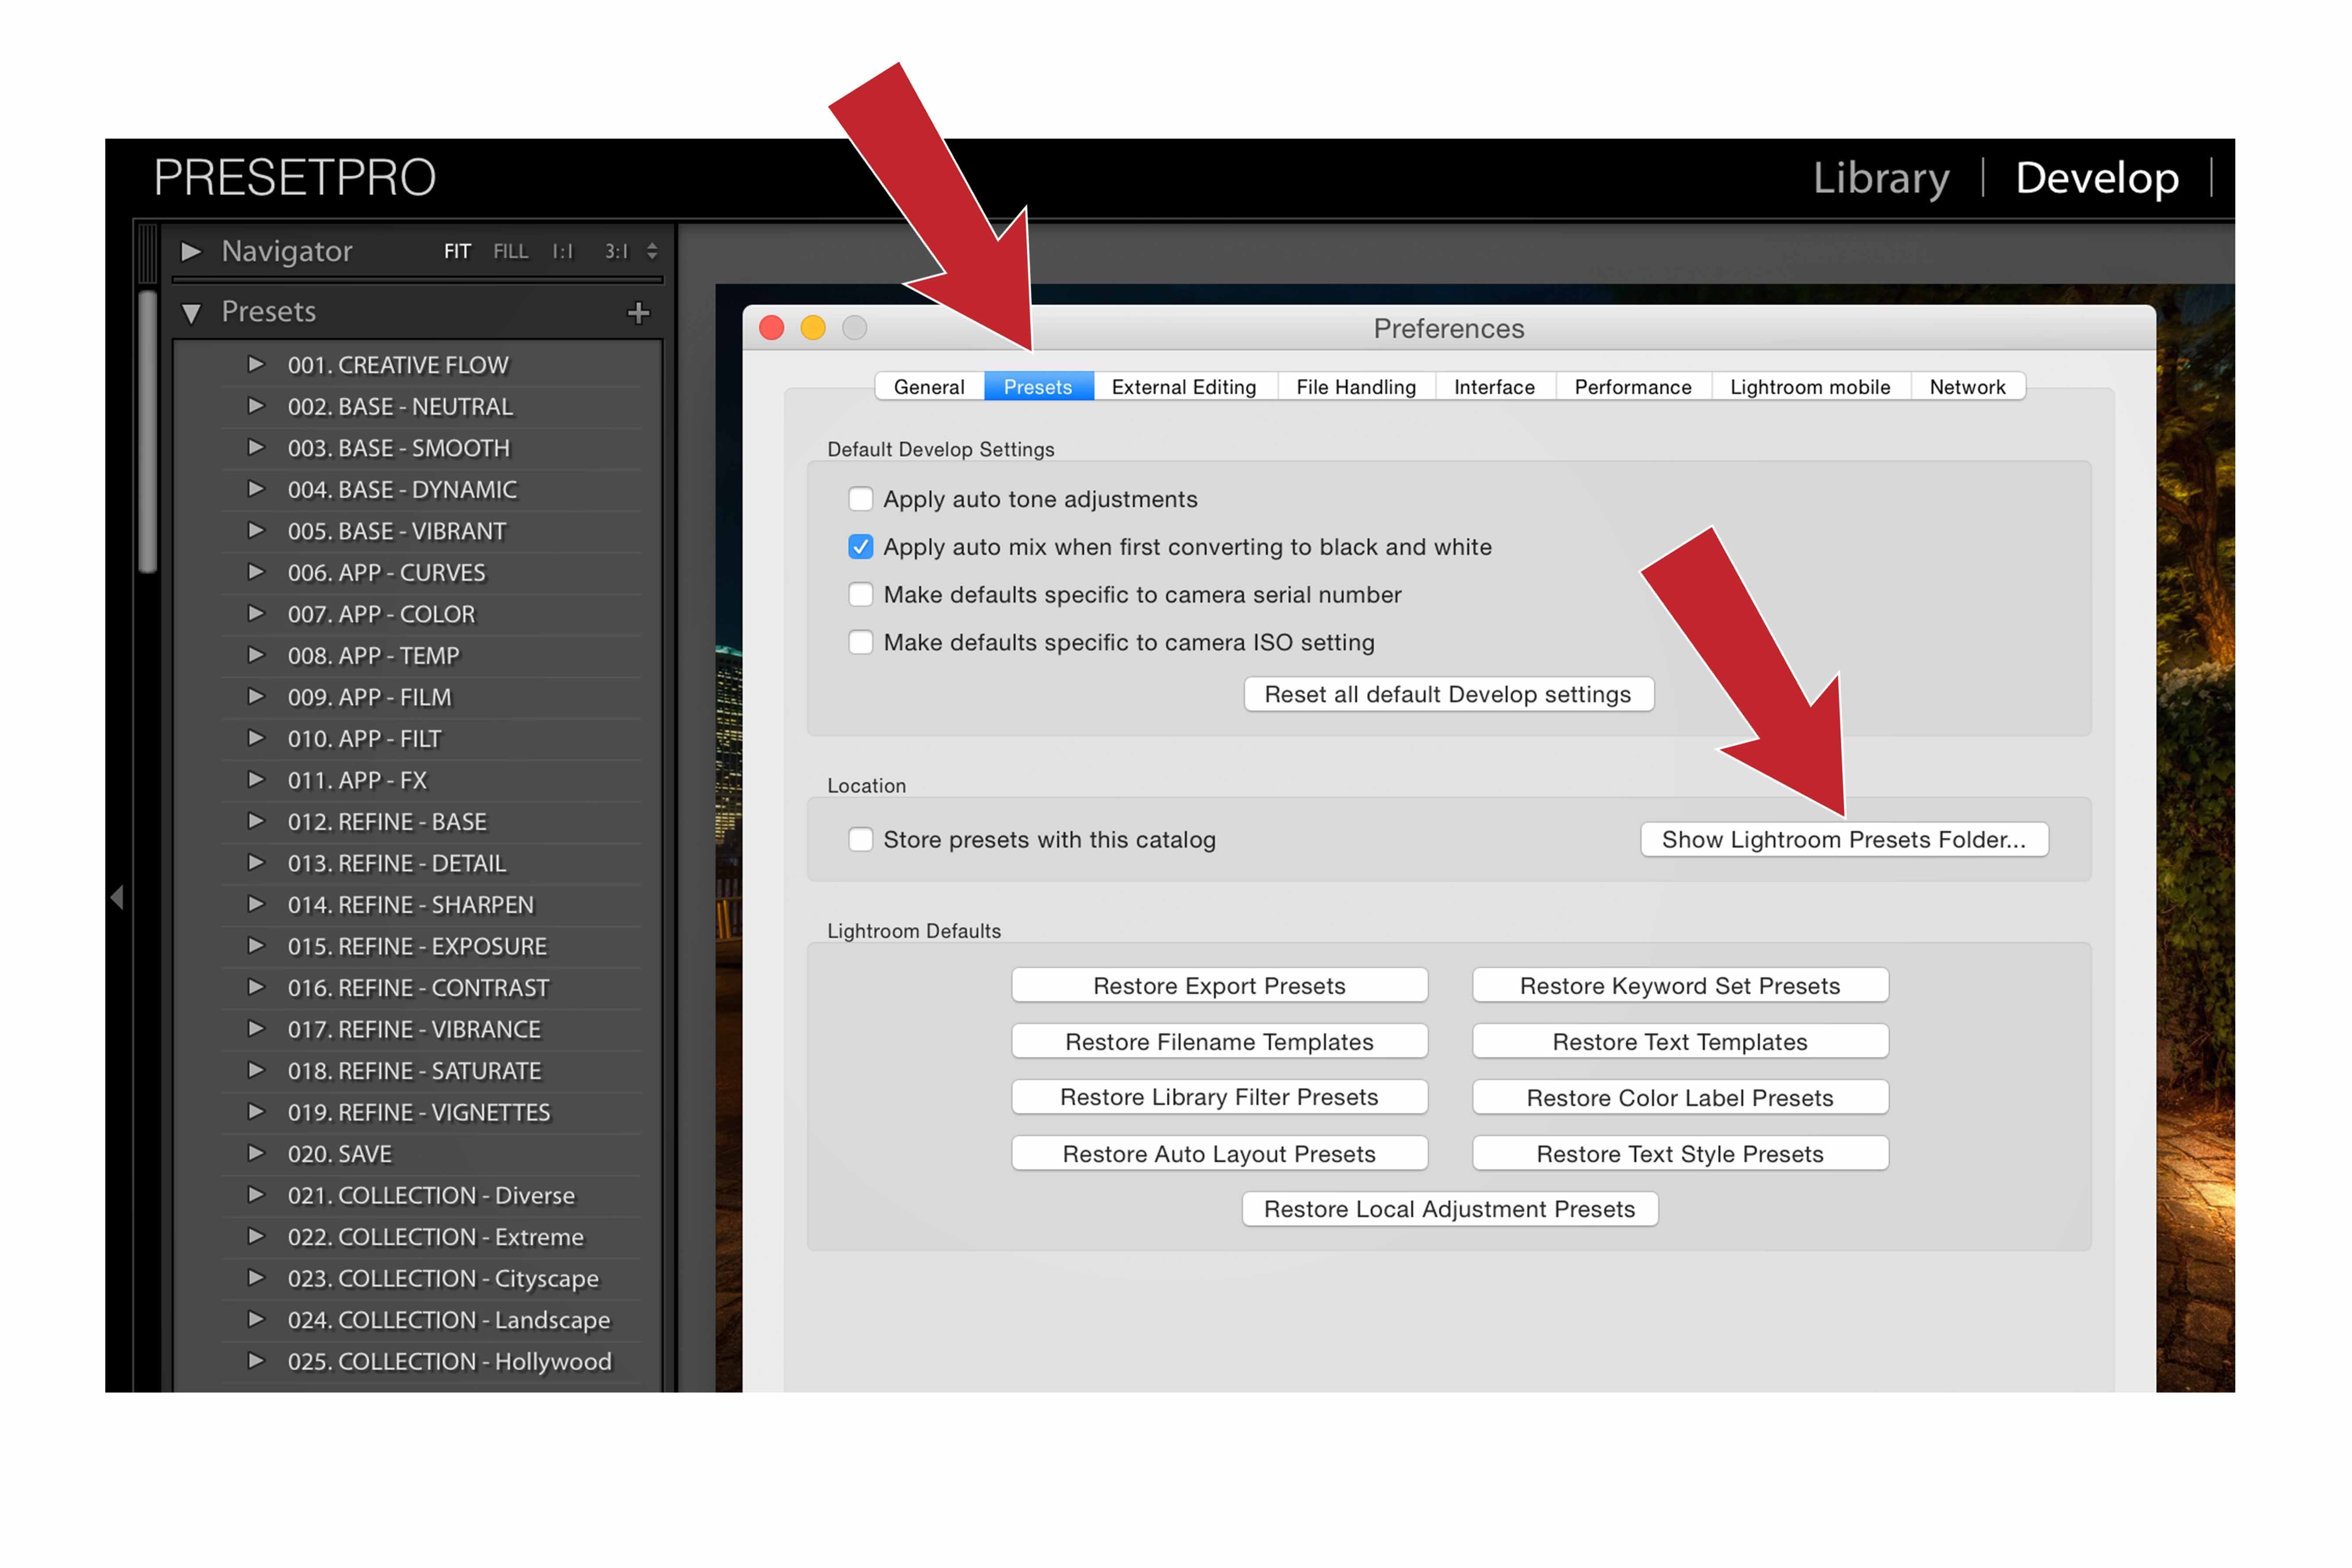
Click on the Presets tab then click Show Lightroom Presets Folder.
Step 4.
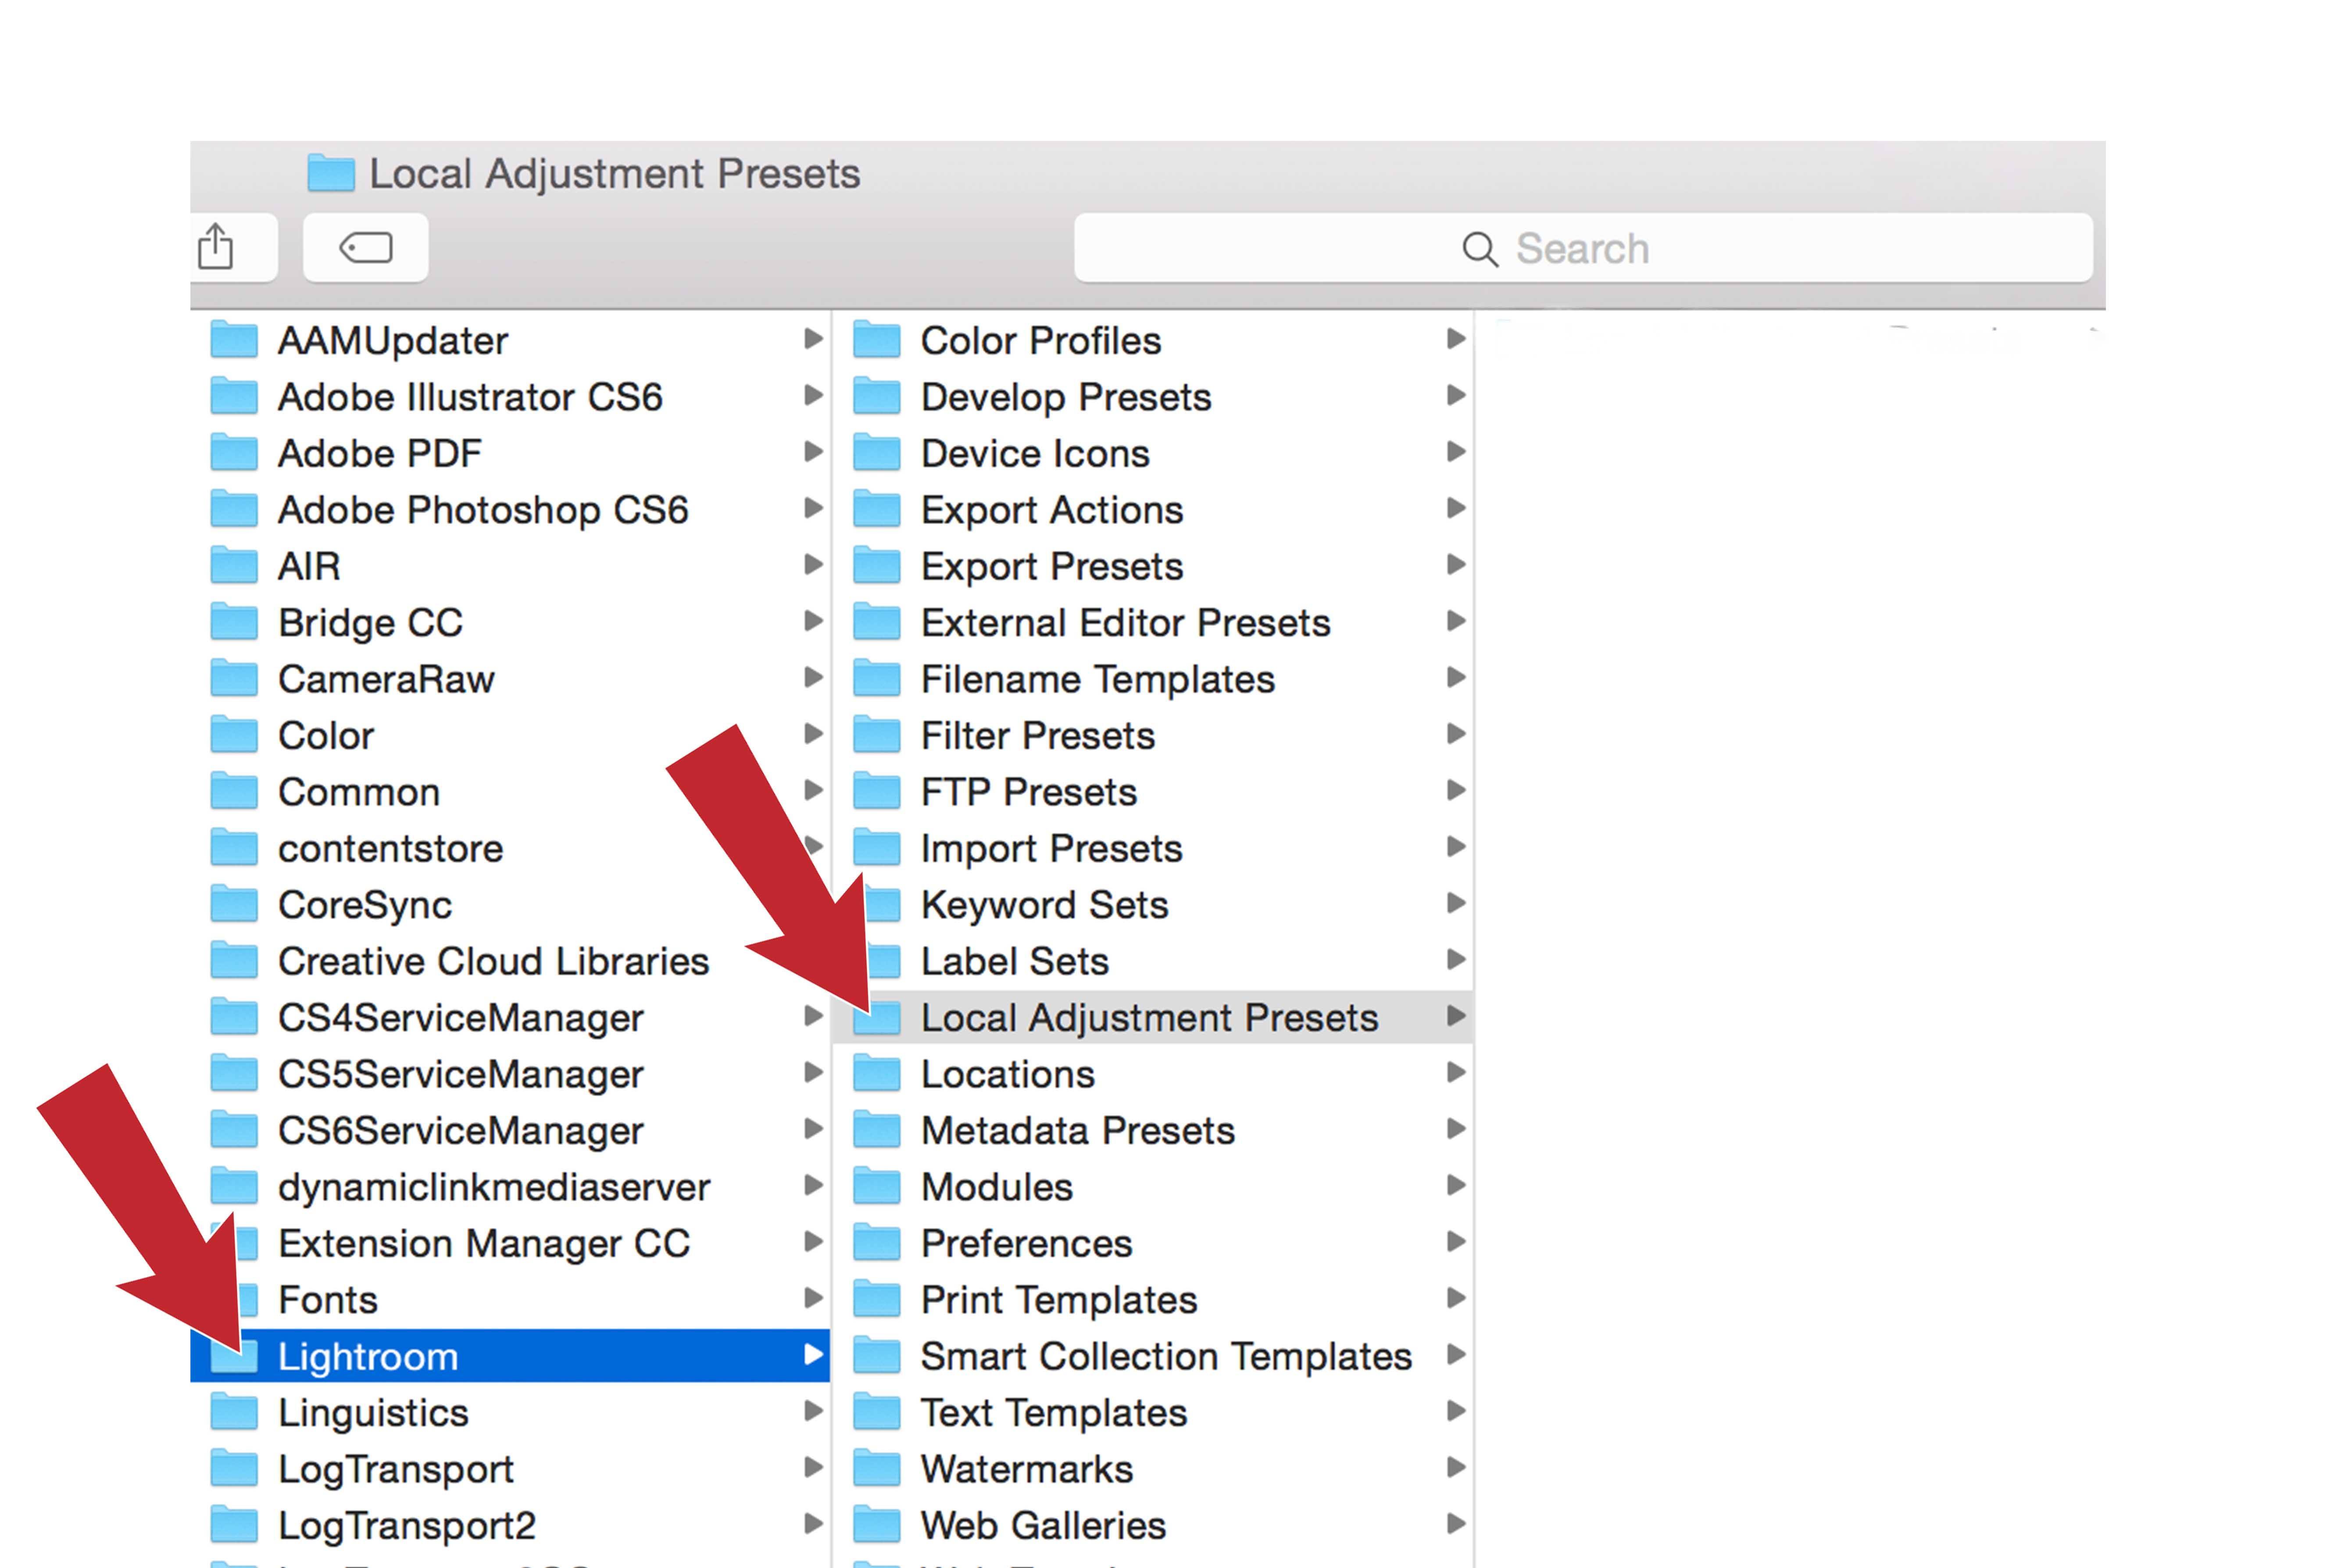
Locate the Local Adjustment Presets folder (inside Lightroom folder)
Note: It’s always good practice to backup your existing presets in case of accidental error. Create a folder on your desktop and name it “Backup Presets” Copy your old presets and save them to your new backup folder. If you don’t care about saving or losing old presets then you can disregard this note.
Step 5.
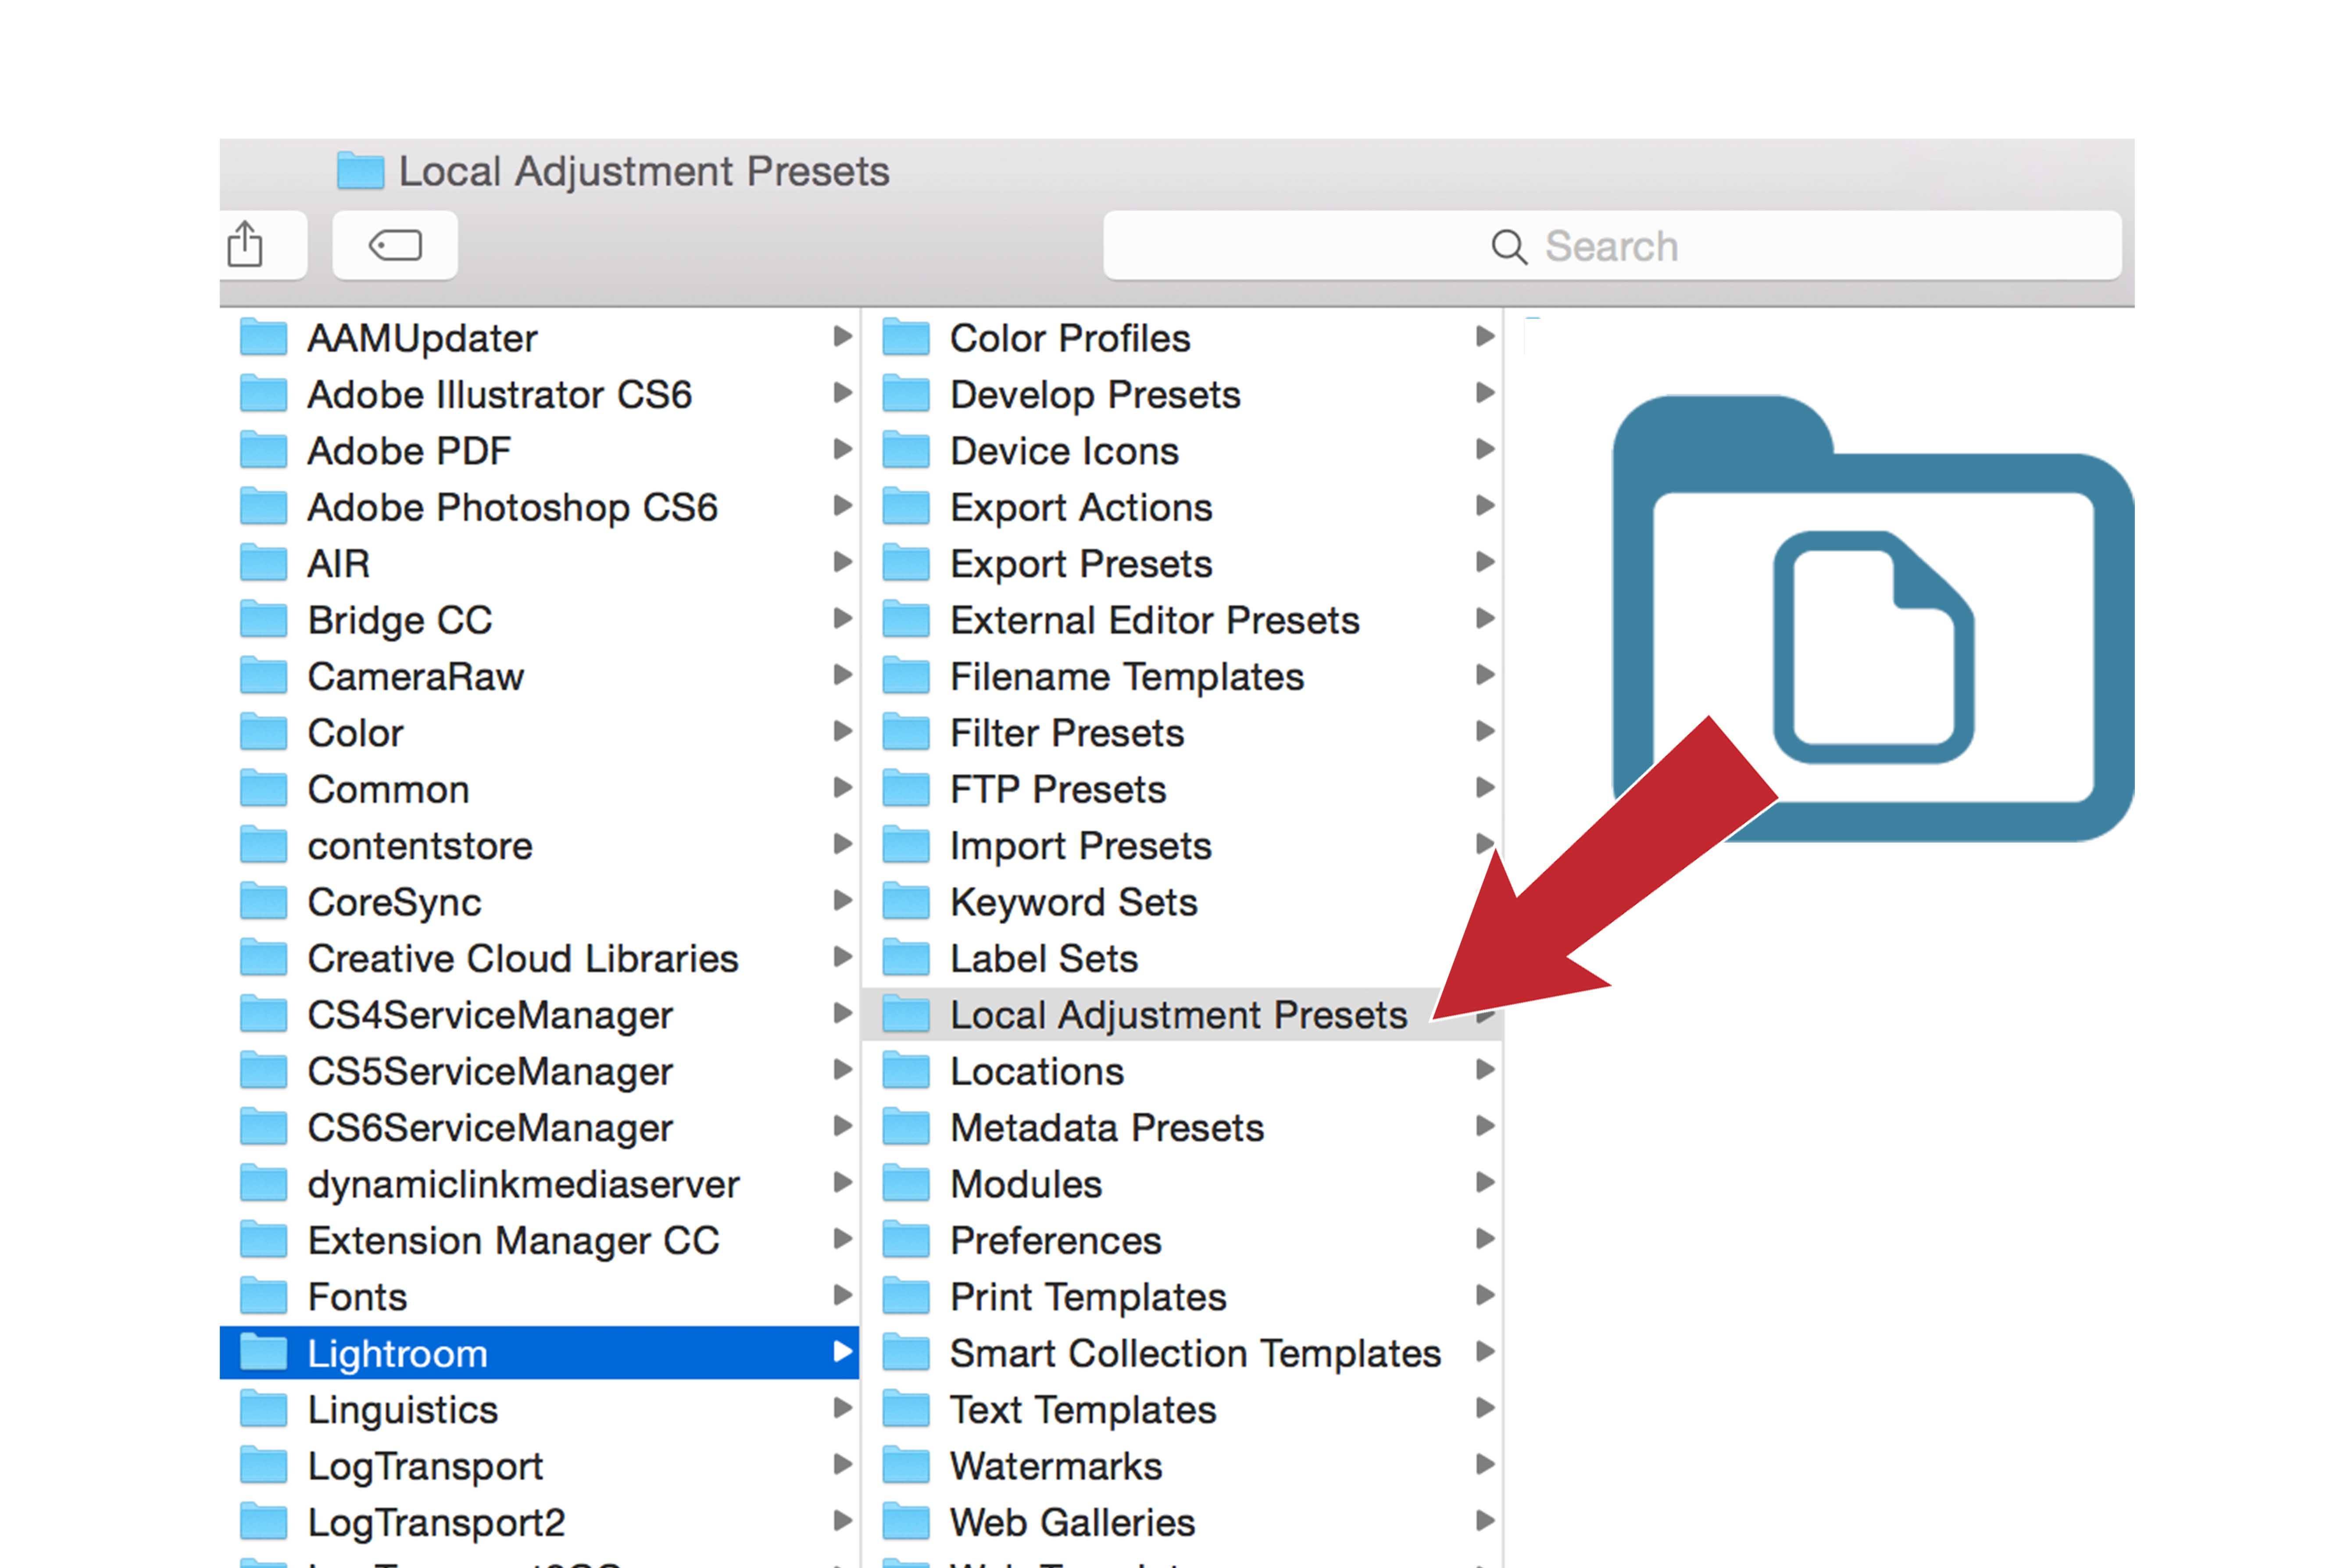
From your desktop, drag and drop your “unzipped” Brushes into the Local Adjustment Presets folder.
Step 6.
Restart Lightroom and you should see your new Brushes!
Check our Featured products!
Lightroom Presets

Lightroom Presets

Lightroom Presets
Lightroom Presets

Lightroom Presets
Lightroom Presets

Lightroom Presets
Lightroom Presets

Lightroom Presets