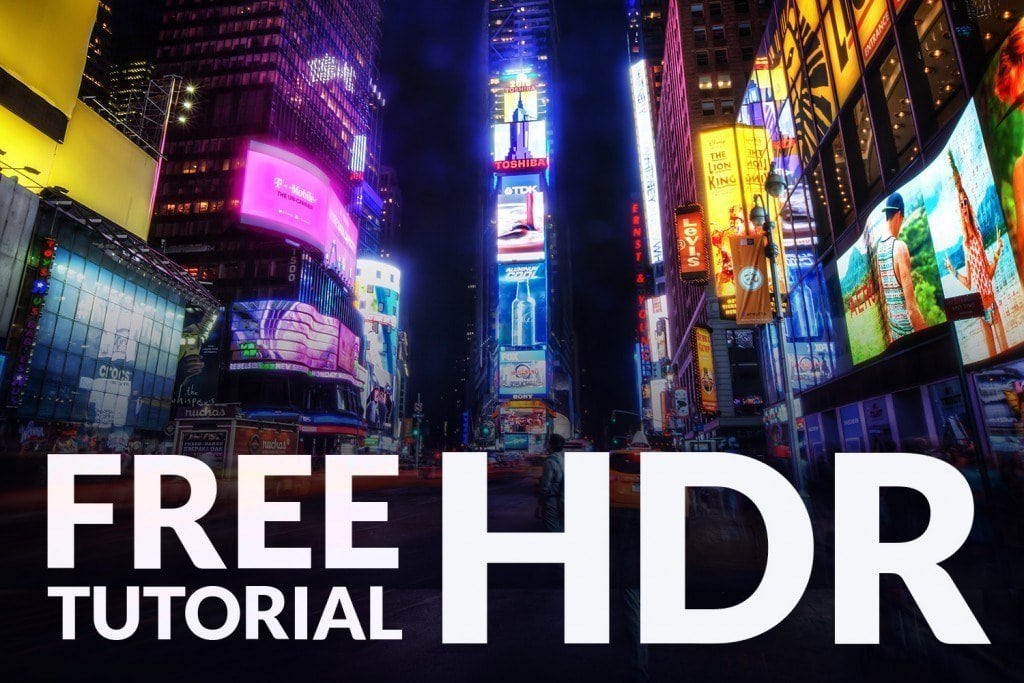
HDR Photography: Is a technique of capturing “all the light” in your shot by way of multiple exposures. Why do we want multiple exposures you ask? Well, our modern digital cameras are not technically advanced enough to capture all the light with a single exposure, so we miss the light that exists in the shadows and highlights. As photographers, we generally try to capture the “perfectly exposed photo” and usually they turn out great! But, what about extreme exposure conditions like a beautiful landscape with a sunset? When you try to capture the “setting sun” with a single exposure you have to ask yourself… “Do I expose for the sunset/sky or do I expose for the landscape?” No matter what you decide, you will loose light/information somewhere in the shot… even if you are shooting in RAW. The good news is, you can capture all the light that lives in the shadows and highlights by taking multiple exposures! More good news, your camera can likely take something called bracketed shots using (AEB) Automatic Exposure Bracketing. More details below.
General Camera Setup: Set your camera to Aperture priority (aperture priority will automatically change your shutter speed between exposures.) Set your ISO to 100 or lower if possible. Select the Continuous shooting mode on your camera. (Check your camera’s manual) Finally, set up Automatic Exposure Bracketing (AEB.) Most DSLR and Mirrorless cameras offer Automatic Exposure Bracketing (AEB)… This feature allows you to automatically take three or more exposures or “bracketed shots” at different EV stops. You will need to consult your camera’s user manual as each AEB setup is different.
(Tip: Use a tripod to keep your camera steady between exposures. Also try using a camera countdown timer or a cable release to help reduce camera shake)
 (AEB) Automatic Exposure Bracketing in Canon 5D MKII
Exposure Values: For this example let’s use 3 exposures values. The first image (EV 0) captures the “perfectly balanced” image. The next image (EV -2) is under exposed and captures the detail in the highlights (The sky is properly exposed.) Finally, the last image (EV +2) is over-exposed and captures the detail in the shadows.
- EV 0 “The Balanced Shot” – (Exposure Value of 0) is your balanced shot or “middle shot”
- EV -2 “The Highlight Shot” – (Exposure Value of -2) expose for “light in the highlights”
- EV +2 “The Shadow Shot” – (Exposure Value of +2) expose for “light in the shadows”
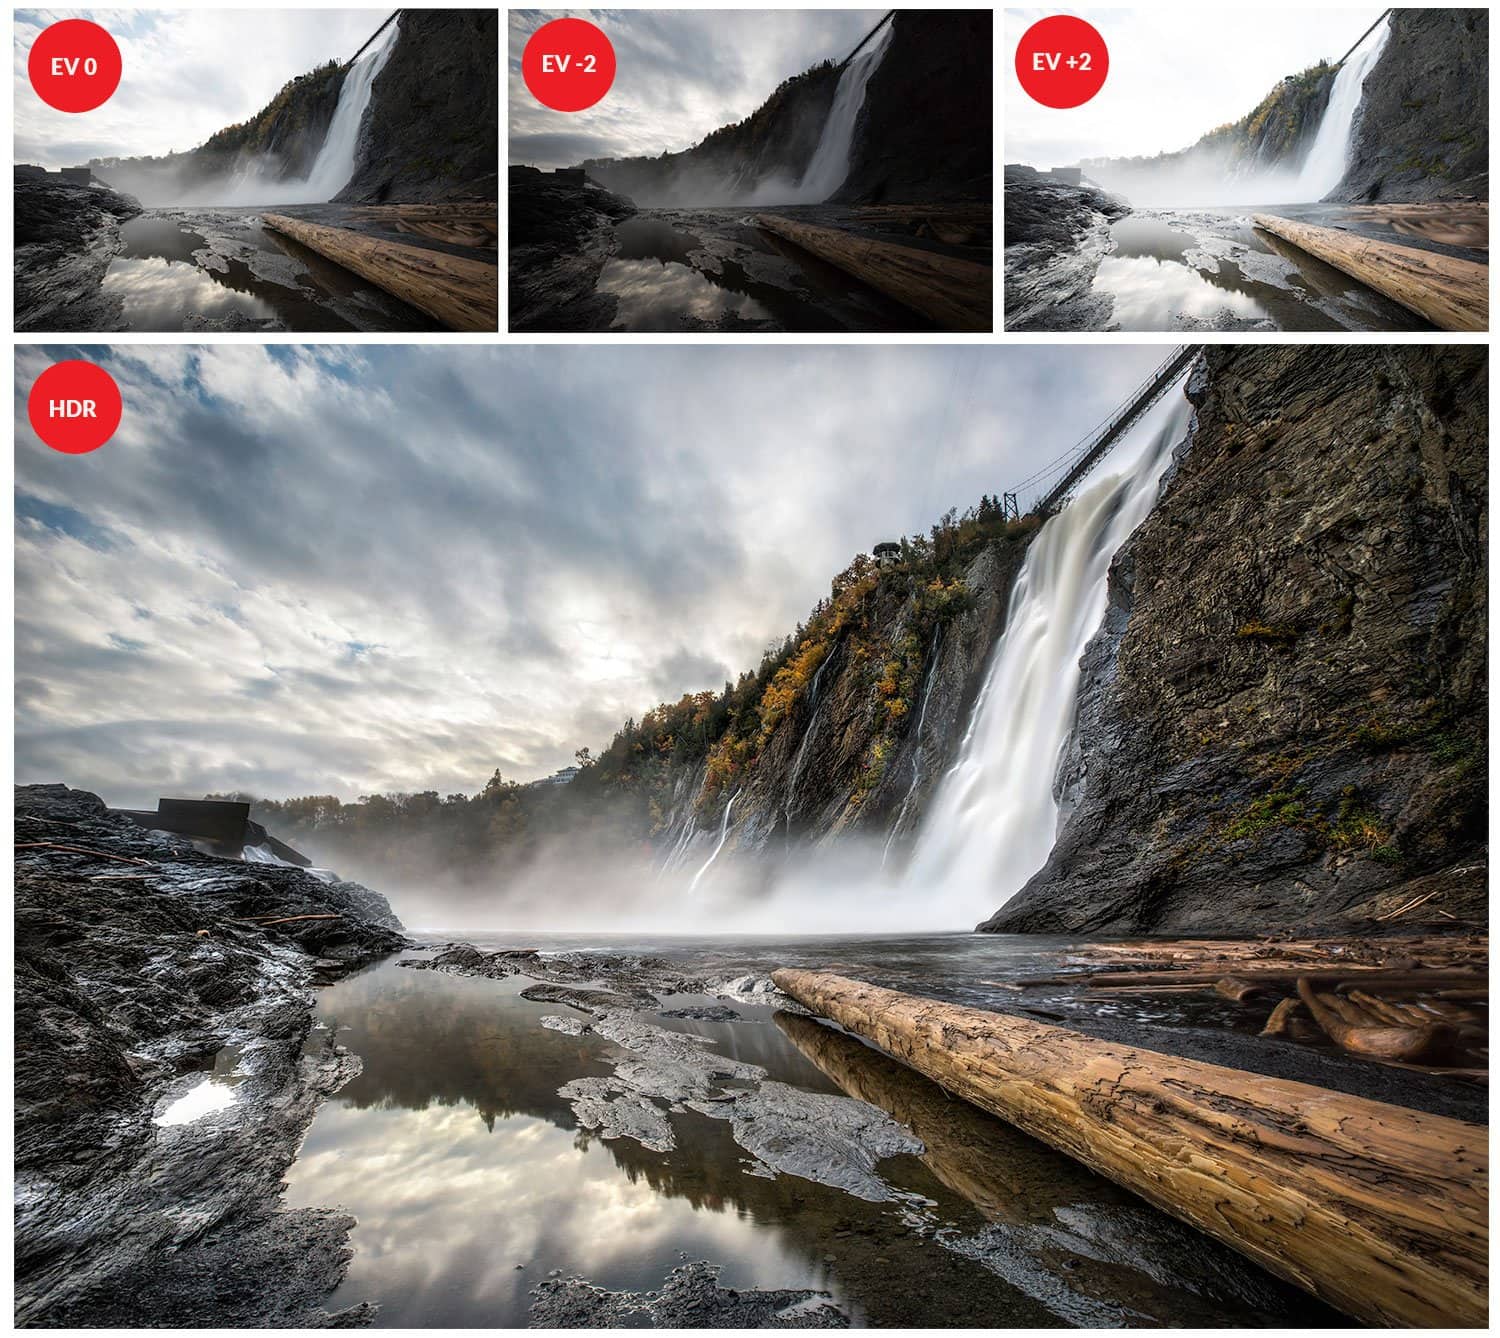 Final image after Photomatix HDR Software and Photoshop post production.
HDR Software: Today there is a wide selection of different HDR software to choose from. Even Lightroom 6-CC has jumped in the game with the merge to HDR feature. Lightroom HDR Tutorial. In the video below you will see Photomatix HDR software in action! Photomatix is one of my personal favourites as their algorithm serves up some truly unique HDR images! Check out presets for Photomatix Here.
Photoshop Post Processing: I like to finalize all my images in Photoshop by blending the “Photomatix Processed Image” with the “original file” and other copies processed using Lightroom Presets. Basically, I pull out the details I want from each copy to create my final image. Later this year I will put together a detailed tutorial on this process, so stay tuned!
Below you will find some of my HDR images. Click on any image to view in high resolution.
Looking for Lightroom Presets? Checkout the Creative Flow and enjoy over 1000 Lightroom Presets & Creative Brushes: The Creative Flow is the ultimate workflow and premium preset collection by Presetpro. The Creative Flow is your own personal preset “tool box” where you can swap out tone curves, change base settings or easily color tone your image with a few simple clicks. When you purchase the Creative Flow you get all of our premium collections (at a discounted price) plus the Creative Flow workflow and Creative Brushes. Enjoy the power of 1000 + Lightroom presets integrated into one simple and easy to use workflow!
CREATIVE FLOW

