
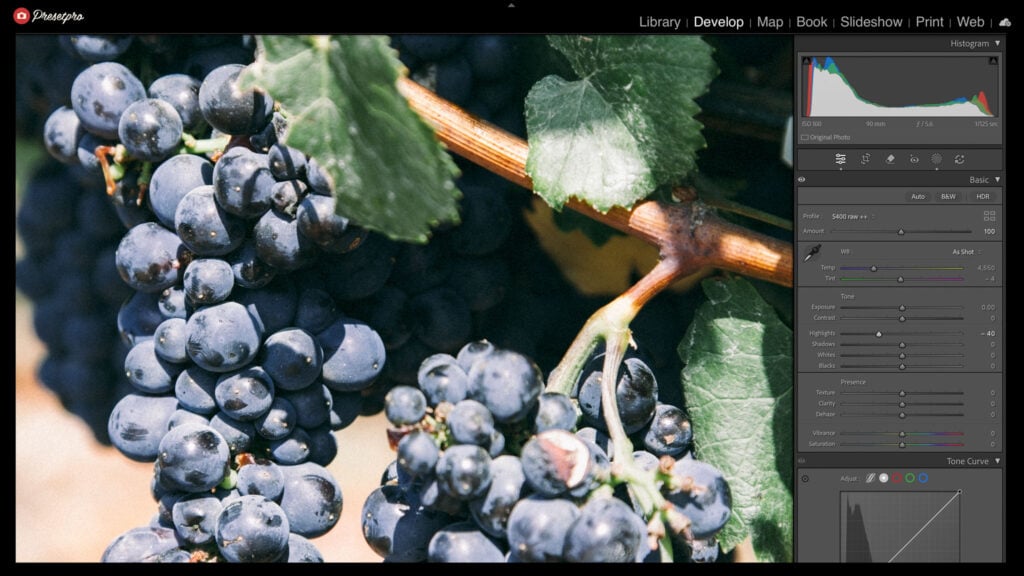
Open a RAW file, click once, and the Superia inspired color is already there. That is the whole first step of an edit with the RAW Series S400: the Superia inspired color is carried inside the raw look itself, rendering on a DCP camera profile built for the exact camera that took the photo, so the look arrives before a single slider moves. The rest is a couple of minutes of finishing.
Press play to watch an edit run start to finish, then scroll for what each move did.
Three moves, start to finish
The edit comes down to three moves. Here they are one at a time.
1. Click the raw look
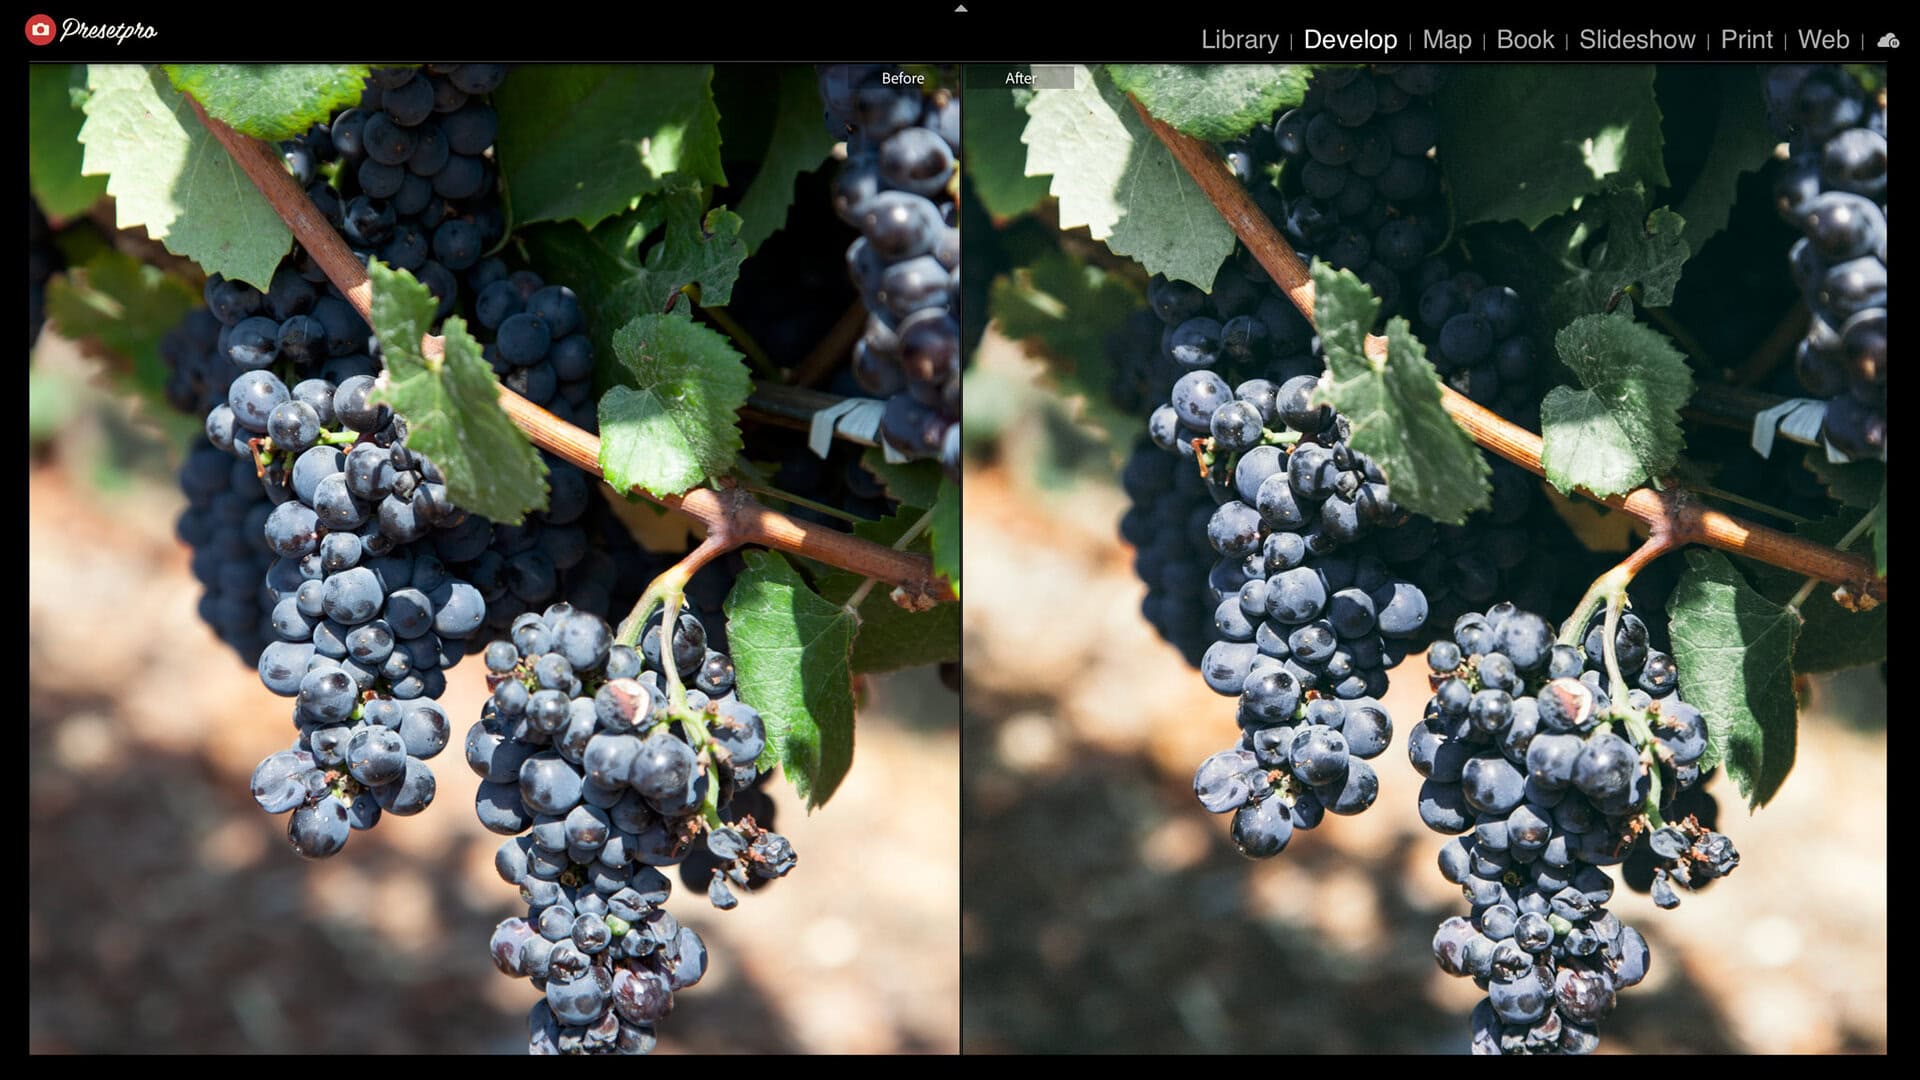
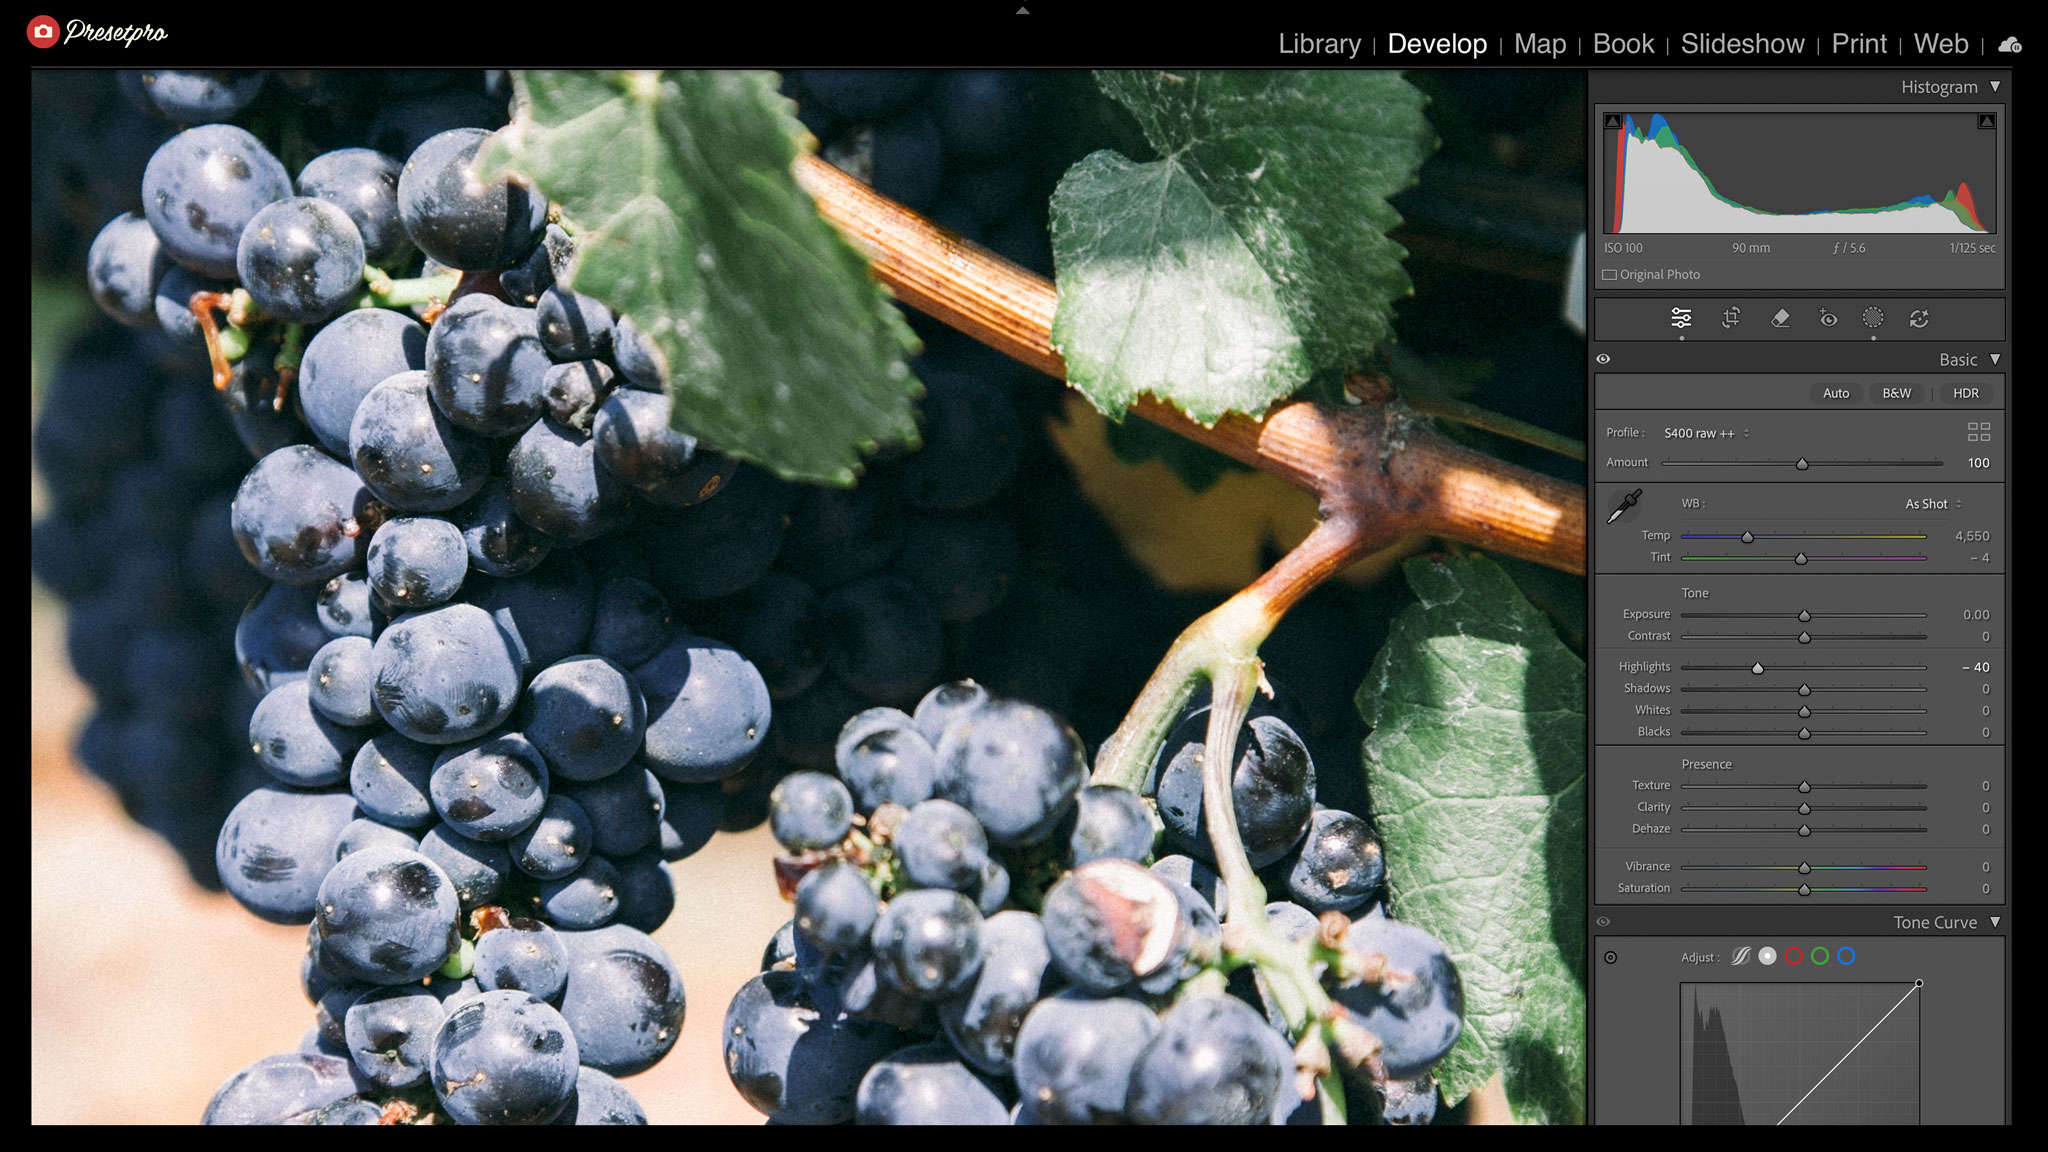
It starts with one click on S400 raw ++. Watch the Basic panel while you do it: nothing moves. That is not a preset pushing sliders around. The Superia inspired color is carried inside the look, and it renders on a camera profile built for this exact body. On the vine the change is easy to read. The leaves step back into a deeper, quieter green instead of the yellow green a RAW file gives you, the fruit holds its blue rather than drifting purple, and the sunlit ground behind stays warm and soft. Every slider is still at zero and still yours.
2. Choose a strength
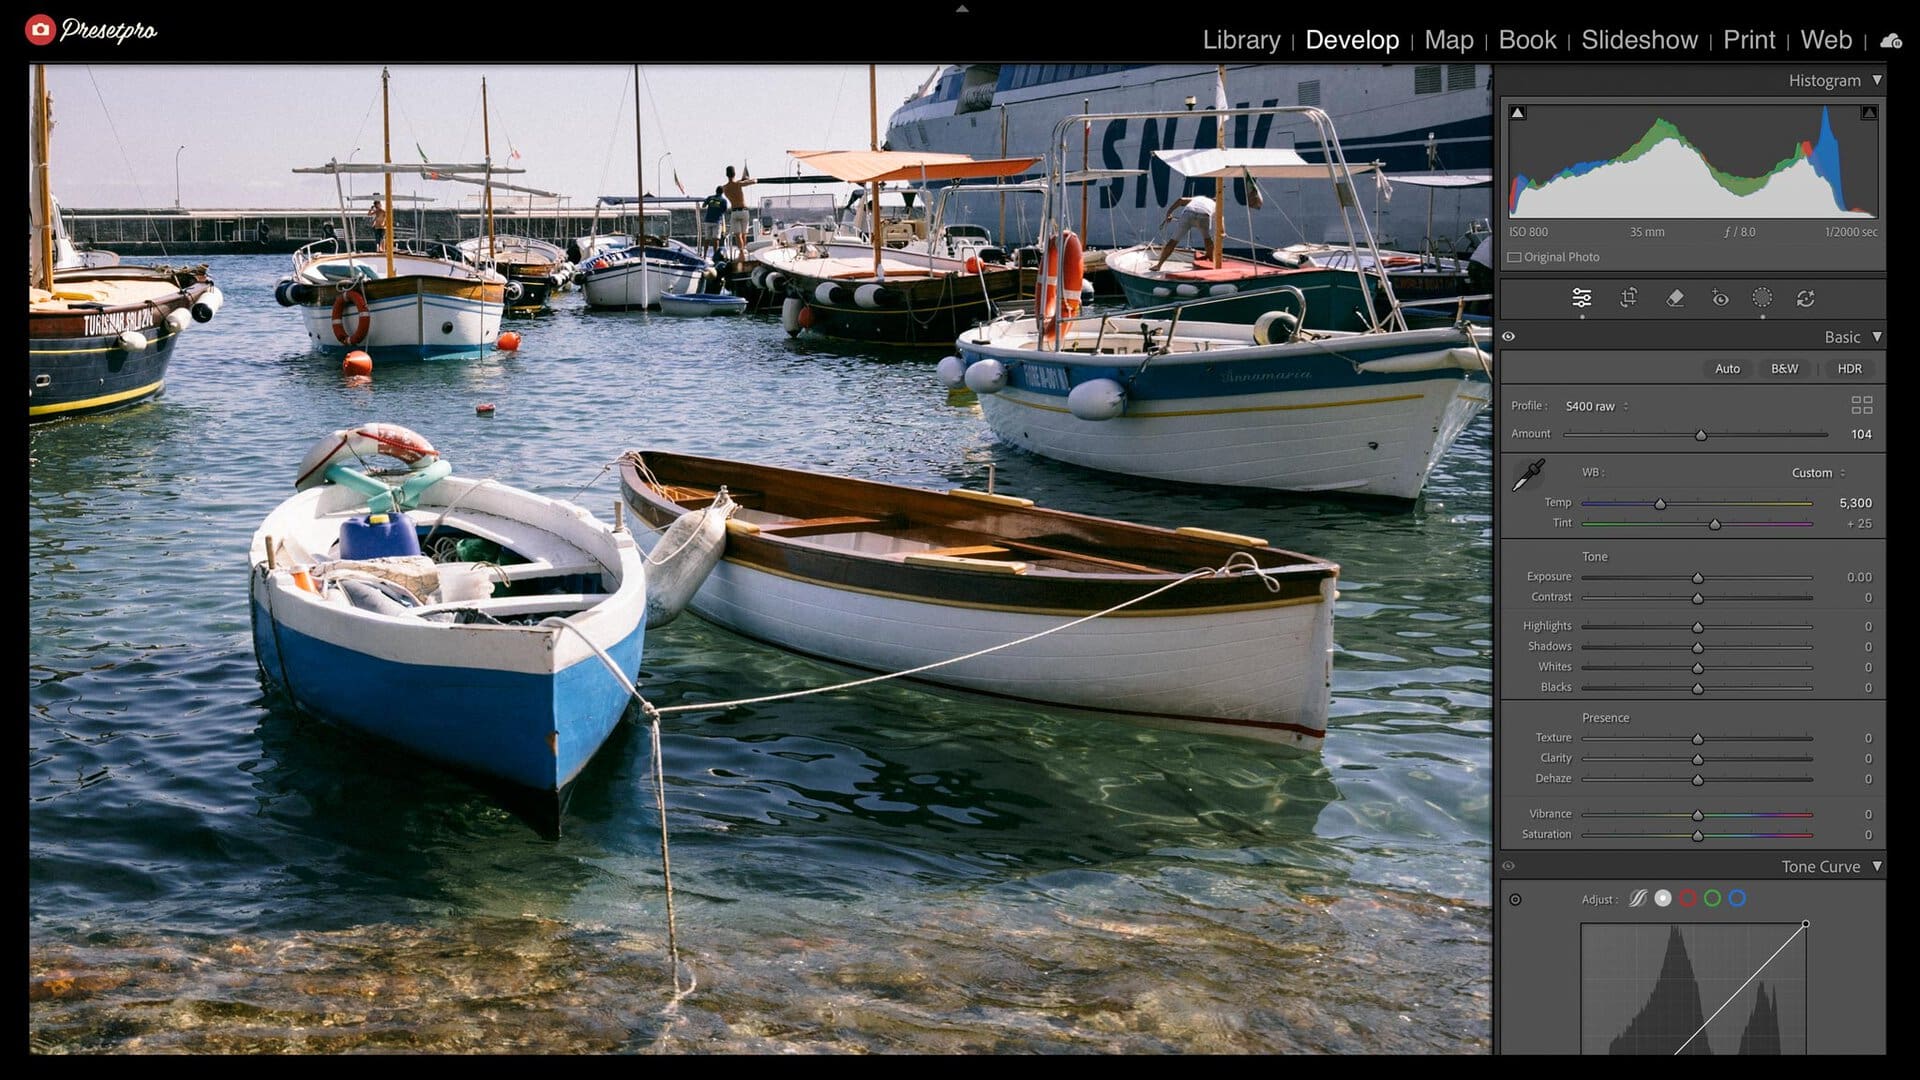
Every look ships in six strengths: four steps from S400 raw up to +++, and two minus variations. Move between them in the Profile Browser on the same frame, and each one changes the look without disturbing an adjustment you have already made. Then there is a second dial on top of that. Both rows carry an Amount slider from 0 to 200, so a strength is a starting point rather than a fixed step. The frame below sits at 104, just past the top of the raw look, which is the kind of nudge you make when a scene is nearly right.
3. Finish in the LAB
Then the 64-tool PRESETPRO LAB that ships with the collection: fades, depth, grain, vignettes, and print-style finishing. Anything in the LAB stacks on any look, raw or universal, so you can add a little weight to the midtones or a soft vignette without touching the Superia-inspired rendering underneath. One rule worth remembering: preset first, then profile, because a preset always resets the profile to the one bundled with it.
While you are in there, open the Masks panel. Every look also ships as a matching preset, and each preset arrives with its masking layer already built: sky, background, base, diffusion, grain, highlights, smoothing. They are live masks, not baked effects. Grain is worth a word of its own on a fast film, because a camera profile carries none at all. It comes from the preset’s mask, set at ISO 400 to match this stock, and it is a slider you push to taste exactly like a mask you drew yourself.
The same look when the light is flat
Sun on a vine is the easy case. Superia was built as the everyday fast film, the one that went in the camera for whatever the day turned out to be, and Fujifilm sold it on wide exposure latitude for exactly that reason. So here is the harder frame: a pale blue car parked in the rain under flat gray light, which is the kind of scene that usually goes lifeless the moment you try to give it any character.
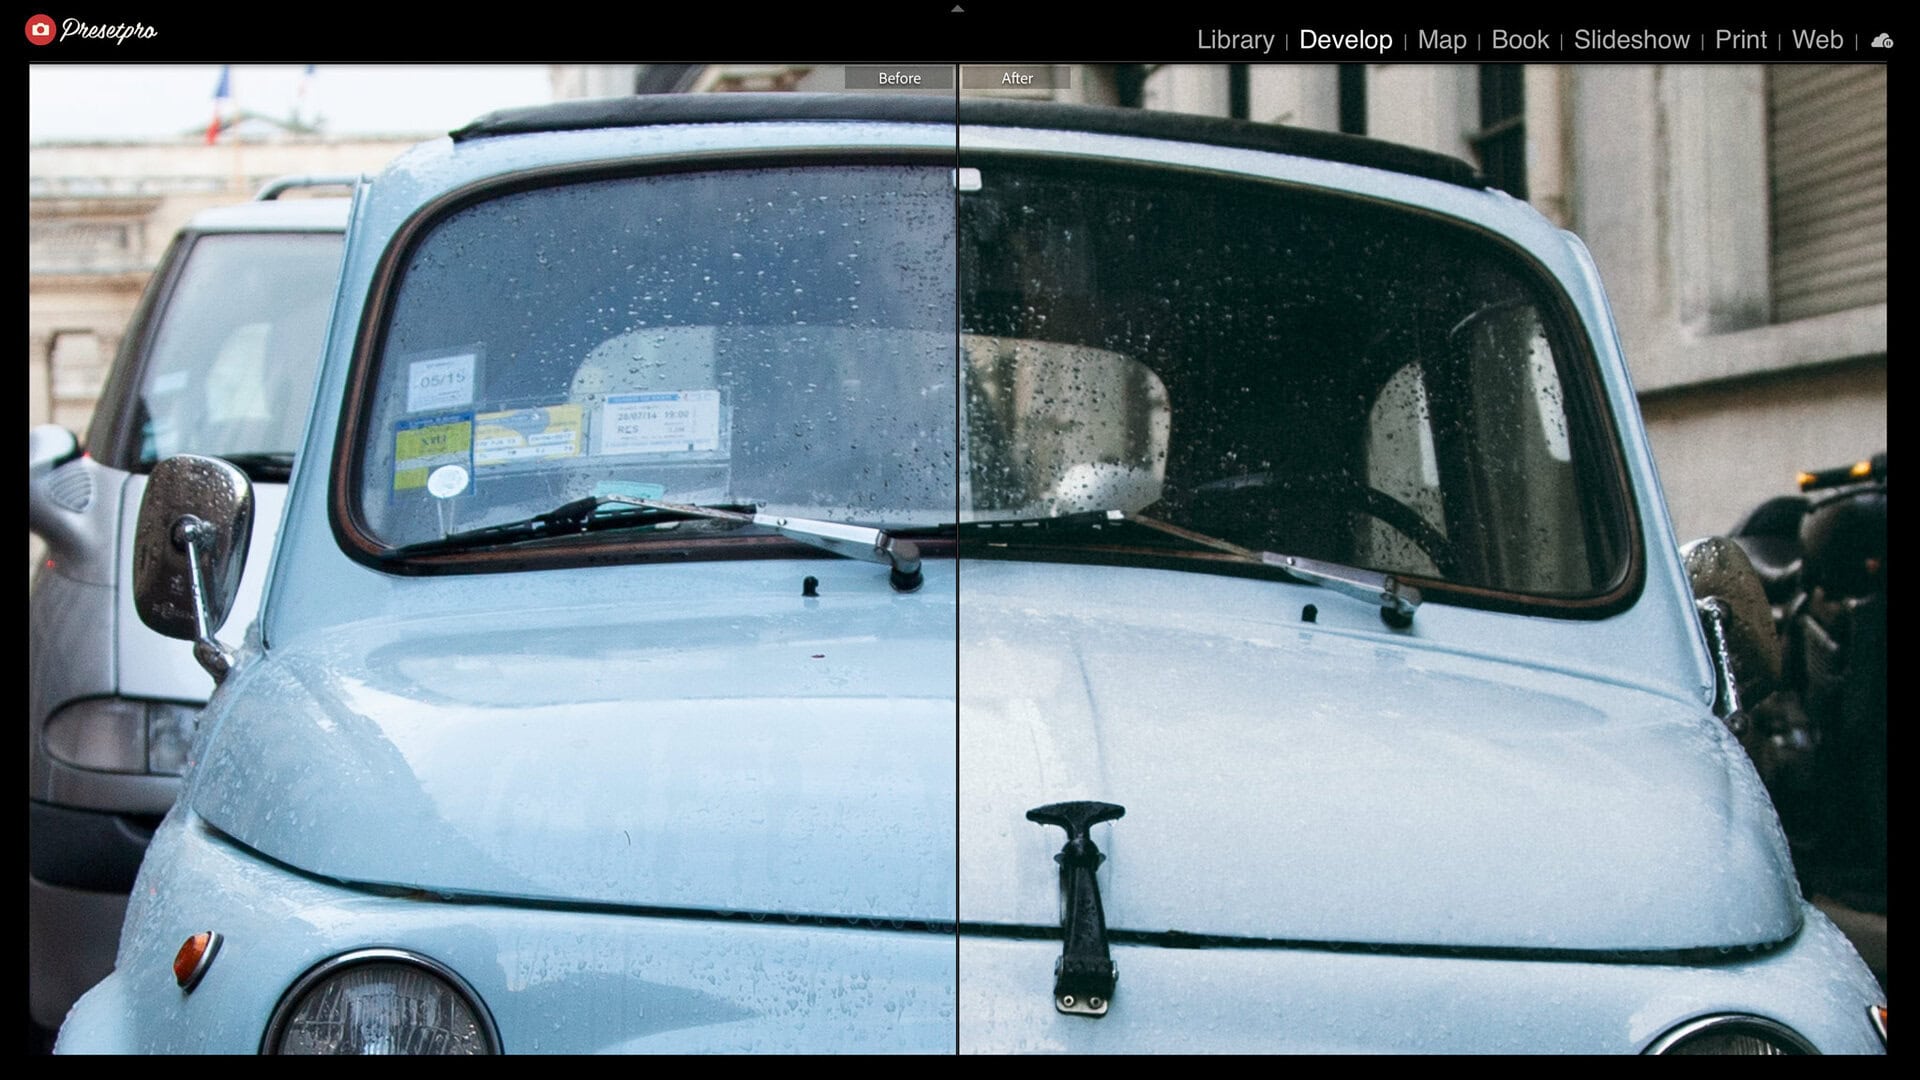
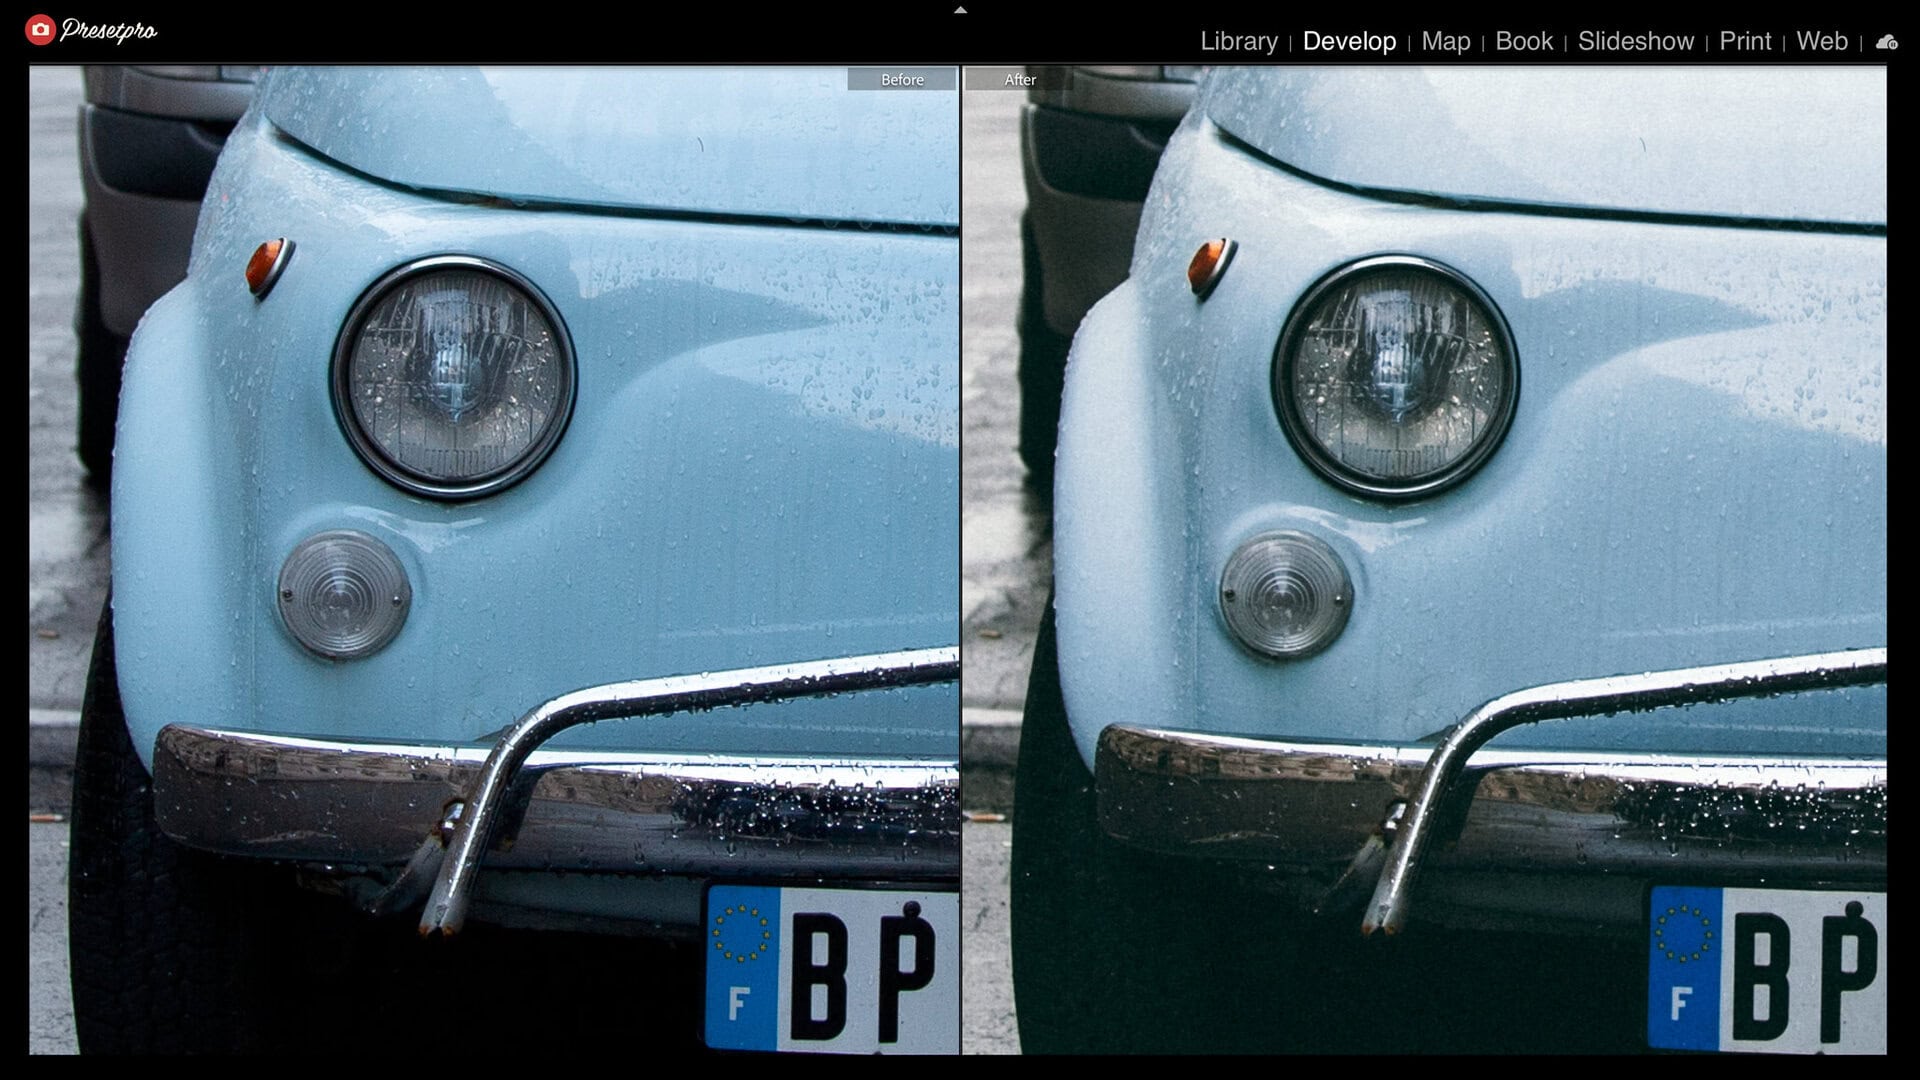
The glass and the shadow under the roofline go deeper, the stone behind turns warmer, and the rain beads on the hood keep their edges rather than smearing into the paint. That last part is the sharpness Fujifilm put at the front of the datasheet, the depiction that holds from overall form down to textural detail. Look closer at the front of the car and the same thing is happening on a smaller scale.
Film color, not a filter
What makes it hold up is where the color lives. The Superia-inspired rendering is locked inside the raw look itself, and that look sits on a camera profile built for your camera model rather than on a stack of slider values. Nothing is left on your sliders, so every edit you make afterward starts from zero and sits on top of the look instead of overwriting it. What a DCP camera profile is, and how Lightroom uses one, is covered in the DCP camera profiles guide.
S400 is the second RAW Series stock inspired by Fujifilm film; where A100F takes after a slide film, Superia X-TRA 400 is a color negative. Fujifilm built Superia X-TRA 400 around its Super Uniform Fine Grain technology and sold it on fine grain for a film this fast, smooth and naturally depicted skin, sharpness from overall form down to textural detail, and gray balance kept from the brightest highlights into the deepest shadows. That is a film sold on fineness and fidelity, not on punch, and the raw looks keep it that way. Nothing has to be dialed back before you can use it.
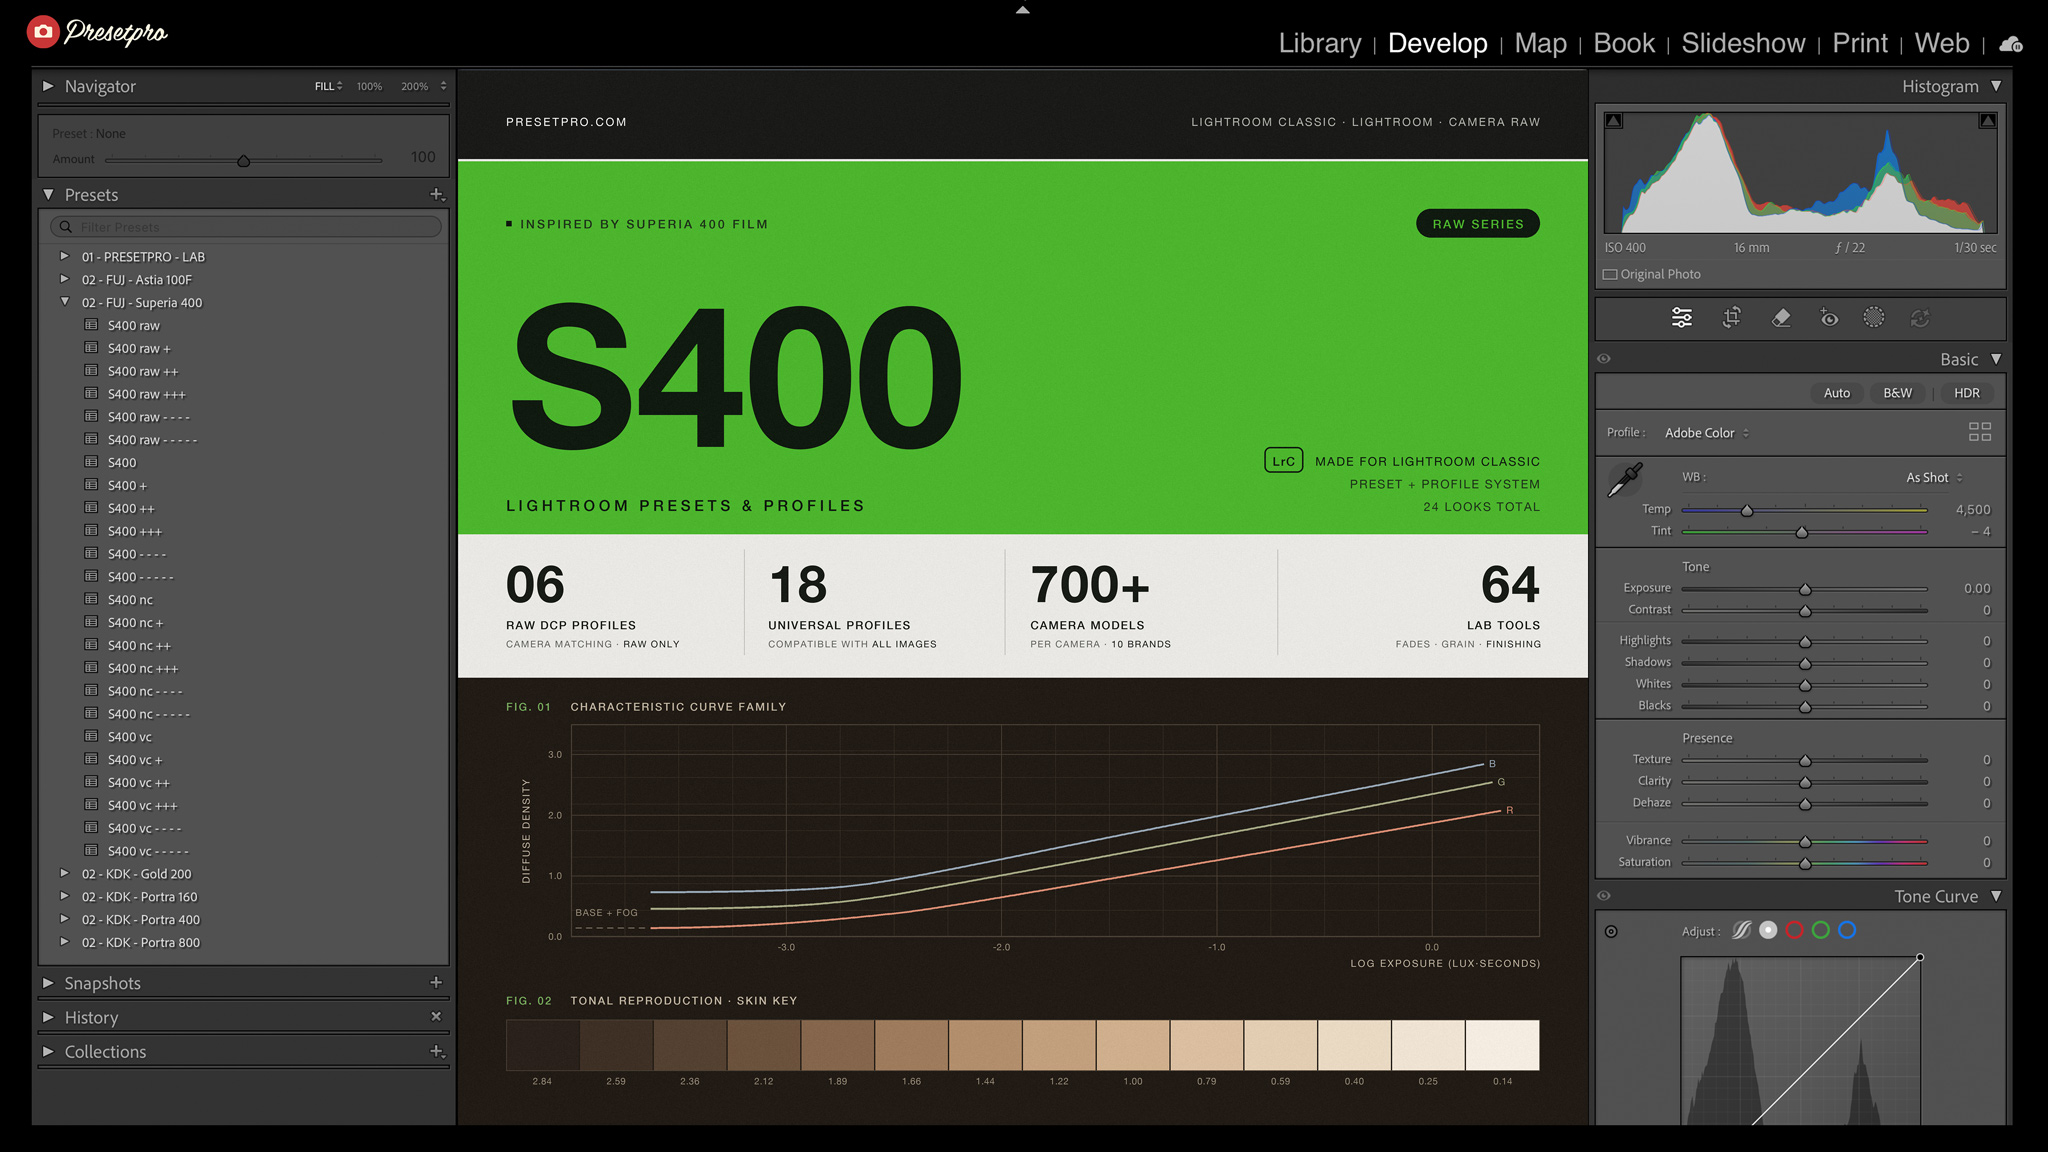
In one sentence: presets sit on the photo; this sits under it. Every supported camera gets a profile of its own- 753 models- all made from one base rendering, so switching cameras does not mean starting the look over.
Quick answers
Which version of Lightroom do I need?
The six raw looks need Lightroom Classic (Mac or PC), because the cloud version of Lightroom cannot load third-party camera profiles. Your download also includes a Cloud Edition carrying the eighteen universal looks and the complete LAB for the cloud app. Installation takes about two minutes, and the install guide with video walks through it.
Is my camera supported?
S400 ships with a profile for each of 753 camera models, covering Canon, Nikon, Sony, Fujifilm, Panasonic, Olympus and OM System, Pentax and Ricoh, Leica, Hasselblad, Minolta and Konica Minolta. If your camera is newer than the current release, the eighteen universal looks work on every photo in the meantime, and profile updates are free for the stock you own.
Does S400 add grain?
Not by itself. A camera profile adds no grain, so the raw looks and the universal looks add none. Grain arrives with the matching presets, as a live mask set at ISO 400 for this stock, and you can raise it, lower it, or delete it like any mask. The LAB has its own grain tools if you want to build it yourself. That is deliberate: Superia was sold on fine grain for a high-speed film, so the starting point is clean and the texture is a choice.
Can I adjust the look?
Yes, on two levels. Pick one of the six raw strengths or one of the eighteen universal looks, then move the Amount slider from 0 to 200; both rows carry it. Every edit you make afterward starts from zero, because the look is not sitting on your sliders. Fades, grain, depth, and finishing come from the LAB and stack on either kind.
Want to try it on your own files? Get the RAW Series S400, inspired by Fujicolor Superia X-TRA 400. Already own P400, P160, P800, G200 or A100F? S400 installs into the same panel and shares the same LAB. See the full RAW Series collection, or, if film stocks are new to you, start with the complete film emulation guide.
Fujifilm, Fujicolor and Superia are trademarks of their respective holders. Presetpro is not affiliated with or endorsed by FUJIFILM Corporation. Adobe and Adobe Lightroom are trademarks of Adobe Inc.