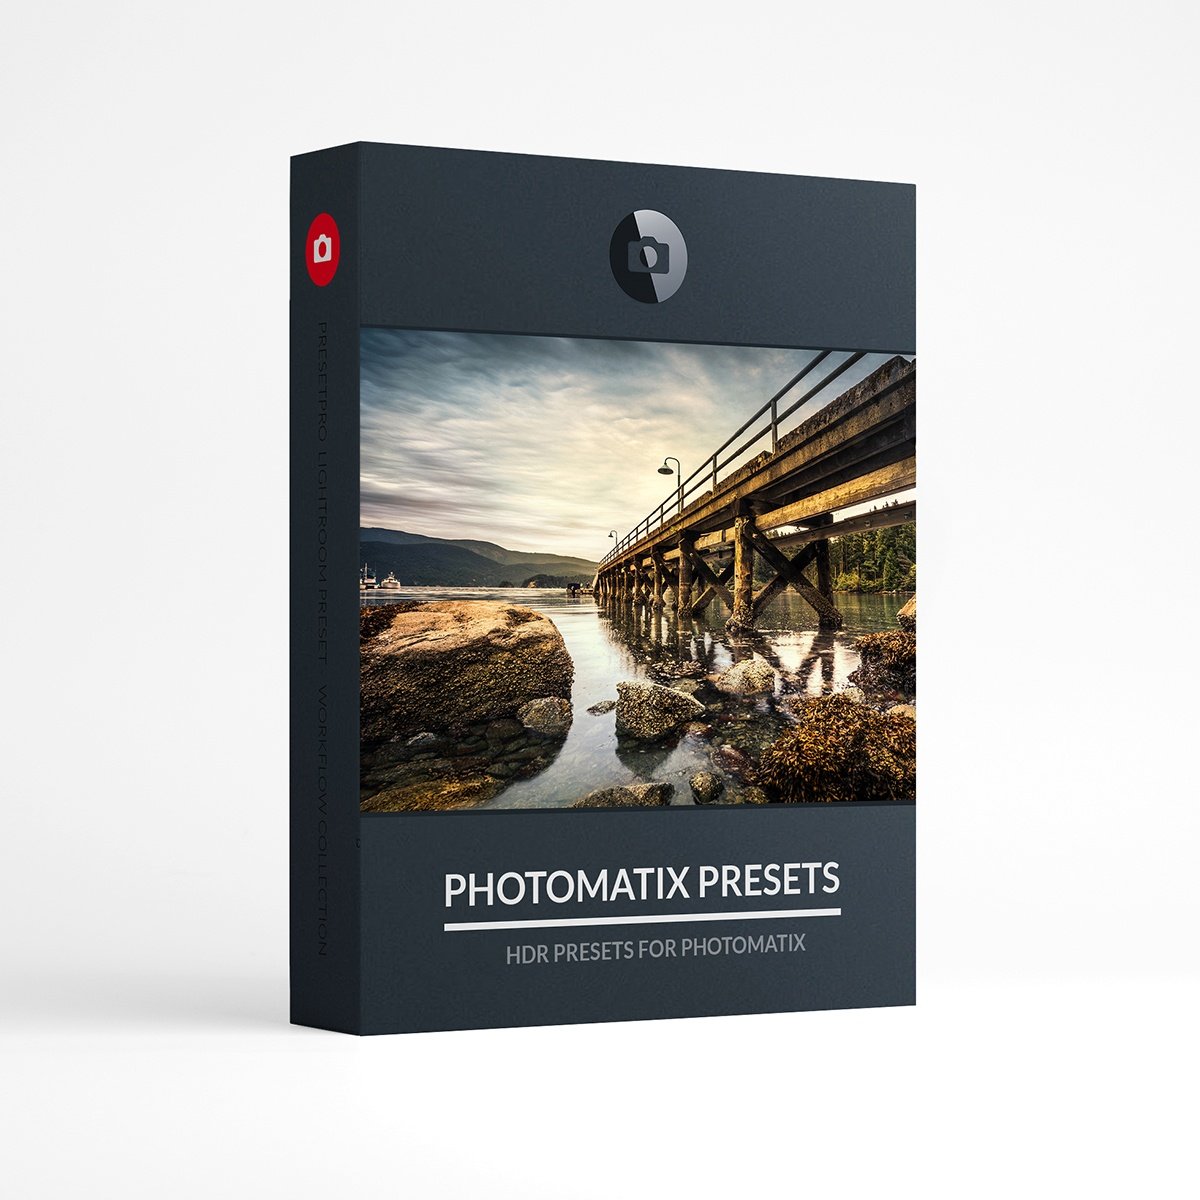
30 Photomatix Presets for HDR
Photomatix Presets for HDR Images: Create amazing HDR images with 30 Photomatix Presets. Perfect if you are looking for something a little different. To purchase Photomatix software go to http://www.hdrsoft.com/ Once you have installed Photomatix you can install the 30 Photomatix Presets to Photomatix. You cannot use these Photomatix Presets in Lightroom or Photoshop.
How to Upload Presets – MAC
1) Download/unzip Photomatix presets and save to desktop.
2) Open Photomatix HDR Software and load images to start software.
3) Once image is loaded, look to the right/bottom of screen and click “My Presets” Next go to the top right of screen and select “Import presets”
4) Time to select all your downloaded/unzipped presets. Click the first presets, then shift-click the last preset and finally Click “Import” Enjoy!
How to Upload Presets – WINDOWS
1) Download/unzip Photomatix presets and save to desktop.
2) Open Photomatix HDR Software and load images to start software.
3) Once image is loaded, look to the right/bottom of screen and click “My Presets”
4) Now Change the Menu button “All” to “Import presets.”
4) Time to select all your downloaded/unzipped presets. Click the first presets, then shift-click the last preset and finally Click “Import” Enjoy!
Here are some images I created using Photomatix presets! I do finalize all my images in Photoshop by blending the “Photomatix Processed Image” with the “original file” and “other copies” processed in Lightroom. Basically, I pull out the details I want from each copy. Later this year I will be putting together a tutorial on this process!


