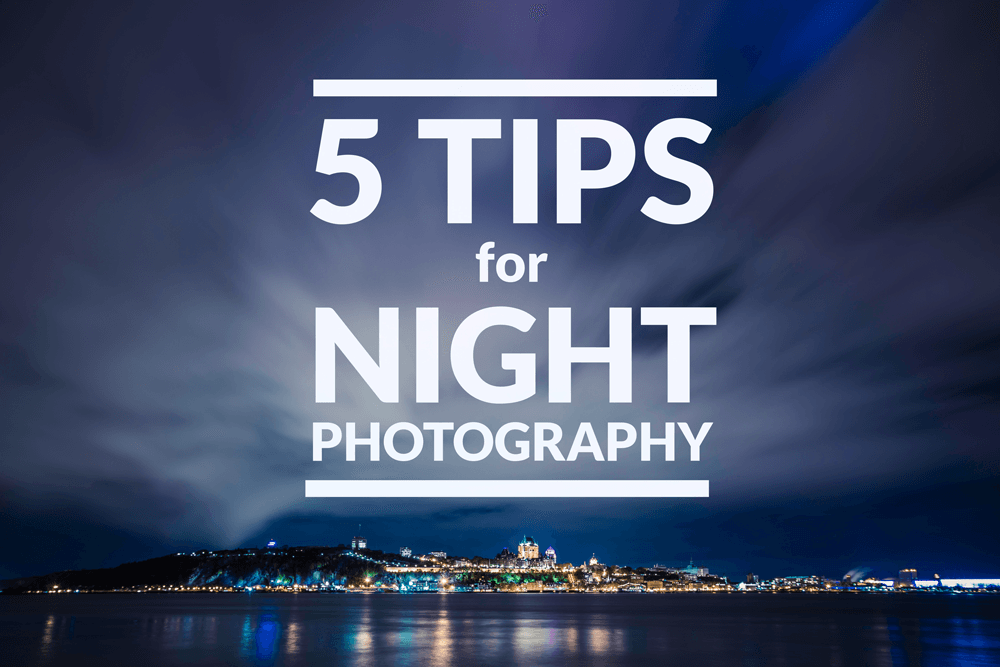
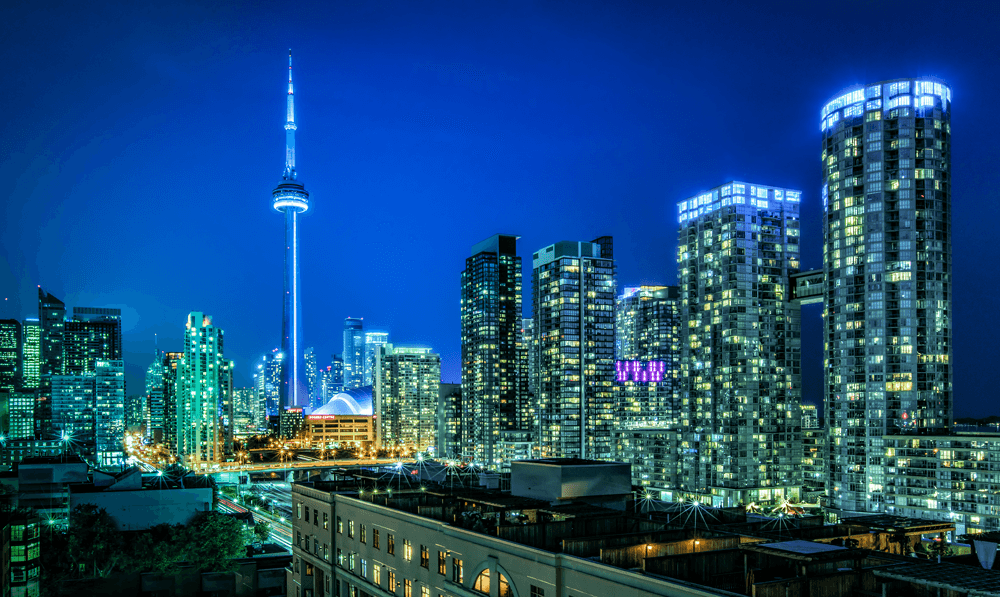
5 Tips for Night Photography: Looking to explore the world of night photography? Many photographers don’ t feel comfortable when it comes to shooting in low light. The good news is, it doesn’t have to be this way! Some of the most amazing shots are captured after sunset and we would hate to see any of you miss out on the magic. Here are 5 quick tips for shooting at night to help you get started.
1. The Gear
The first thing you will need is a camera that allows you to manually control your settings and change your shooting mode. By settings we mean the camera’s shutter speed, aperture and ISO level. The second thing you will need is a tripod. Using a tripod is very important for shooting at night. You will need your shutter to stay open for long periods of time in order to let in as much light as possible. When your shutter is open, any movement can create blur. The tripod keeps your camera steady and your pictures in focus. Having a wireless shutter release will also help to minimize any camera movements.
2. The Location
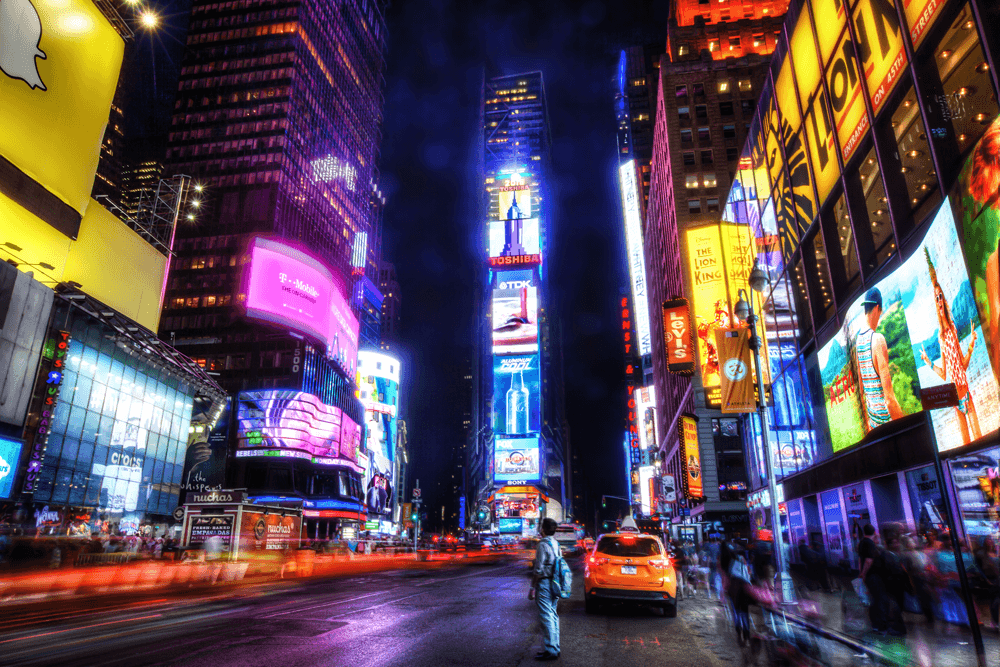
We recommend that you scope out your location in advance. This will save you valuable time when you arrive at your destination. You will need to find a vantage point where you can steady your tripod. Look for places that offer interesting lighting and architecture. If you are shooting in the city, take note of traffic flow. If you want to capture traffic light trails, you might want to start shooting when the streets are still busy.
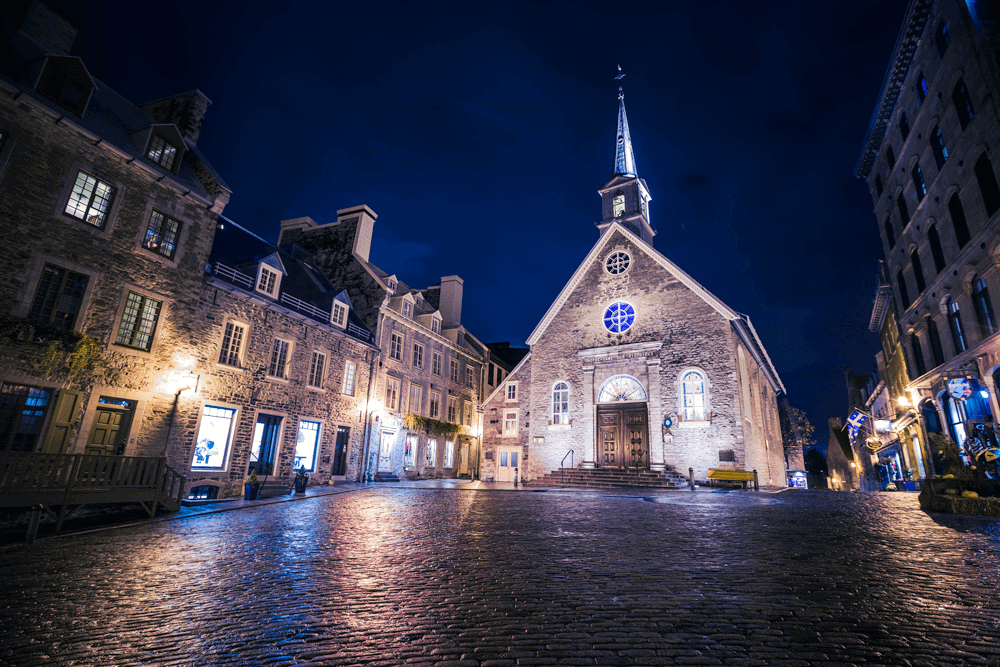
3. The Blue Hour
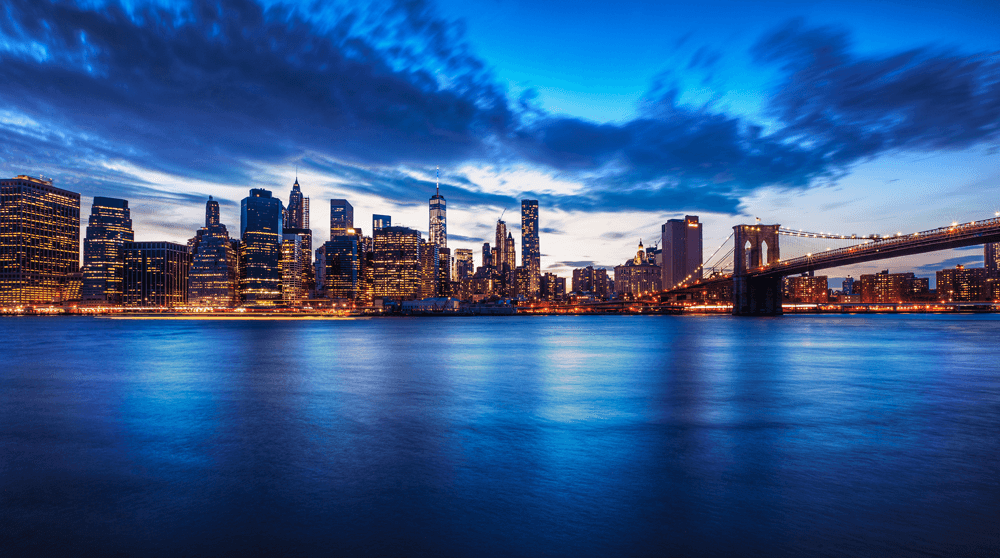
Have you ever wondered how photographers capture clouds after sun set? This is thanks to something called the blue hour. The blue hour is a period of twilight every morning and evening when the sun is just below the horizon. This gives the sky a really interesting blue tone, which is perfect for night photography. In reality, the blue hour only lasts for about 40 minutes. There are a number of websites and mobile apps to help you calculate the blue hour in your time zone. Check out BlueHourSite.com or simply take note of when the sun goes down in your location. http://www.bluehoursite.com/
4. The Settings
First, switch your camera to RAW mode. Shooting in RAW gives you more information to work with when post-processing. Try shooting in aperture priority for blue hour photography and city streets at night. Start out by shooting between f9 and f11. The f-stop will vary depending on what you are trying to achieve. F5.6 will make the street lights soft and “glowy” and F22 will give you a crisp star burst effect. If you want to get more advanced, try playing with the Exposure Value (EV) mode on your camera. A negative exposure will properly expose city lights and a positive exposure will expose dark areas, such as the night sky. As you get more comfortable with night photography, you may want to explore exposure bracketing and HDR photography.
5. Editing
When post processing in Adobe Lightroom, you will often notice an orange tint to your photos. This can be fixed with the temperature setting. The easiest way to correct this is by lowering the temperature to a level that is pleasing to your eye and best represents what you remember from the shoot. Play around with your base settings. To start out, try lowering your highlights, increasing the shadows, dialing your whites down and increasing your blacks. This should help you balance out your photo. There are a number of Lightroom Presets available to help you stream line your editing process. Presets are great for achieving the look you want and learning Lightroom in reverse. If you are looking to explore the world of Lightroom Presets, the Creative Flow has specifically designed presets for night photography, among 900 other uses.
The most important thing is to remember that you have full creative freedom. Don’t be afraid to try out a different angle or composition. There are no rules! Find the look that works the best for you. So break out your cameras and tripods, get up early or stay out late and start snapping.
Premium Lightroom Presets
Lightroom Presets
Lightroom Presets
Lightroom Presets
Lightroom Presets
Lightroom Presets
Lightroom Presets
Lightroom Presets
Lightroom Presets

Lightroom Presets