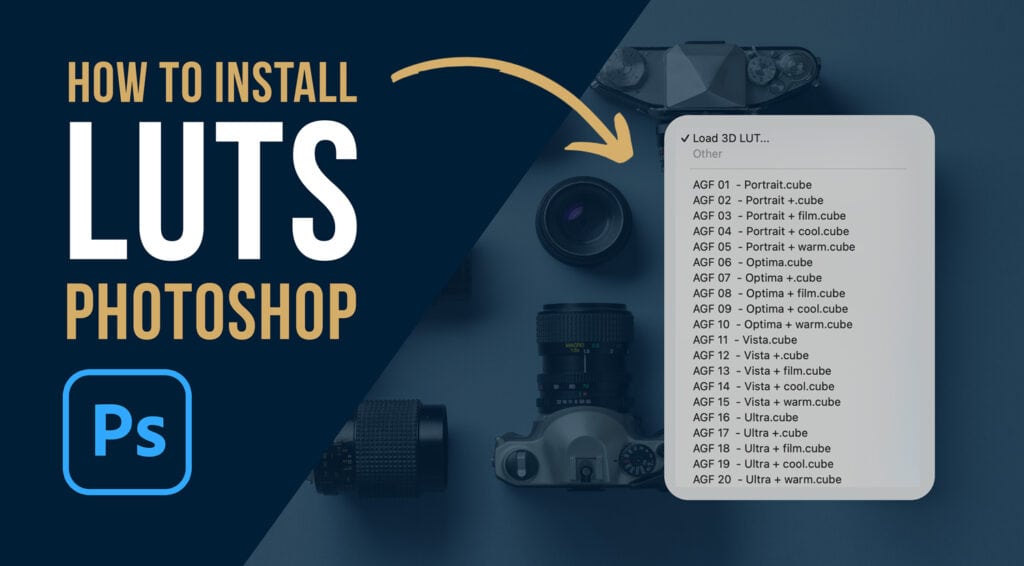
How to Install LUTs into Photoshop: The 2026 Ultimate Guide
LUTs (3D Lookup Tables) are the professional standard for high-end color grading. By remapping specific color values using advanced colorimetry.CUBE files allow photographers to achieve complex cinematic looks that standard presets cannot replicate. In this guide, we will show you the fastest way to install LUTs directly into Adobe Photoshop’s internal library for a seamless, non-destructive workflow.
Quick Reference: Installation Paths
| Operating System | Default LUT Folder Path |
|---|---|
| macOS | Applications > Adobe Photoshop > Presets > 3DLUTs |
| Windows PC | Local Disk (C:) > Program Files > Adobe > Adobe Photoshop > Presets > 3DLUTs |
Why Use Photoshop LUTs?
- Best For: Cinematic color grading, matching video to stills, and rapid tonal shifts.
- Style: Non-linear color mapping, preserving highlight roll-off and skin tone integrity.
- Compatibility: Industry-standard .CUBE files and .3DL formats.
Step-by-Step: Installing LUTs into Photoshop
Installing your LUTs directly into the Photoshop system folders allows them to appear permanently in your Color Lookup adjustment layer menu, saving you from browsing your hard drive every time you edit.
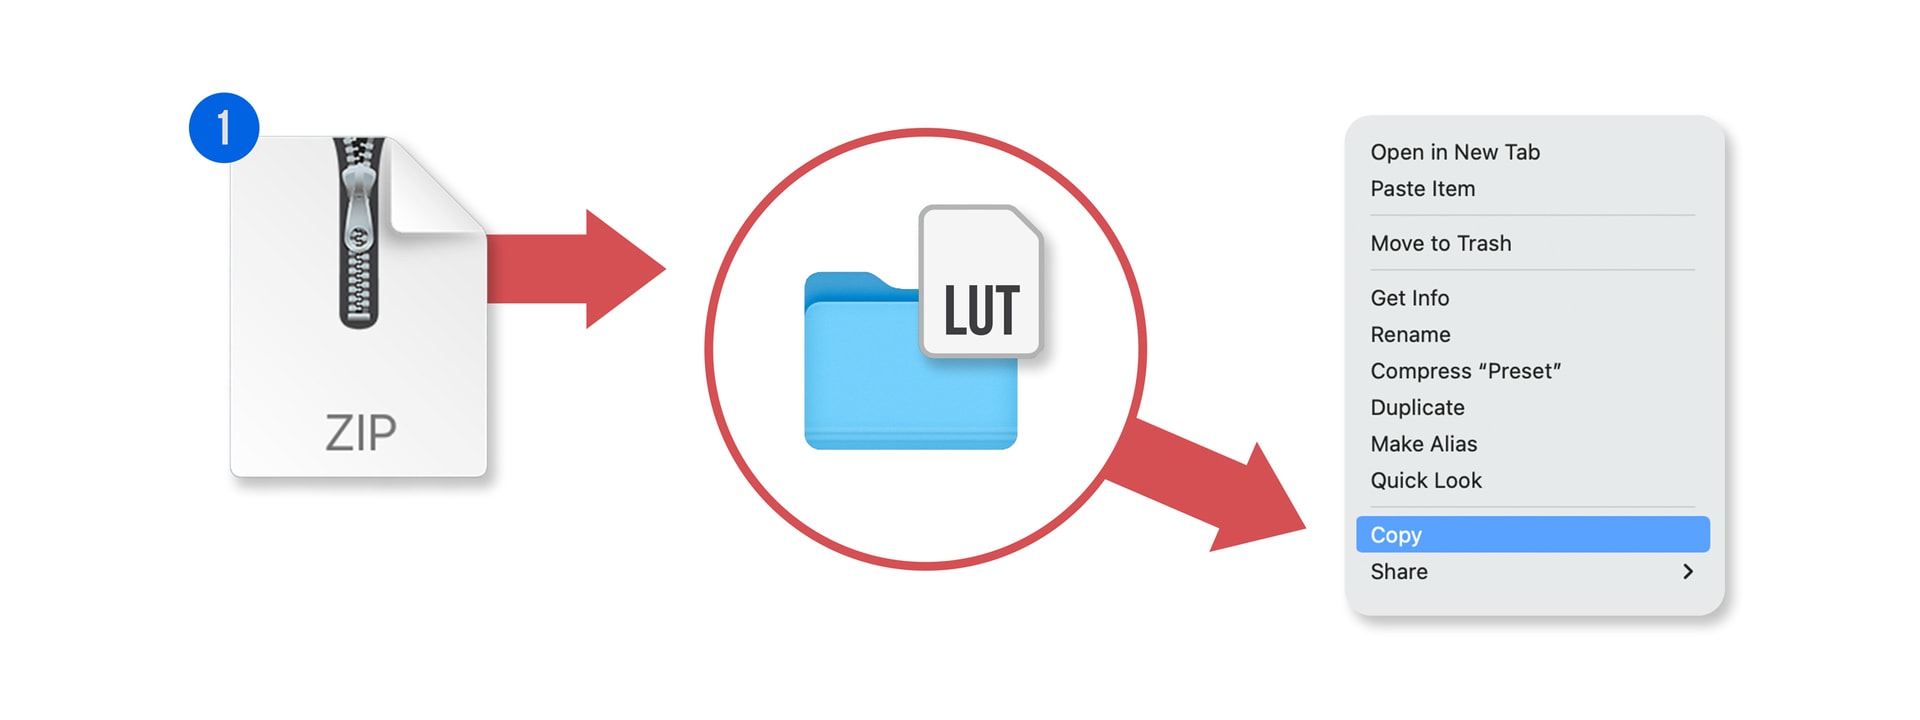
Step 1: Copy Your .CUBE Files
Unzip your download and save your LUTs to your desktop. Select all the .CUBE files, Right-click, and select Copy.
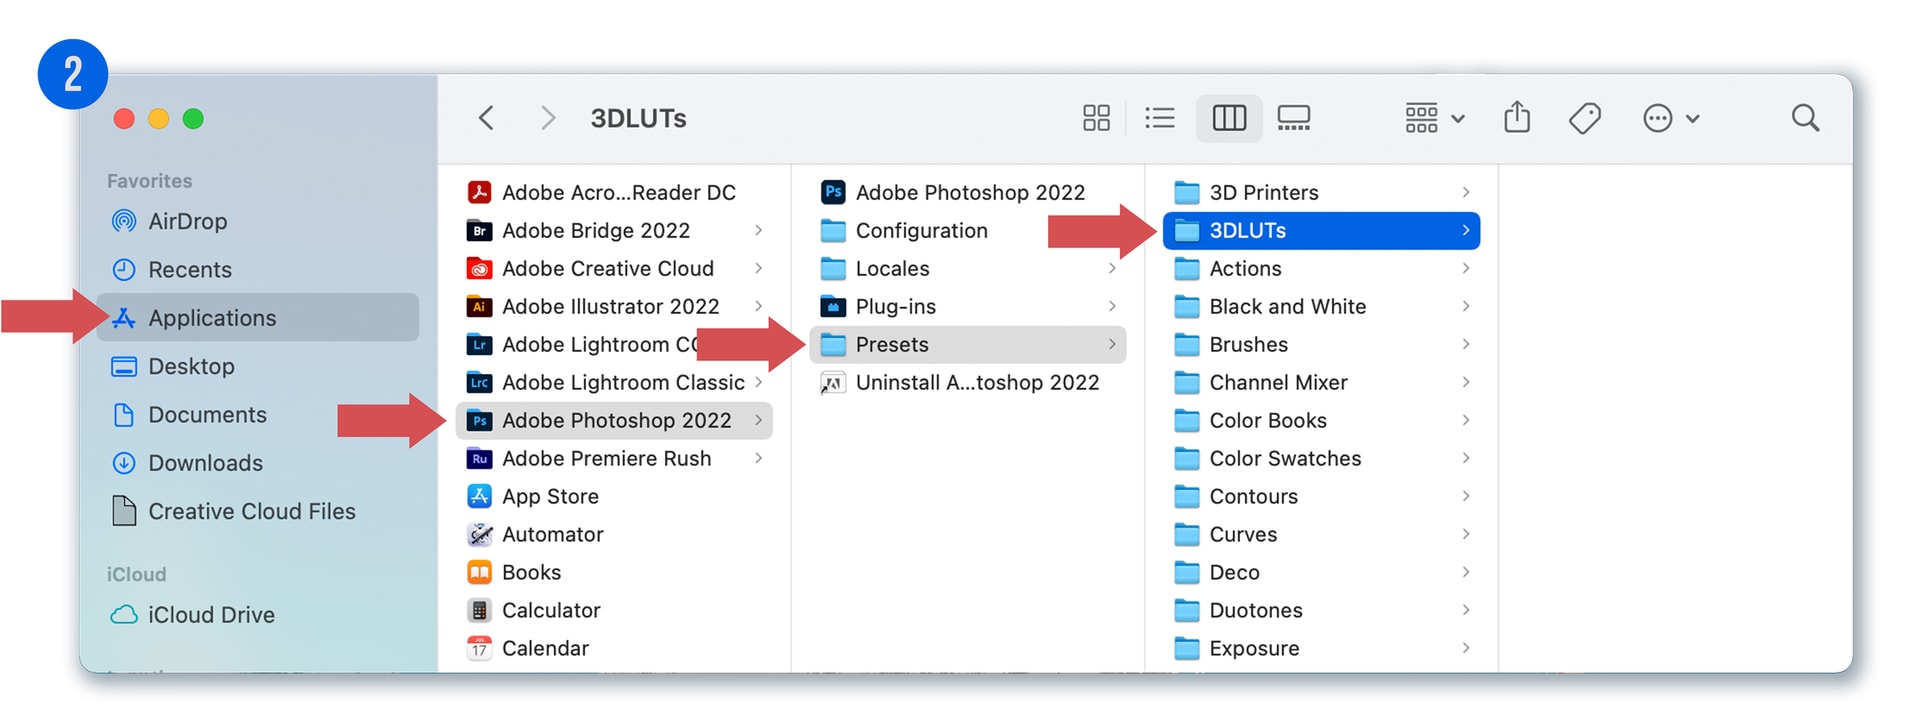
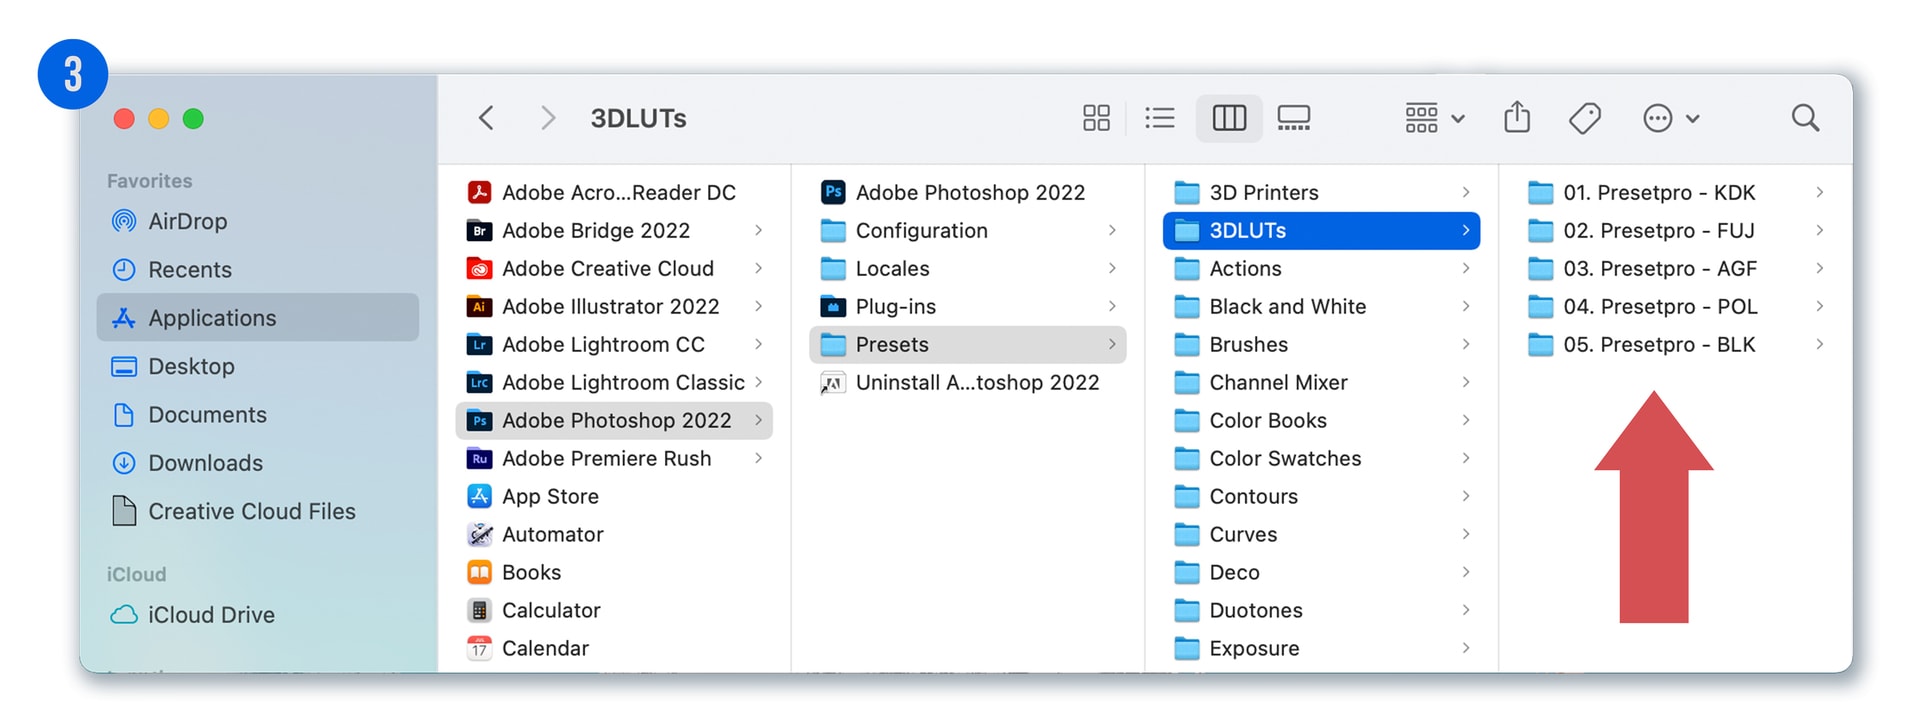
Step 2: Navigate to the 3DLUTs Preset Folder
You need to place these files inside the Photoshop application folder so the software can index them at startup.
- Mac Users: Open Finder > Applications > Adobe Photoshop > Presets > 3DLUTs.
- PC Users: Open Local Disk (C:) > Program Files > Adobe > Adobe Photoshop > Presets > 3DLUTs.
Step 3: Paste and Authorize
Right-click inside the 3DLUTs folder and select Paste. Because this is a system folder, your computer may ask for Admin Permission. Click Continue or enter your password to finalize the transfer.
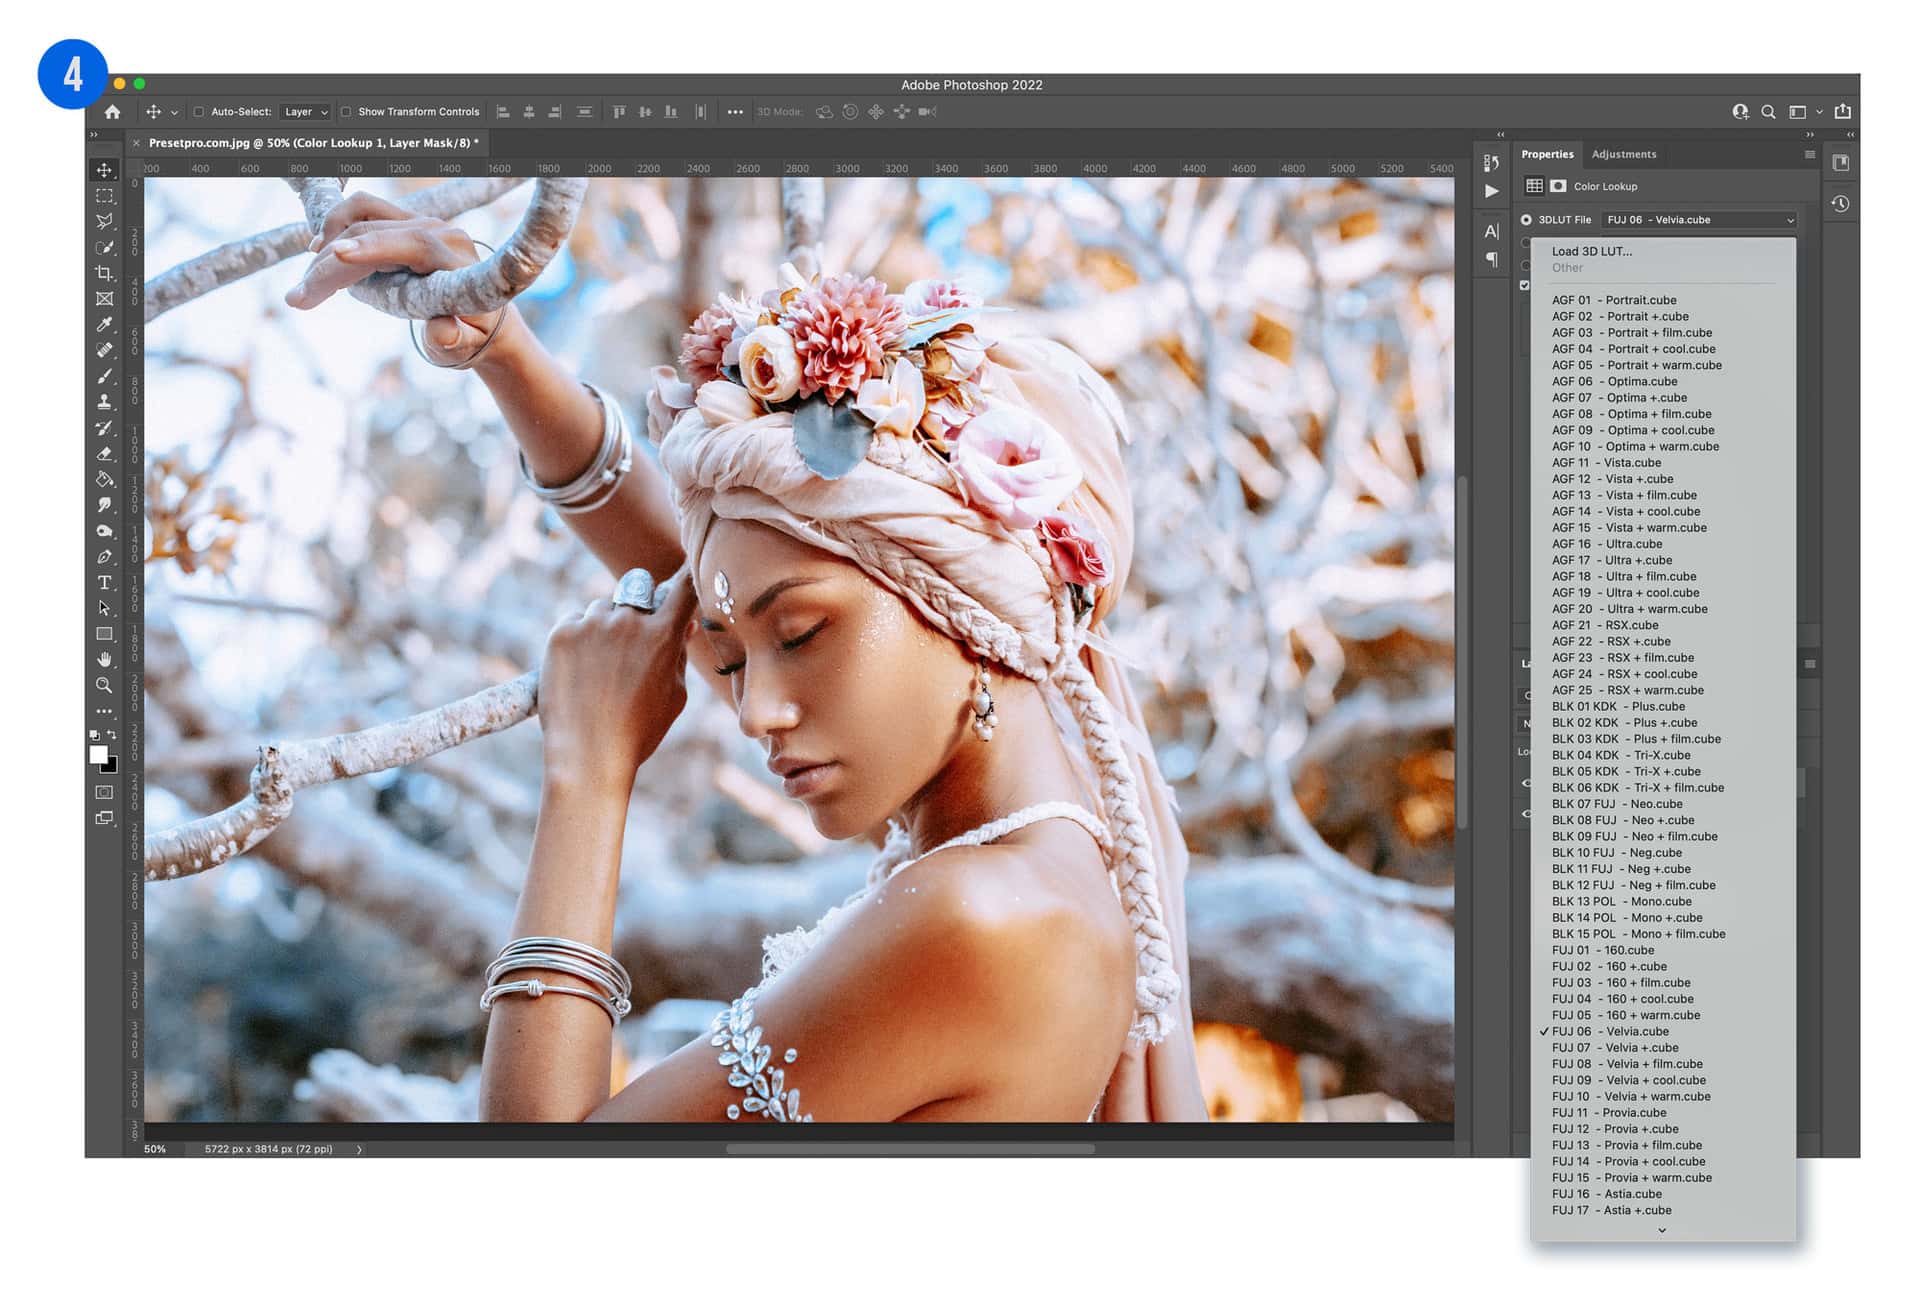
Step 4: Restart Photoshop and Apply
Restart Adobe Photoshop. To use your new tools, open an image and go to Layer > New Adjustment Layer > Color Lookup. Your installed LUTs will now appear in the 3DLUT File dropdown menu.
Conclusion
By installing Professional LUTs directly into your presets folder, you significantly accelerate your post-processing speed. Whether you are aiming for a Linear Response grade or a moody film aesthetic, LUTs provide a level of color control that is essential for modern photography. If you have questions about color spaces or file compatibility, feel free to reach out to our team!
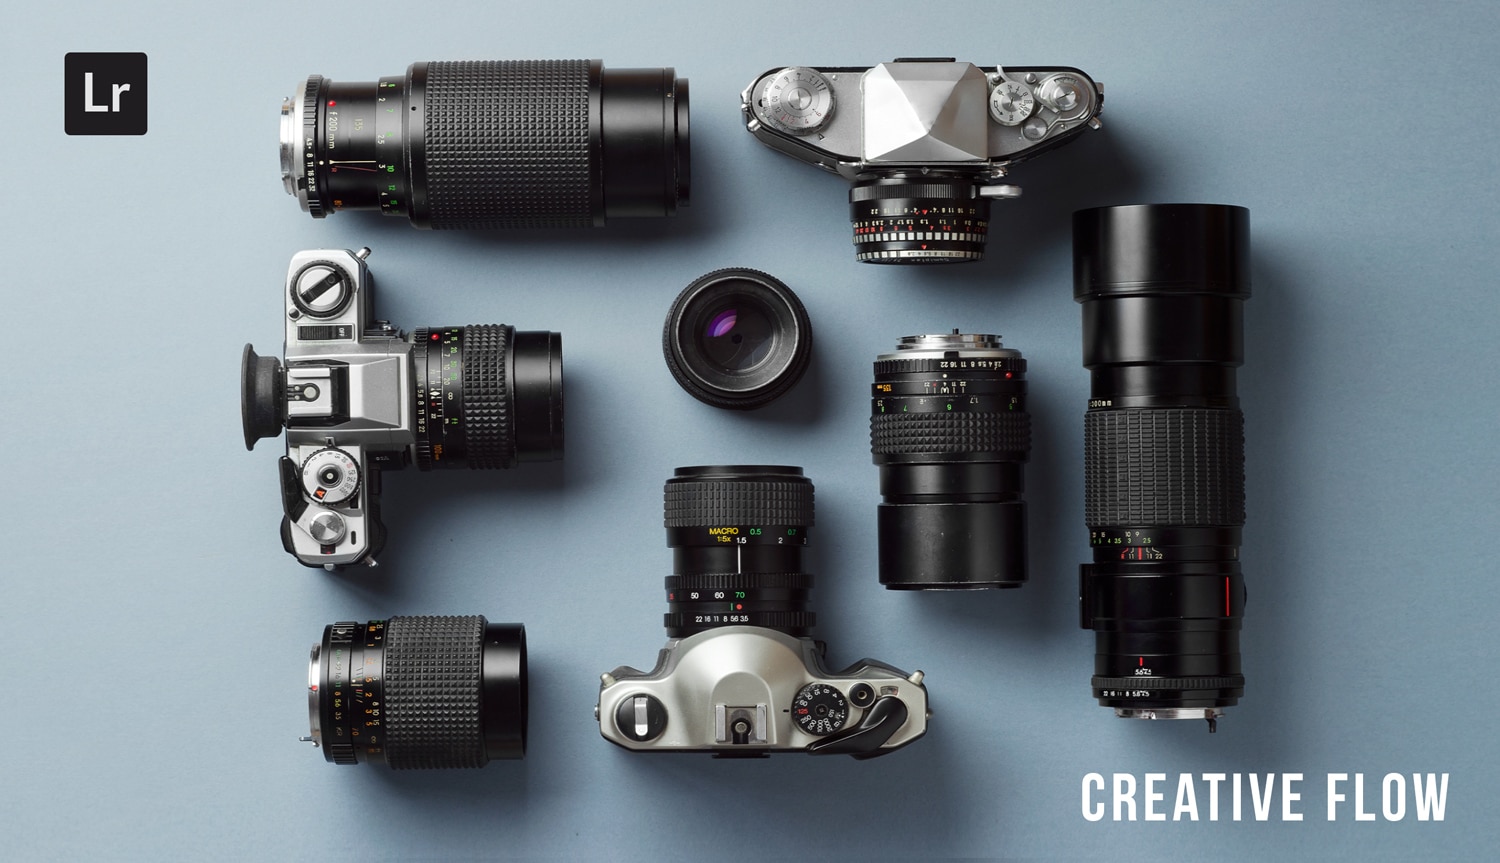
Do you want to take your photography skills to the next level? With The Creative Flow, you’ll have access to more than 1200 Beautiful Lightroom Presets, 1200 Lightroom Profiles, and 200 brushes that will spark your creativity and bring your photos to the next level! Designed for the photographer who wants the ultimate workflow and premium Lightroom collection. The Creative Flow is your own personal preset “toolbox” where you can swap out a variety of different looks with a few simple clicks. Whether you’re a professional or just starting out, this all-in-one collection was created for you! You won't find another product like this anywhere else online - trust us when we say it's worth every penny! Click here right now and get started with The Creative Flow today!
The Creative Flow | Presetpro.com


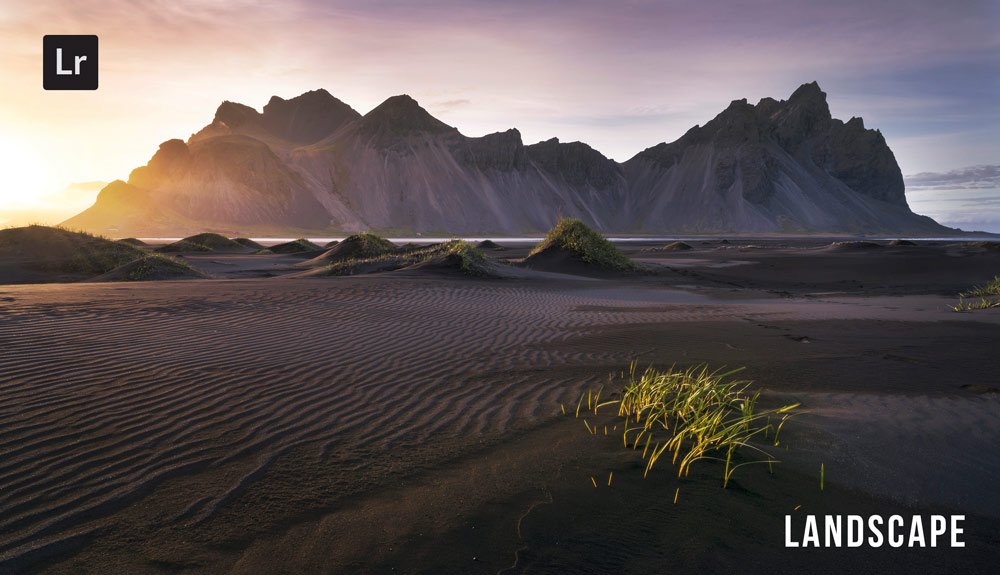


Lightroom Presets

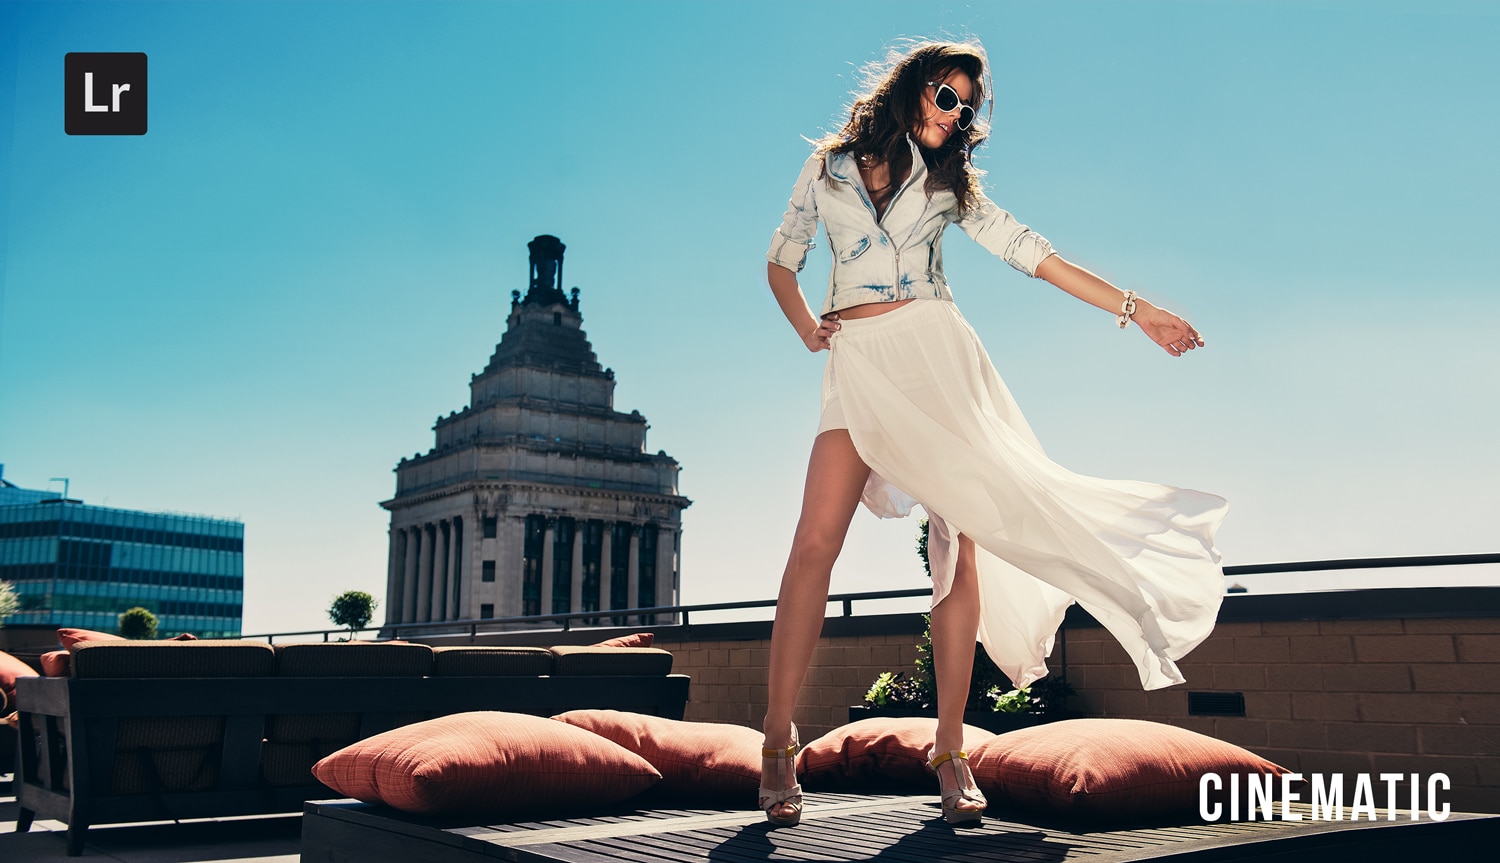
Lightroom Presets

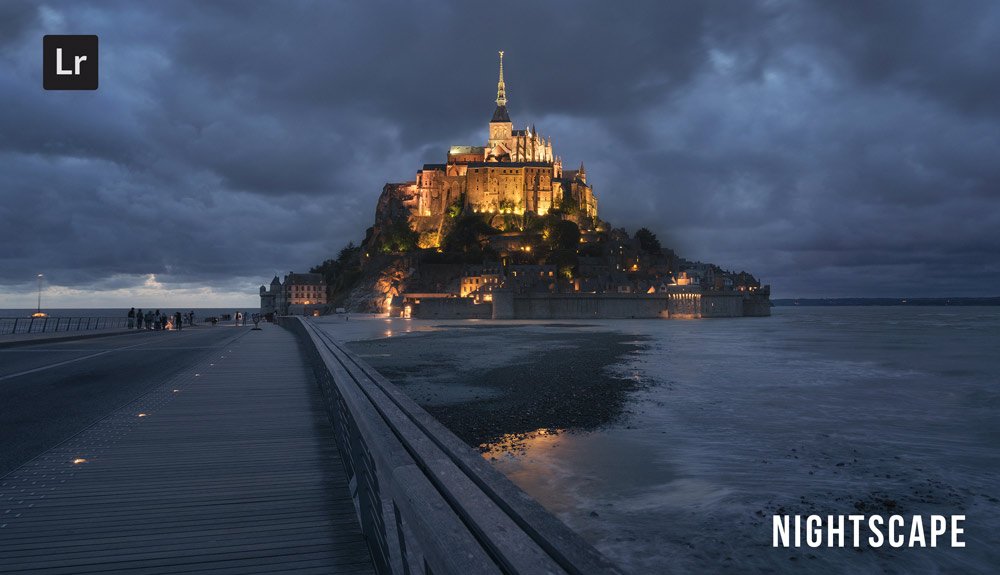
Lightroom Presets
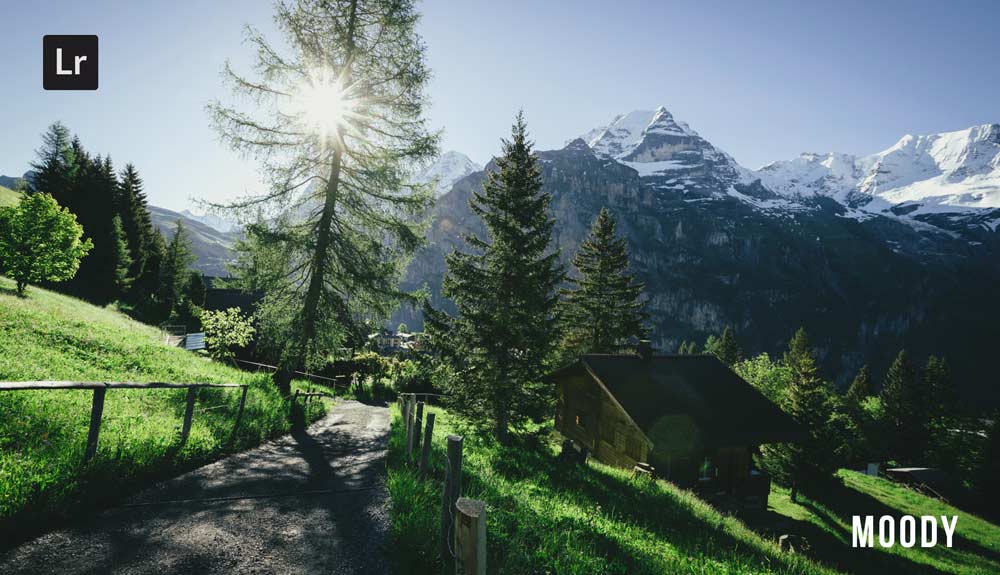
Lightroom Presets
Lightroom Presets
Lightroom Presets
Lightroom Presets
Lightroom Presets
The film names above are the brands and trademarks of their respective holders. None of the film producers listed endorse or sponsor this film emulation collection or any other content. The film producers are not affiliated with Presetpro.com and all trademarks and copyrights are the exclusive property of their respective owners. Adobe®, Photoshop®, Adobe® Lightroom® are either registered trademarks or trademarks of Adobe Systems Incorporated in the United States and/or other countries.