Kodak vs Fuji Lightroom Presets: Which Film Look Is Right for Your Photos?
By Tim Martin · Updated June 2026 · 6 min read
If you’ve ever spent twenty minutes scrolling through Lightroom preset packs without knowing which one to download, you’re not alone. The single biggest fork in the road for film emulation presets is this: Kodak or Fuji? They look different, feel different, and they work best on different kinds of photographs. This guide breaks both families down so you can stop guessing and start editing.
The short answer: Choose Kodak presets (Portra 400, Portra 800, Gold 200) for warm, flattering skin tones in portraits, weddings, and lifestyle work. Choose Fuji presets (Pro 400H, Velvia) for cooler, cleaner rendering in landscapes, travel, and editorial photography. Kodak runs warm and forgiving; Fuji runs cool and crisp. If you only try one, start with Kodak Portra 400 — it works on the widest range of photos.
What Makes Kodak Presets Look Different from Fuji?
At the simplest level, Kodak film stocks are known for warmth and Fuji stocks are known for clarity. But that’s a shortcut that misses a lot. Here’s what’s actually happening visually:

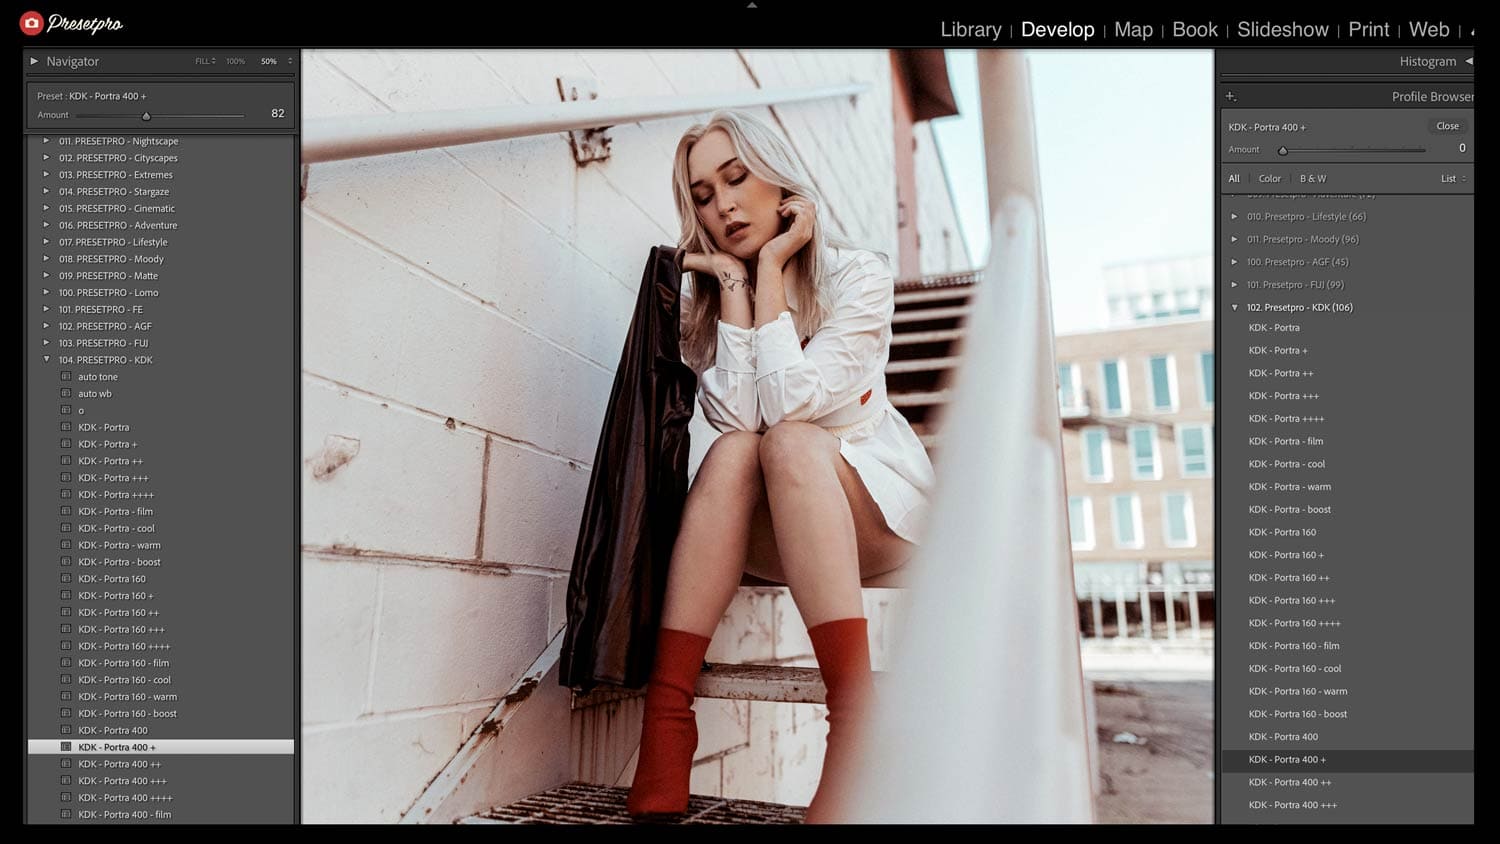
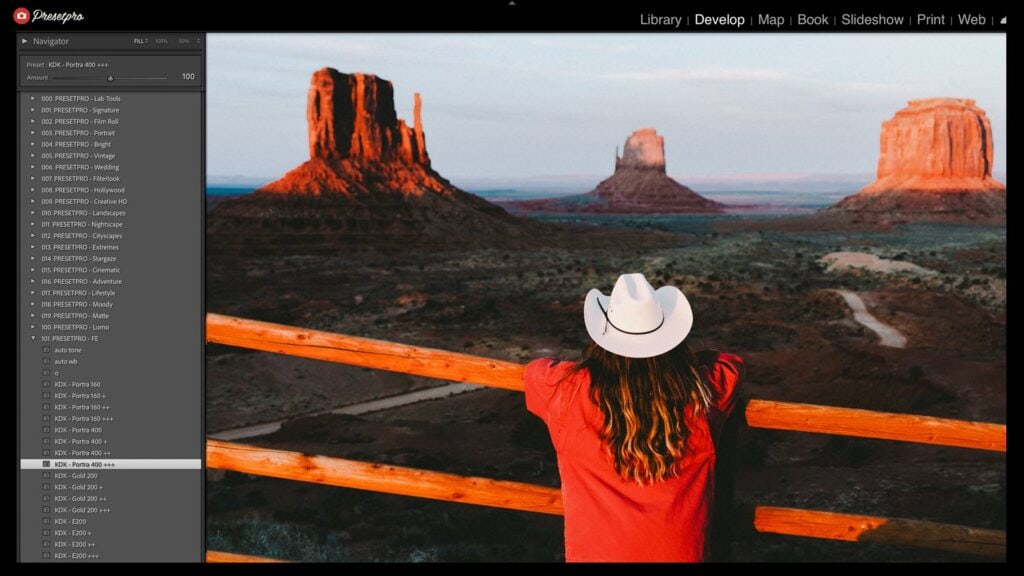
Kodak presets — especially Portra 400 and Portra 800, both professional color negative films — push the color balance toward amber and gold in the midtones. Highlights roll off gently without clipping, and skin tones come out creamy and flattering. Shadows tend to stay lifted rather than going deep black, which gives the image a soft, organic feel. The grain, when present, is fine and integrated rather than gritty. Kodak Gold 200, a consumer color negative film, takes that warmth further — it’s richer, slightly more saturated, and has a nostalgic, lived-in quality.
Fuji presets lean cooler and cleaner. Fuji Pro 400H — a color negative film Fujifilm discontinued in 2021, which is exactly why an accurate emulation is so useful now — is the clearest example: it pulls greens slightly cyan, keeps skin tones neutral rather than warm, and lifts the shadows into a pastel matte. Fuji Velvia, a high-saturation slide film, is the opposite extreme within the Fuji family: punchy greens and blues, zero matte. Kodachrome, the legendary color reversal film discontinued in 2009, sits in its own category but shares more with the Fuji school — crisp micro-contrast, strong reds and blues, the iconic “National Geographic” palette.
Which Film Stock Fits Which Type of Photography?
Portraits and Weddings → Kodak Portra 400
This is the most widely used film preset in professional portrait photography for good reason. Skin tones are the priority, and Portra 400 handles them better than almost anything else — warm without going orange, flattering across a wide range of complexions. Whether you’re shooting a wedding in bright midday sun or a candlelit reception, Portra 400 keeps faces looking real and beautiful. Start here if portraits make up any significant part of your work.
Travel and Street Photography → Fuji Pro 400H or Kodachrome 64
Travel photography is where Fuji Pro 400H really earns its reputation. The cooler palette keeps greens and blues from going muddy, which matters enormously when you’re shooting landscapes, street scenes, or busy markets. Kodachrome 64 is the stronger choice when you want something punchier — it builds contrast naturally and gives architecture and documentary work a timeless quality that looks like it was pulled from a magazine archive.
Lifestyle and Social Media → Kodak Gold 200 or Fuji 400H
For everyday lifestyle photography — outfit shots, café moments, travel diaries — both Kodak Gold 200 and Fuji Pro 400H are perennial favorites. Gold 200 gives you warmth and nostalgia; Fuji 400H gives you the clean matte look that’s been dominant in editorial and influencer photography for the past several years. Your choice depends on whether your feed runs warm or cool.
Landscape and Nature → Fuji Velvia
Velvia is a slide film emulation and it doesn’t apologize for it. Saturation is high, contrast is punchy, and greens go deeply green. It’s not for portraits — it’ll turn skin orange. But for a sunrise over mountains, a field of wildflowers, or ocean blues, it’s unmatched. If you want your landscape photos to pop rather than sit quietly, Velvia is the answer.
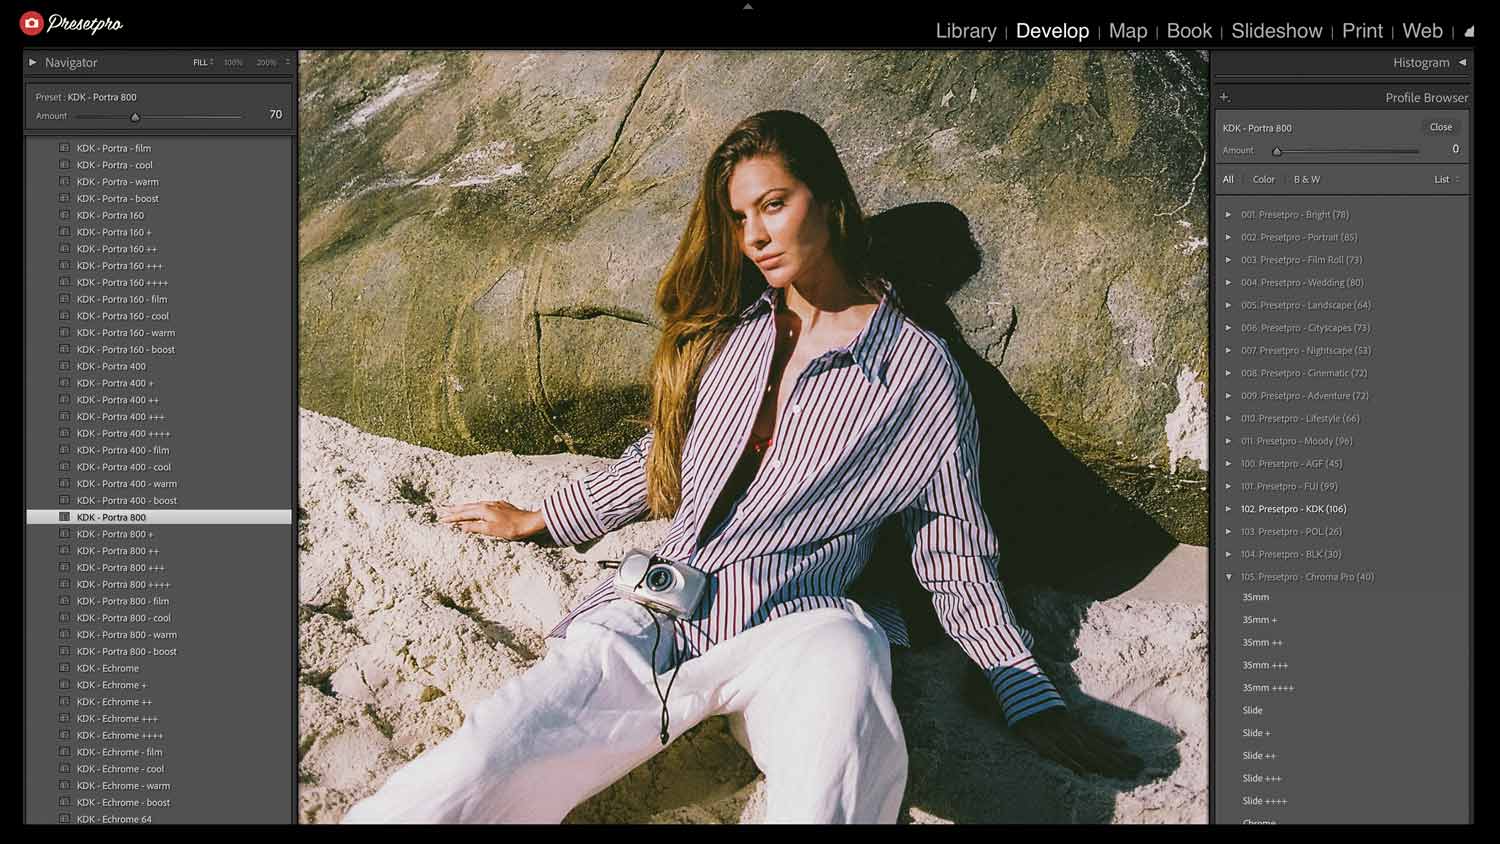
Low Light and Indoor Shooting → Kodak Portra 800
When the light drops, Kodak Portra 800 takes over from Portra 400. It builds in a little more contrast and slightly more grain to simulate shooting at a higher ISO, and it preserves warmth even in tungsten or mixed artificial light. Indoor portraits, evening events, moody interior scenes — Portra 800 handles all of it without losing skin-tone accuracy.
The Key Differences at a Glance
| Film Stock | Color Bias | Contrast | Best For |
|---|---|---|---|
| Kodak Portra 400 ISO 400 · color negative |
Warm amber midtones | Soft, lifted shadows | Portraits, weddings, skin tones |
| Kodak Portra 800 ISO 800 · color negative |
Warm, slightly deeper | Medium, fine grain | Low light, evening events |
| Kodak Gold 200 ISO 200 · color negative |
Rich, saturated gold | Natural, consumer-film feel | Lifestyle, nostalgia, travel |
| Fuji Pro 400H ISO 400 · color negative |
Cool, soft matte | Gentle, lifted | Editorial, candid, lifestyle |
| Fuji Velvia ISO 50 · slide film |
High saturation, cool | Punchy, deep | Landscapes, nature |
| Kodachrome 64 ISO 64 · color reversal |
Rich reds and blues | Sharp, high micro-contrast | Travel, documentary, street |
Can You Mix Kodak and Fuji Presets in the Same Gallery?
Technically, yes — practically, it depends. If you’re editing a full wedding or portrait gallery, consistency matters. Mixing warm Kodak tones and cool Fuji tones across the same set of images will create visual inconsistency that clients notice even if they can’t name it. Pick one family for a shoot and stick with it.
Where mixing works is across different types of content — using Portra 400 for portrait sessions and Fuji Pro 400H for your travel work. The two don’t need to live on the same page or in the same gallery, so the contrast between them becomes part of your editing identity rather than a problem.
Where to Start
If you’re new to film emulation presets, start with Kodak Portra 400. It works on the widest range of photos and is the most forgiving across different lighting conditions. Once you’ve worked with it for a few sessions, you’ll have a clear sense of whether you want to push your color grade warmer (Gold 200, Portra 800) or cooler (Fuji Pro 400H, Kodachrome).
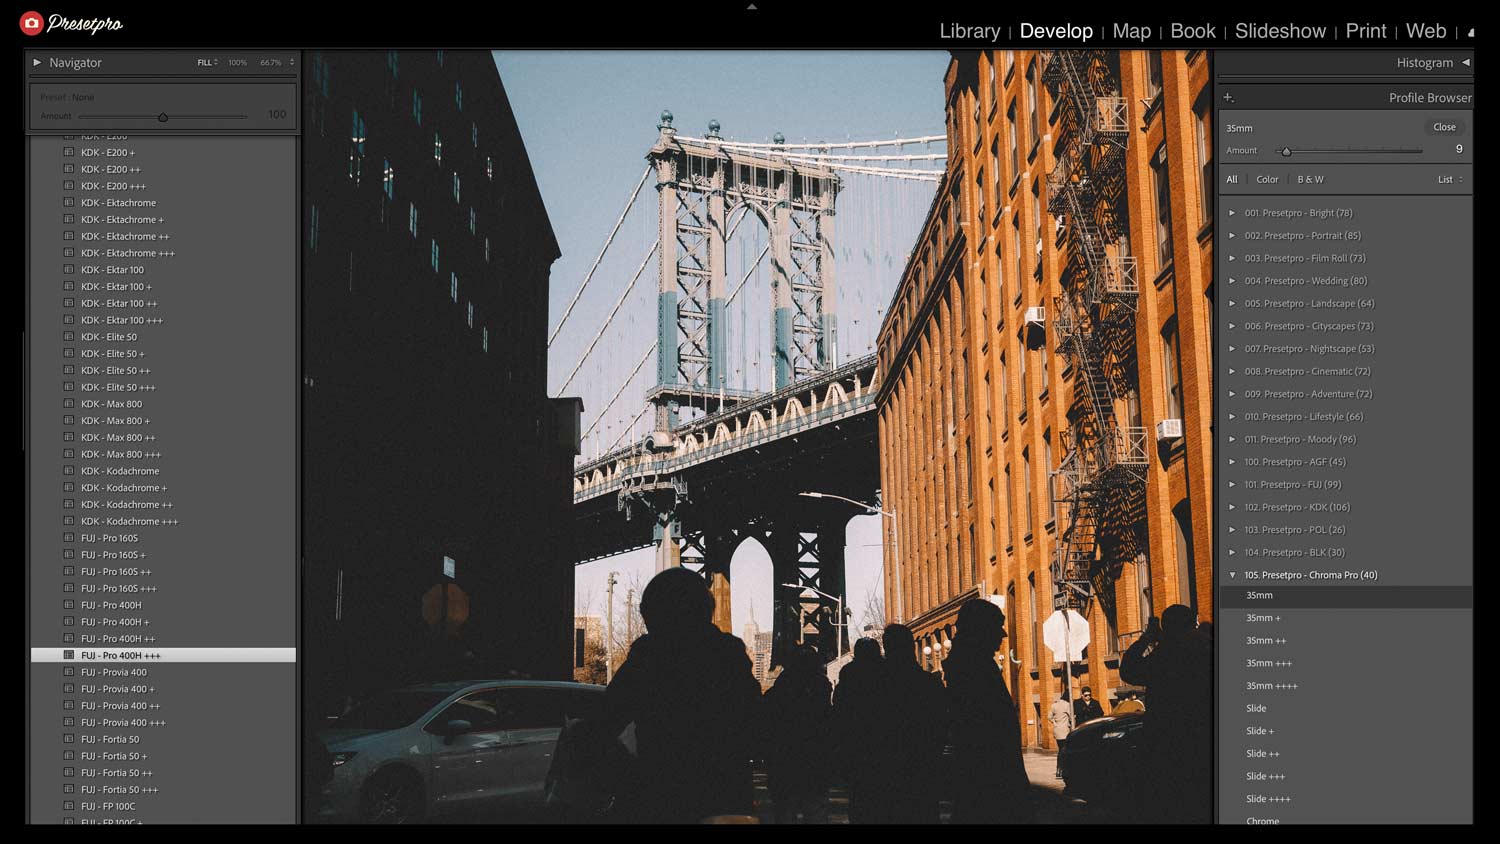
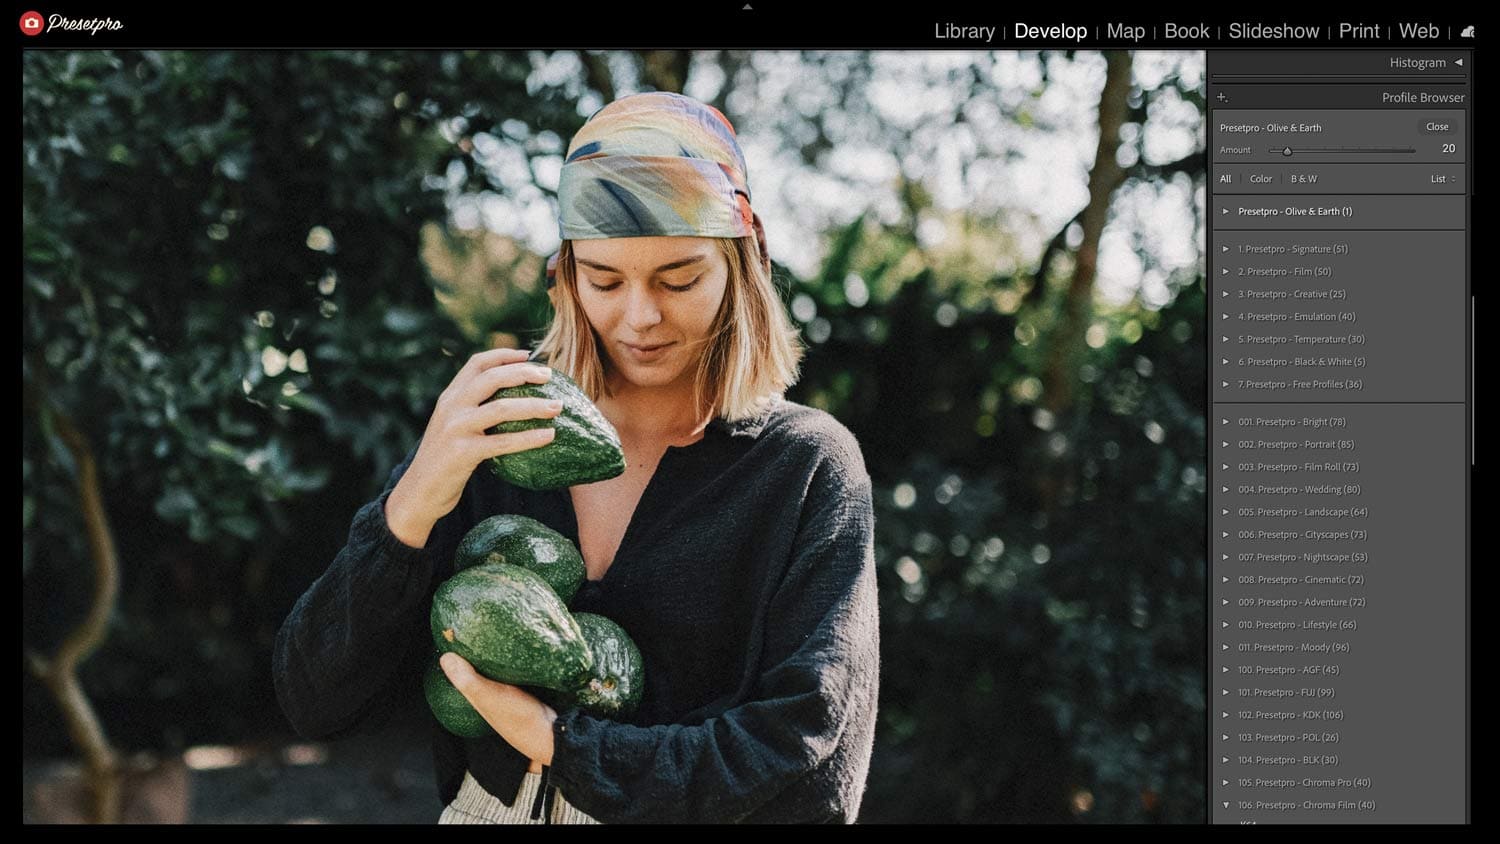
You can download our free Portra 400 and Fuji Pro 400H (Olive & Earth) presets on FreePresets.com — both include XMP presets and matching custom profiles for Lightroom Classic and Lightroom CC. If you’re ready for a full film system with stackable tone layers and multiple stock emulations, the Creative Flow collection at PresetPro.com has both families plus the complete ISO series built in.
Bottom line: Kodak for warm skin and people; Fuji for cool tones and places. Portra 400 is the safest first download — everything else is a refinement of that one choice.
Frequently Asked Questions
Do Kodak presets work on all skin tones?
Kodak Portra presets are widely used by professional photographers precisely because they’re designed to flatter a broad range of skin tones — from fair to deep. The warm midtone bias lifts skin into a flattering range without going orange. As with any preset, a small white balance tweak may be needed in mixed lighting.
Are Fuji presets better for outdoor photography?
Fuji-inspired presets — especially Pro 400H — tend to handle outdoor greens and blues particularly well, keeping foliage and sky tones natural rather than muddied. That said, Kodak Portra 400 and Kodachrome are also excellent for outdoor portrait and travel work. “Better” depends on whether you want warm or cool rendering outdoors.
Which Lightroom preset is best for beginners?
Kodak Portra 400 is the best starting preset for most beginners. It works across the widest range of lighting and subjects, flatters skin tones, and is forgiving of small exposure differences, so you’ll get good-looking results before you’ve learned to fine-tune. If you prefer a cooler, matte look, Fuji Pro 400H is the best beginner alternative.
Are Kodak and Fuji Lightroom presets free?
Free Kodak Portra 400 and Fuji Pro 400H presets are available on FreePresets.com, each with a matching custom profile for Lightroom Classic and Lightroom CC. Larger film systems with the full ISO series and stackable tone layers — like the Creative Flow collection — are paid.
Do film presets work in Lightroom Mobile?
Yes. Film emulation presets work in Lightroom Classic, Lightroom CC on desktop, and Lightroom Mobile. Once installed, the same XMP preset and profile sync across all three through your Adobe account.
Can I use film presets on JPEG files?
Yes — all film emulation presets work on both RAW and JPEG in Lightroom. RAW files give you more latitude to push the preset harder and recover detail in highlights and shadows, but JPEG results are still excellent with lighter presets like Portra 400 and Fuji Pro 400H.
What’s the difference between a preset and a profile?
A Lightroom preset is a saved set of develop panel adjustments — tone, color, grain, HSL, and so on. A profile (also called a camera profile or Look profile) operates before those adjustments and controls how the raw data is interpreted at a base level. The best film emulation presets include both a matching profile and a preset together, which is why our preset pages specify when a custom profile is included.

Lightroom Presets
Lightroom Presets
Lightroom Presets
Lightroom Presets
Lightroom Presets
Lightroom Presets
Lightroom Presets
Lightroom Presets