

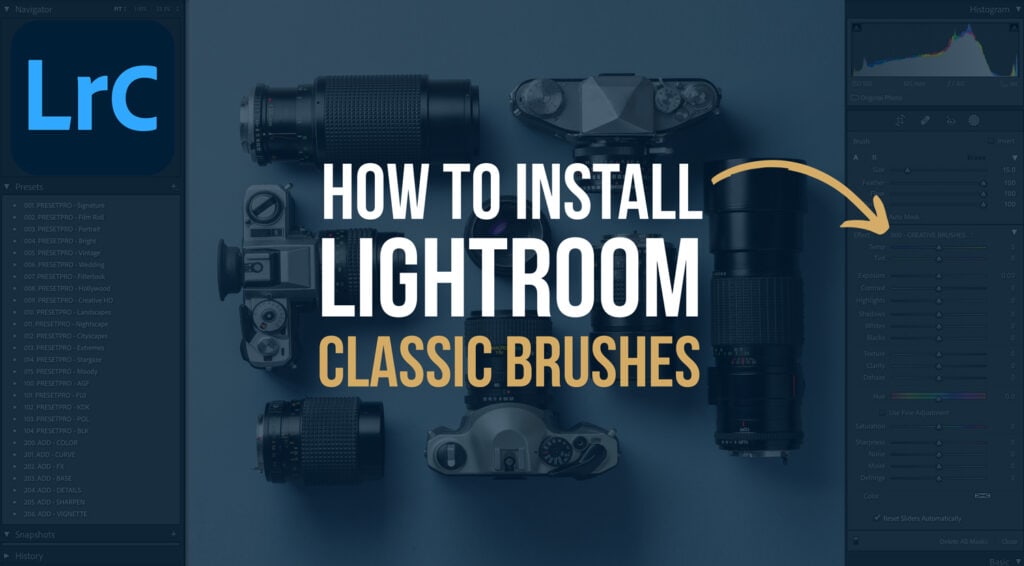
How to Install Lightroom Classic Brushes: The 2026 Ultimate Guide
Lightroom Classic Brushes (Local Adjustment Presets) are essential for high-end retouching, allowing you to apply targeted edits like skin smoothing, iris enhancement, and dodge-and-burn with surgical precision. Whether you are using modern .XMP or legacy formats, installing them correctly in the Local Adjustments directory is key to a professional workflow. This guide provides the definitive manual installation path for 2026.
Quick Reference: Brush Installation Summary
| Feature | Technical Specification |
|---|---|
| File Format | .XMP (Local Adjustment Preset) |
| Primary Path | Preferences > Presets > Show All Other Lightroom Presets |
| Target Folder | Local Adjustment Presets |
| Best For | Portrait Retouching, Masking, Dodging & Burning |
💡 Pro-Tip: Global vs. Local Adjustments
Unlike standard presets that change the entire photo, Brushes are “Local Adjustment Presets.” They only appear when you are using the Masking Tool (Brush, Radial, or Linear Gradient). This allows for non-destructive, localized colorimetry adjustments that don’t affect your global exposure settings.
Step-by-Step Brush Installation Guide

Step 1: Copy Your Brush Files
Unzip your brush collection onto your desktop. Open the folder, select all the .XMP files, Right-click, and select Copy. Note: For brushes, it is usually better to copy the files directly rather than the folder to ensure they appear correctly in the ‘Effect’ dropdown menu.
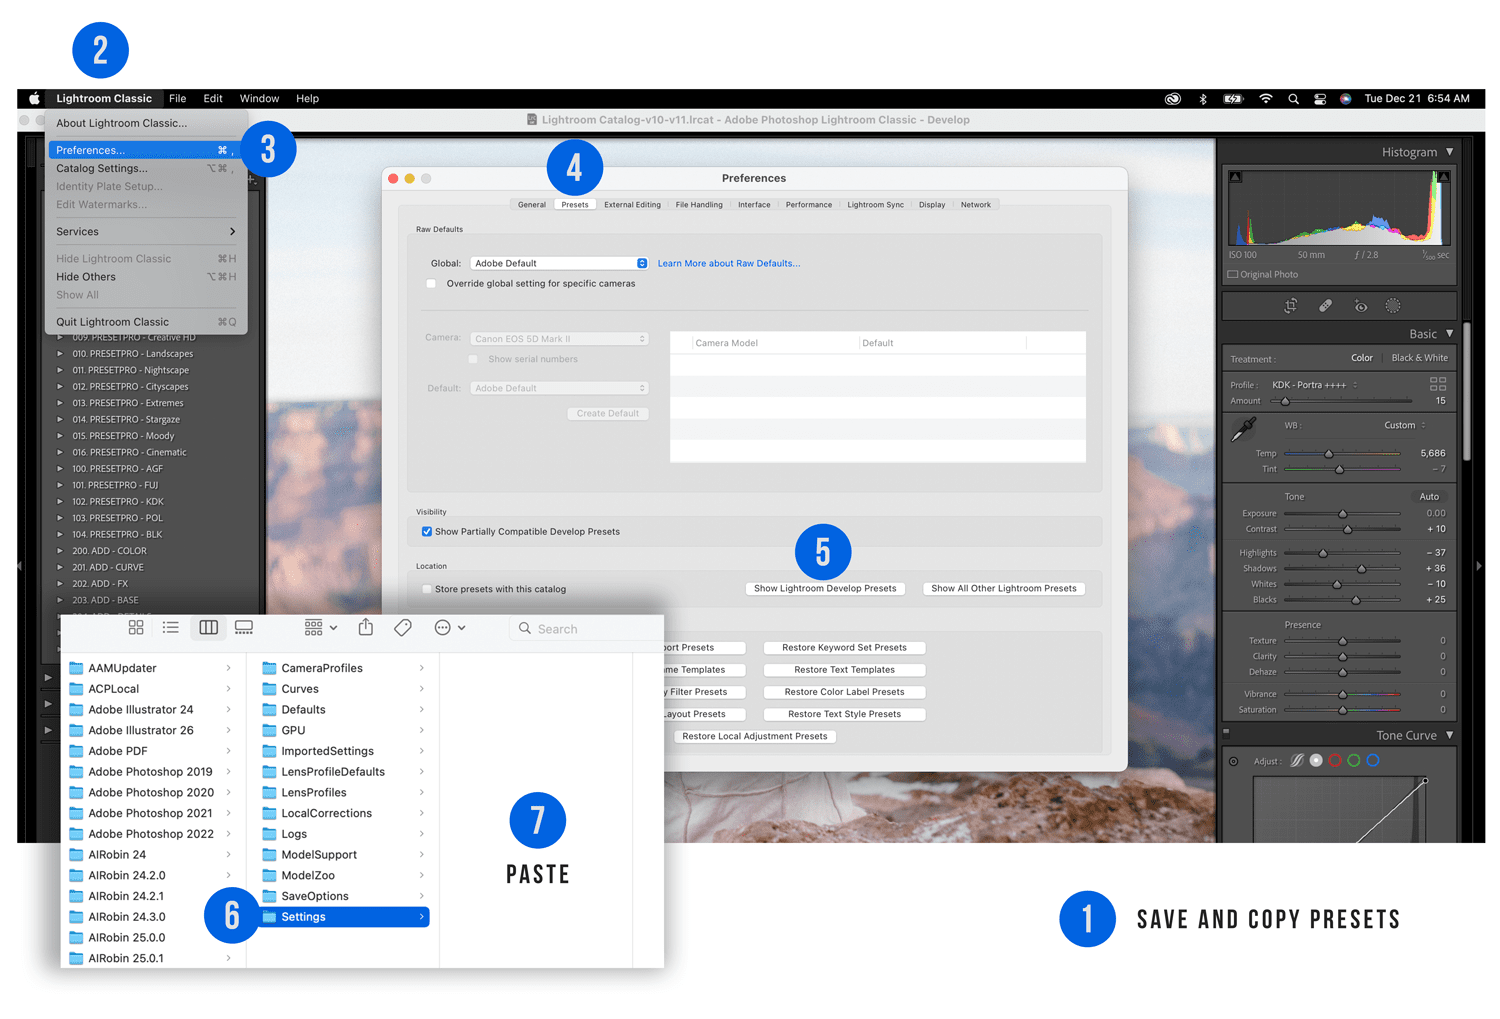
Step 2: Access Lightroom Classic Preferences
Launch Lightroom Classic. In the top left menu bar, click Lightroom Classic (Mac) or Edit (PC) and select Preferences from the dropdown menu.
Step 3: Access the Presets Folder
Inside the Preferences window, select the Presets tab. In the middle of the screen, locate and click the button labeled “Show All Other Lightroom Presets.” This will open your computer’s core Lightroom settings directory.
Step 4: Locate the Local Adjustment Presets Folder
Inside the folder window that just opened, locate the folder named Lightroom, open it, and then find the folder named Local Adjustment Presets. This is the specific directory where all brush-based tools are stored.
Step 5: Paste and Restart
Paste your copied brush files into the Local Adjustment Presets folder. Close the window, exit Lightroom Classic, and restart the application. Your new brushes will now appear under the “Effect” dropdown menu within any Masking Tool.
⚠️ Troubleshooting: Why can’t I find my brushes?
Brushes are hidden in a different location than standard presets. If they are missing:
- Check the Tool: Brushes only show up when you have the Masking Tool (M) active. They will not appear in the standard Presets panel on the left.
- Effect Dropdown: Look for the word ‘Effect:’ at the top of the Masking settings. Click the tiny double-arrows next to it to see your installed brush presets.
- Subfolders: Ensure your brushes aren’t buried in more than one subfolder. Lightroom Classic often fails to index brushes if they are too deep in the directory tree.
Frequently Asked Questions (FAQ)
1. Where are brushes located in the Lightroom Classic interface?
Brushes are found in the Masking Panel (keyboard shortcut ‘M’). Once you select a masking tool, look for the ‘Effect’ dropdown menu to choose your specific adjustment preset.
2. Can I use these brushes in Lightroom Mobile?
Local adjustment brushes are currently optimized for desktop use in Lightroom Classic. While some masking settings sync via the cloud, full brush preset libraries are best utilized in the desktop environment.
3. Are brushes different from presets?
Yes. A standard preset applies settings to the entire photo globally. A brush (Local Adjustment Preset) only applies settings to specific areas you paint over with a mask.
4. How many brushes can I install at once?
There is no hard limit, but installing too many can slow down the ‘Effect’ dropdown menu. We recommend keeping your most-used retouching tools (Skin, Eyes, Teeth, Dodge/Burn) in your main directory.
Conclusion
Mastering the installation of Professional Retouching Brushes allows you to move beyond global adjustments and start “painting” light back into your images. If you haven’t already, make sure to sync your entire workflow by following our guide on How to Install Lightroom Classic Presets.

Do you want to take your photography skills to the next level? With The Creative Flow, you’ll have access to more than 1200 Beautiful Lightroom Presets, 1200 Lightroom Profiles, and 200 brushes that will spark your creativity and bring your photos to the next level! Designed for the photographer who wants the ultimate workflow and premium Lightroom collection. The Creative Flow is your own personal preset “toolbox” where you can swap out a variety of different looks with a few simple clicks. Whether you’re a professional or just starting out, this all-in-one collection was created for you! You won't find another product like this anywhere else online - trust us when we say it's worth every penny! Click here right now and get started with The Creative Flow today!
The Creative Flow | Presetpro.com


Lightroom Presets

Lightroom Presets

Lightroom Presets
Lightroom Presets
Lightroom Presets
Lightroom Presets
Lightroom Presets

Lightroom Presets
The film names above are the brands and trademarks of their respective holders. None of the film producers listed endorse or sponsor this film emulation collection or any other content. The film producers are not affiliated with Presetpro.com and all trademarks and copyrights are the exclusive property of their respective owners. Adobe®, Photoshop®, Adobe® Lightroom® are either registered trademarks or trademarks of Adobe Systems Incorporated in the United States and/or other countries.