


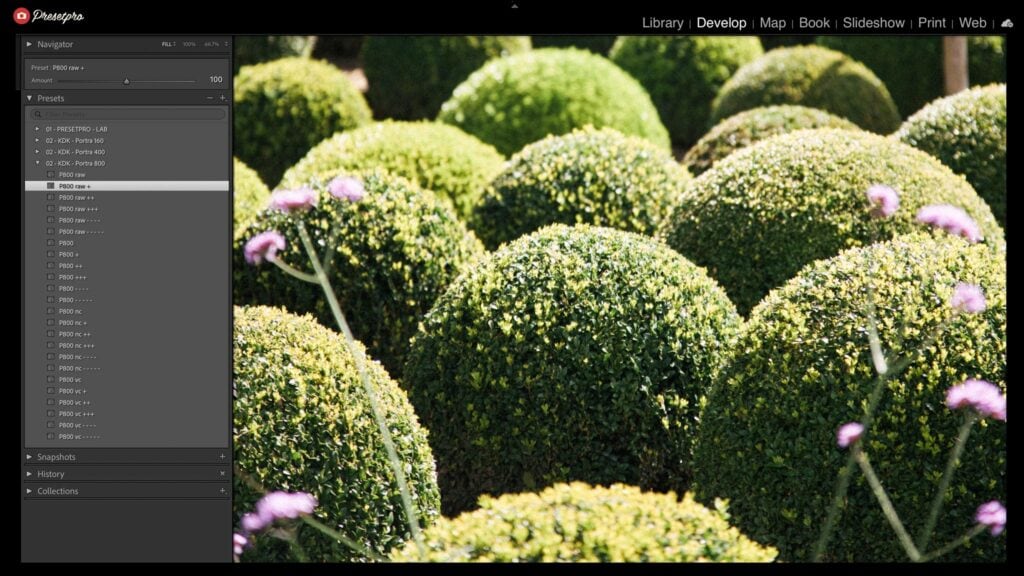
Open any RAW file, click once, and the film is already there. That is the whole first step of editing with the RAW Series P800: the Portra 800 inspired rendering comes from a DCP camera profile made for the exact camera behind the photo, so the look arrives before you touch a slider. Two minutes of finishing later, it is done.
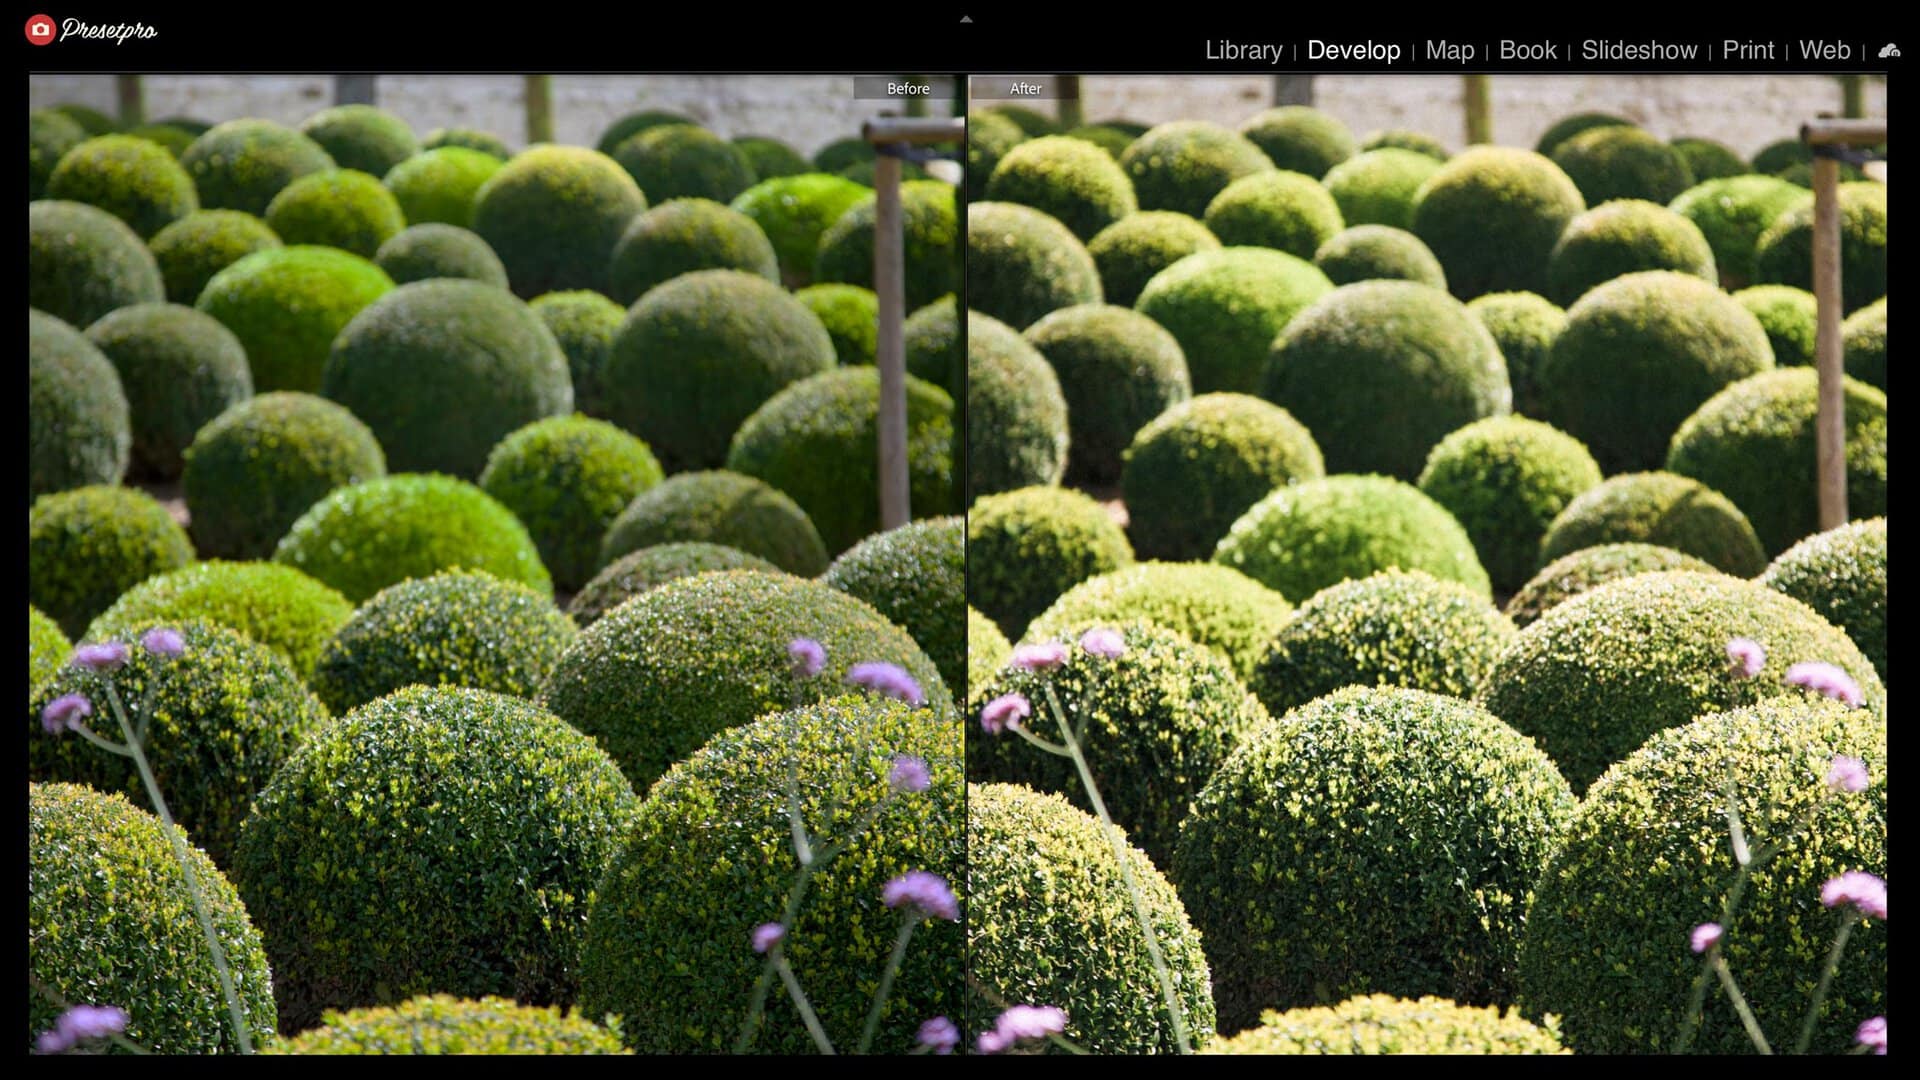
The before and after above is the whole story in one frame. Press play for the edit, then scroll for what each move did.

Three moves, start to finish
Everything you see in the video is three moves, and here they are one at a time.
1. Click the raw look
It starts with one click on P800 raw +. Watch the Basic panel: nothing moves. That is not a preset pushing sliders; it is a camera profile built for this exact camera, taking over how Lightroom reads the RAW file. On a frame like this one the greens are the tell: digital green goes flat and electric, and here the hedges separate into distinct tones instead, the sunlit tops turn warm and creamy, and the shadows between them stay open rather than blocking up. All of that is in the rendering, and every slider is still at zero and still yours. The grain comes in a moment.
2. Choose a strength
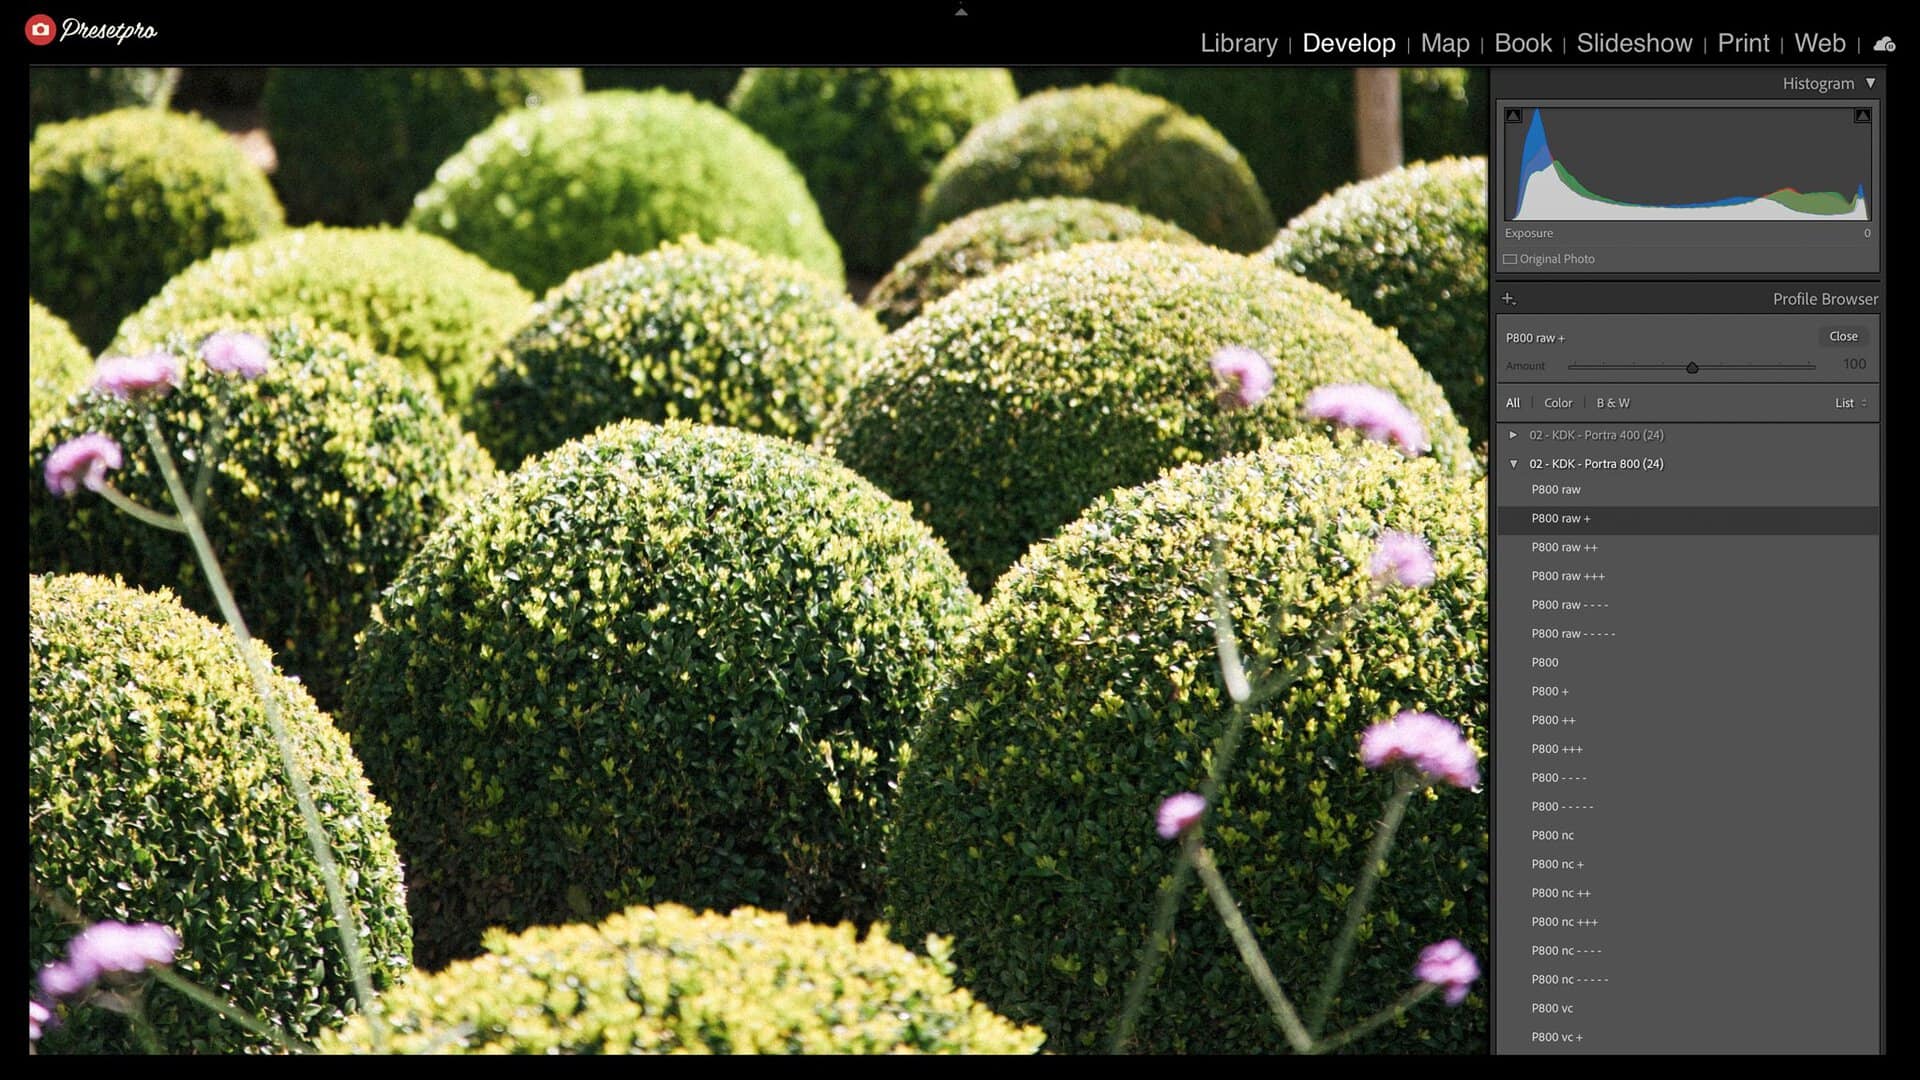
Each look in the collection comes in six strengths: four steps from P800 raw up to +++, plus two lifted-black variations. In the video I flip between a couple of them in the Profile Browser on the same frame; the stronger rungs push the Portra palette deeper without disturbing any adjustment you have made. For files where the raw looks do not appear, JPGs for instance, the eighteen universal looks cover the same ground with an Amount slider from 0 to 200.
3. Finish in the LAB
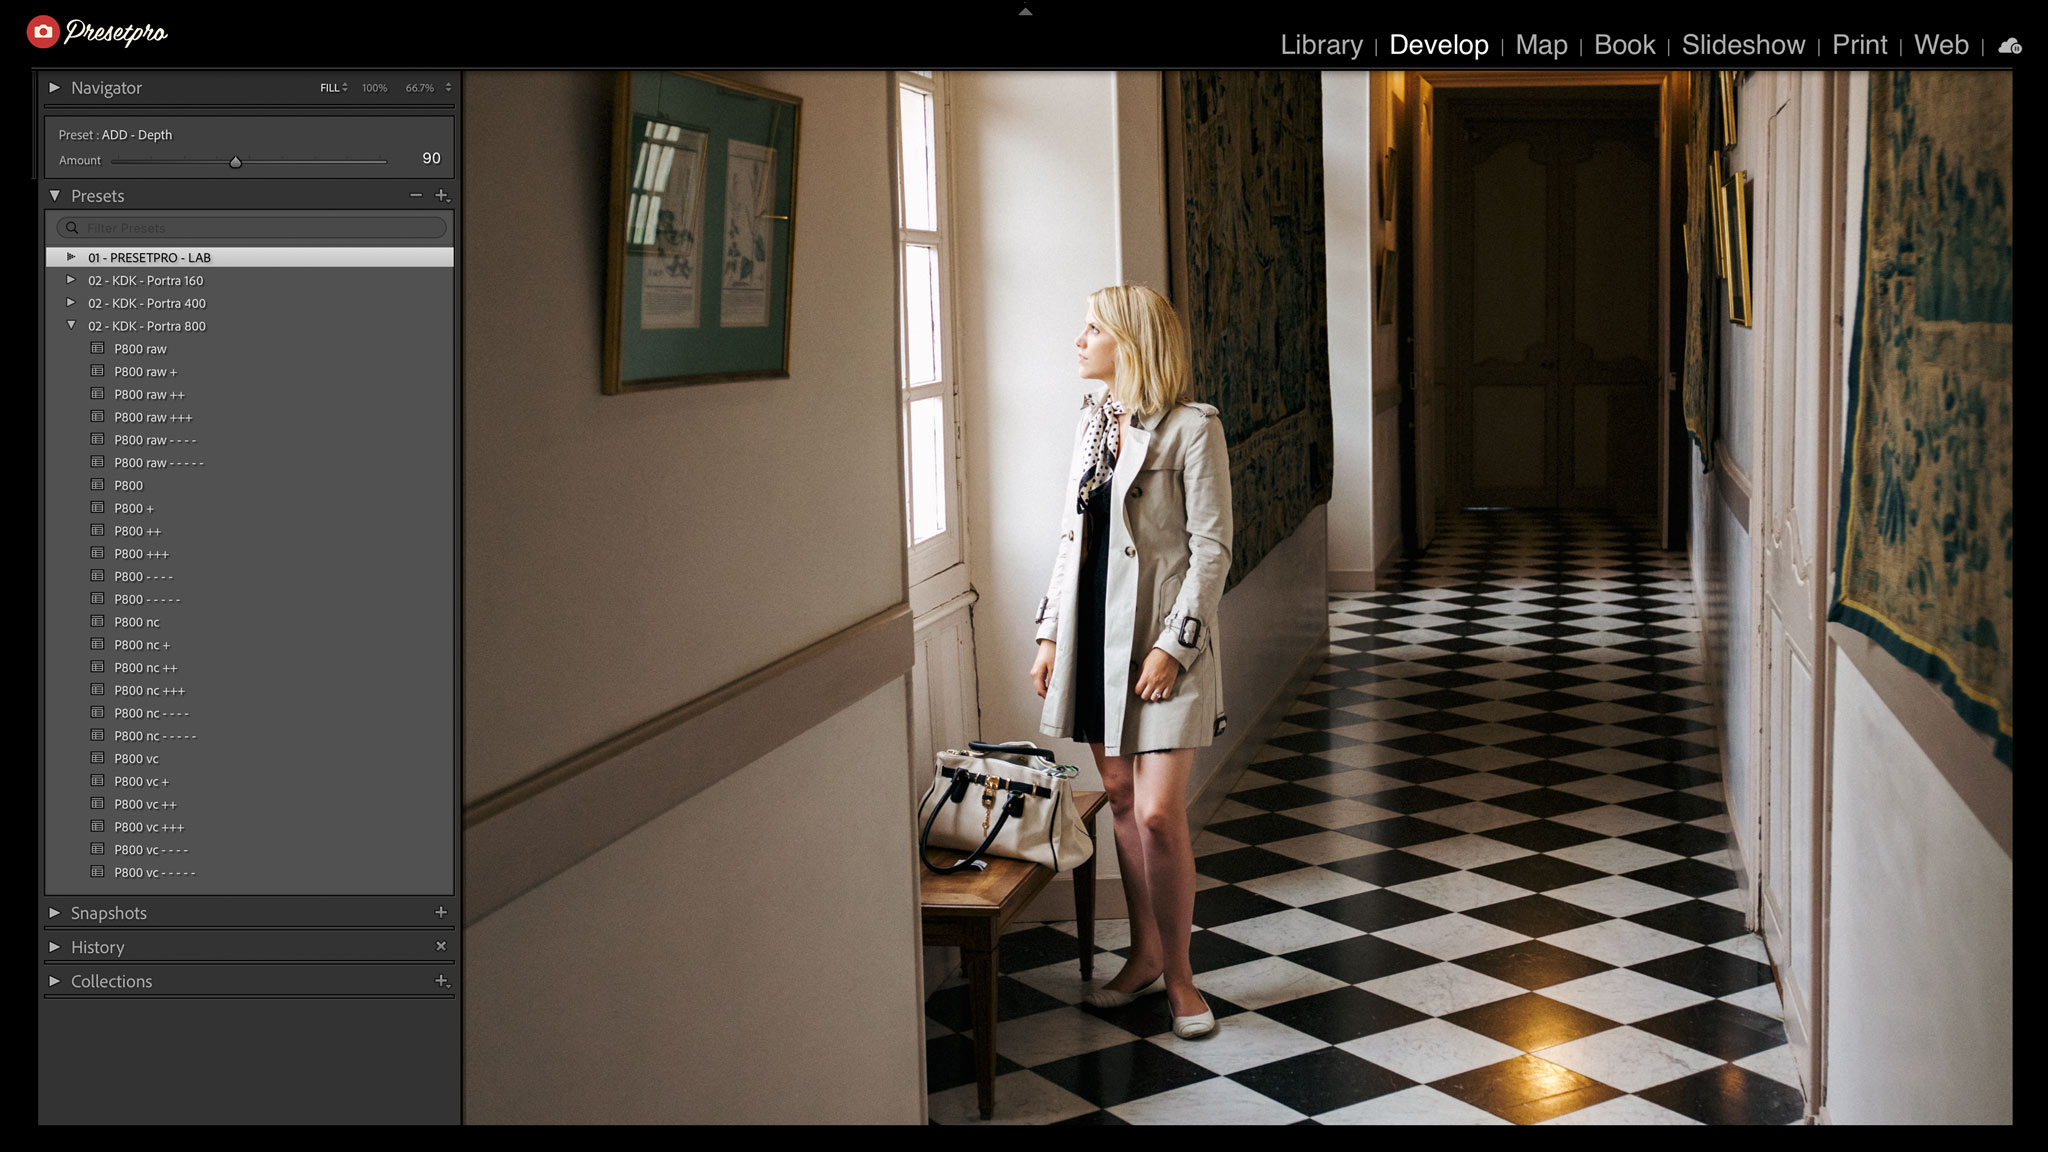
For the second half of the video I switch to an interior shot, a real ISO 2000 frame in a hallway, and finish it with the 64-tool PRESETPRO LAB that ships with the collection: depth, a fade, grain, a soft vignette. Anything in the LAB stacks on top of any look. The one rule to remember: preset first, then profile, since a preset always resets the profile to the one bundled with it.
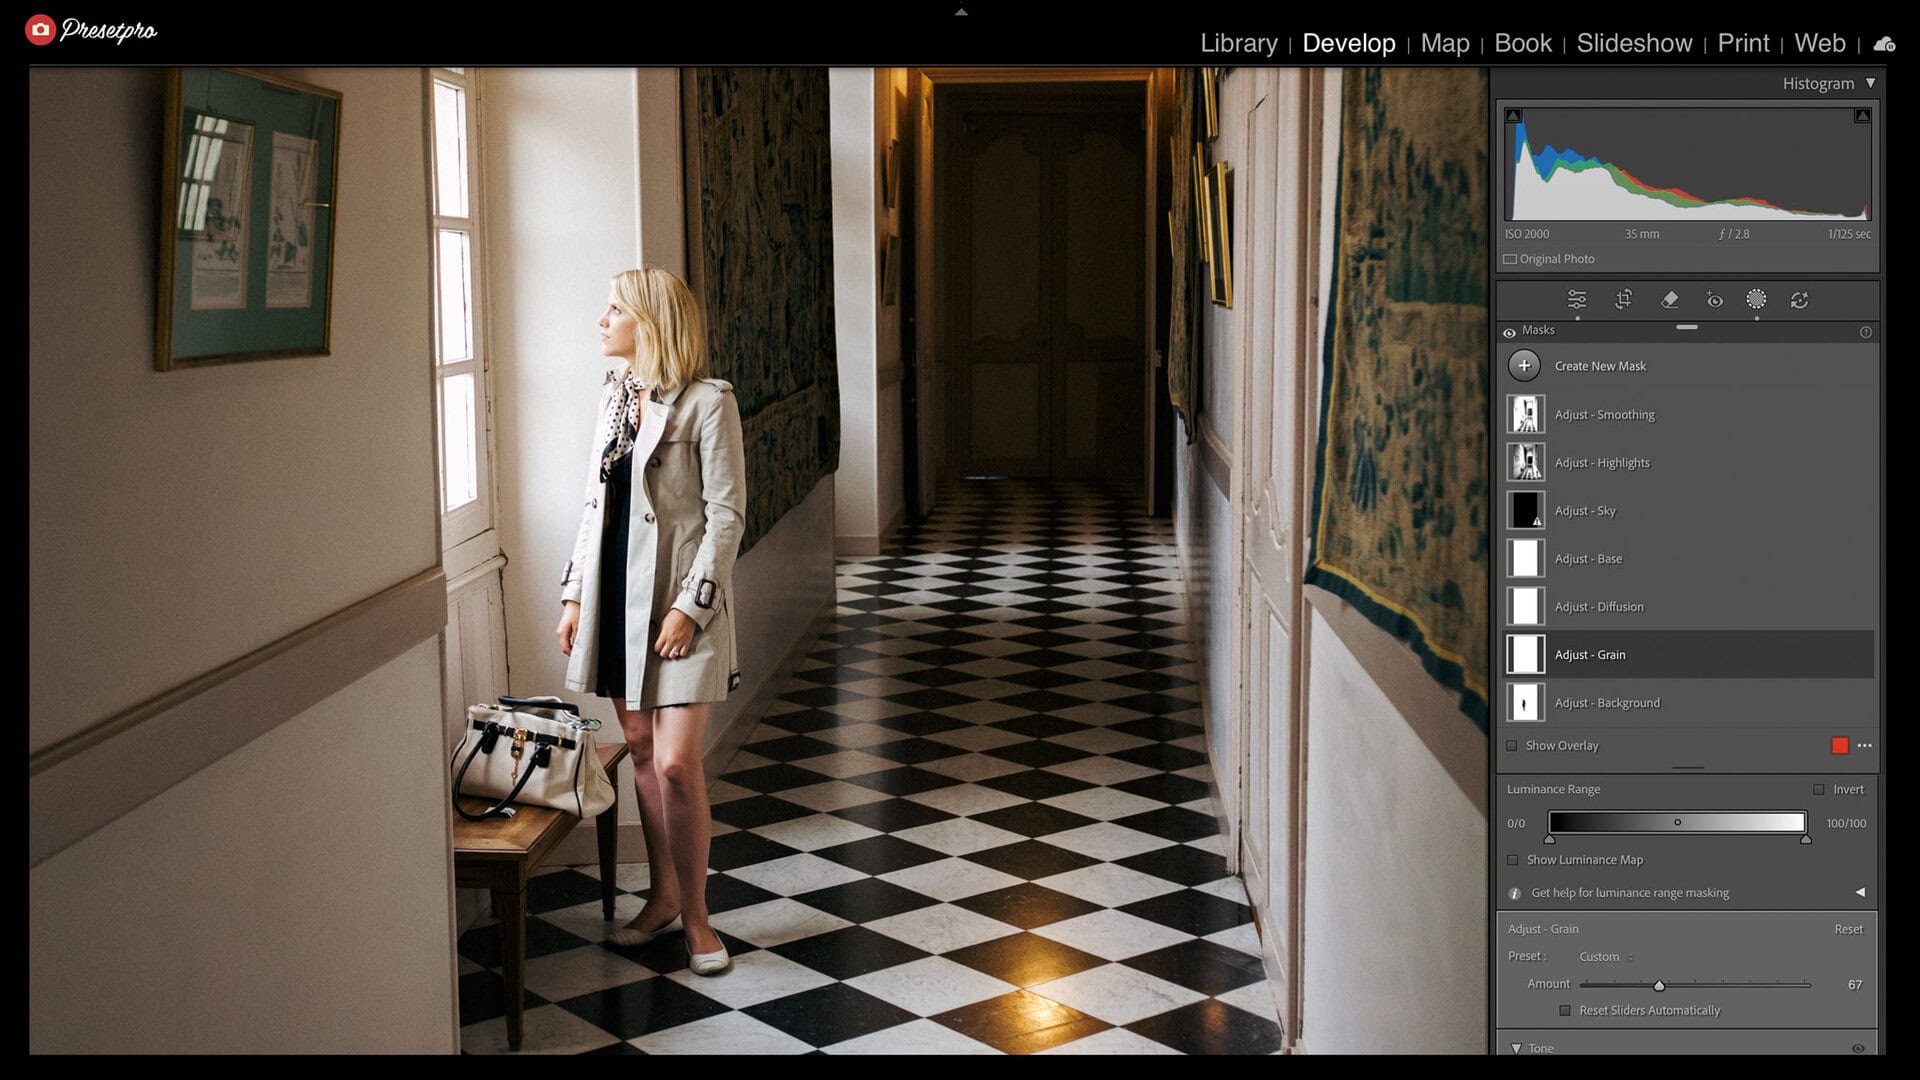
While you are there, open the Masks panel. Every look also ships as a matching preset, and the preset brings its own masking layer already built: sky, background, base, diffusion, grain, highlights, smoothing. Each one is a live mask, so the grain mask in the video is just a slider you can push to taste, exactly like a mask you drew yourself.

Film color, not a filter
The reason it holds up under scrutiny is where the color comes from. It is built from the RAW data in your file rather than layered over a finished image, so skin keeps its gradation and highlights ease off the way film does. How a DCP camera profile does that, and why it outperforms slider recipes, is covered in the DCP camera profiles guide.
In one sentence: presets sit on the photo, this sits under it. Each supported camera gets a profile of its own, 759 models across ten brands, all held to the same master rendering, so P800 looks like P800 whether the file came from a Canon, a Sony, or a Fujifilm.
Quick answers
Which version of Lightroom do I need?
The six raw looks need Lightroom Classic (Mac or PC): the cloud version of Lightroom cannot load third-party camera profiles. The download also includes a Cloud Edition with the eighteen universal looks and the complete LAB for the cloud app. Install is about two minutes; the install guide with video walks through it.
Is my camera supported?
P800 ships with a profile of its own for each of 759 camera models across ten brands, Canon, Nikon, Sony, and Fujifilm among them. If your camera is newer than the current release, the eighteen universal looks work on every photo in the meantime, and profile updates are free for any stock you own.
Is P800 only for low light?
No. Portra 800 is the Portra for when the light runs out, and the rendering is tuned for that: balanced color under mixed light and shadows that stay open. In daylight it is simply a richer, grainier Portra than P160, and the six strengths cover both. It installs alongside P160 and P400 in the same panel.
Can I adjust the look?
Yes, on two levels. The six raw looks are fixed renderings, so you choose a strength and then edit on top of it with every slider starting at zero. The eighteen universal looks carry an Amount slider from 0 to 200. Fades, grain, and finishing come from the LAB and stack on either kind.
Want to try it on your own files? Get the RAW Series P800, inspired by Kodak Portra 800. Already own P160 or P400? P800 drops into the same panel beside them, same LAB. See the full RAW Series collection, or, if film stocks are new to you, start with the complete film emulation guide.
Kodak and Portra are trademarks of their respective holders. Presetpro is not affiliated with or endorsed by Kodak. Adobe and Adobe Lightroom are trademarks of Adobe Inc.