


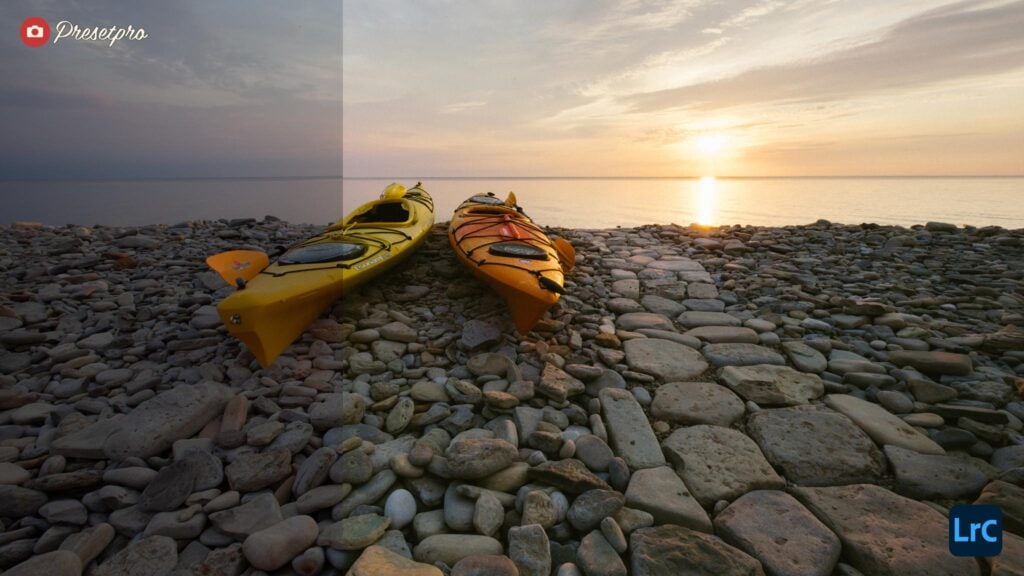
One RAW photo, one click on a camera profile, and about two minutes of finishing. This is what editing with the RAW Series P400 actually feels like: the Portra 400 inspired look is rendered through a DCP camera profile built for the exact camera that took the photo, so the film look is there before a single slider moves.
Watch the edit, then scroll for the frames and what each step did.

The edit, step by step
Everything in the video comes down to three moves.
1. One click: the raw look
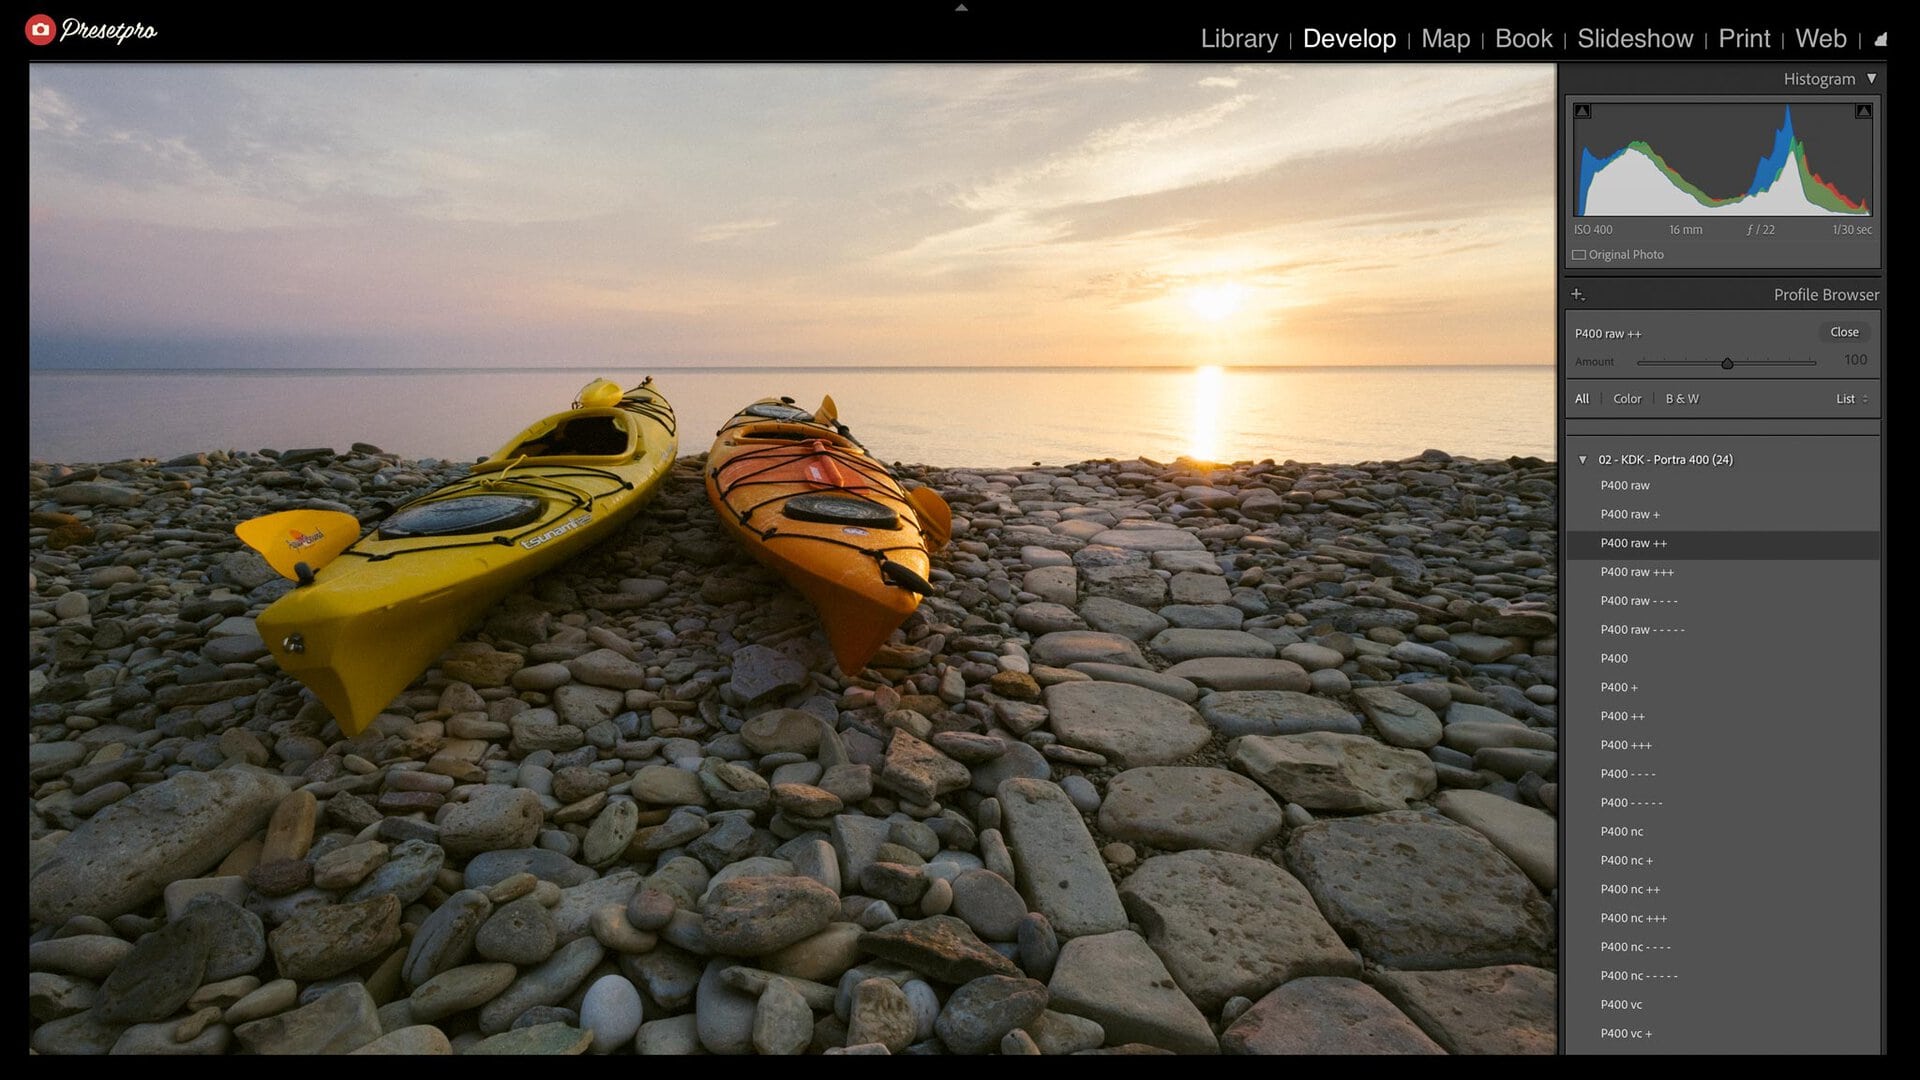
The edit starts with a single click on P400 raw. That is not a preset moving sliders; it is a camera profile built for this exact camera, taking over how Lightroom renders the RAW file. The sunset holds together because the highlight rolloff is part of the rendering itself: the sun stays warm and gradual instead of clipping to white. Sliders: still at zero, all yours.
2. Pick a strength
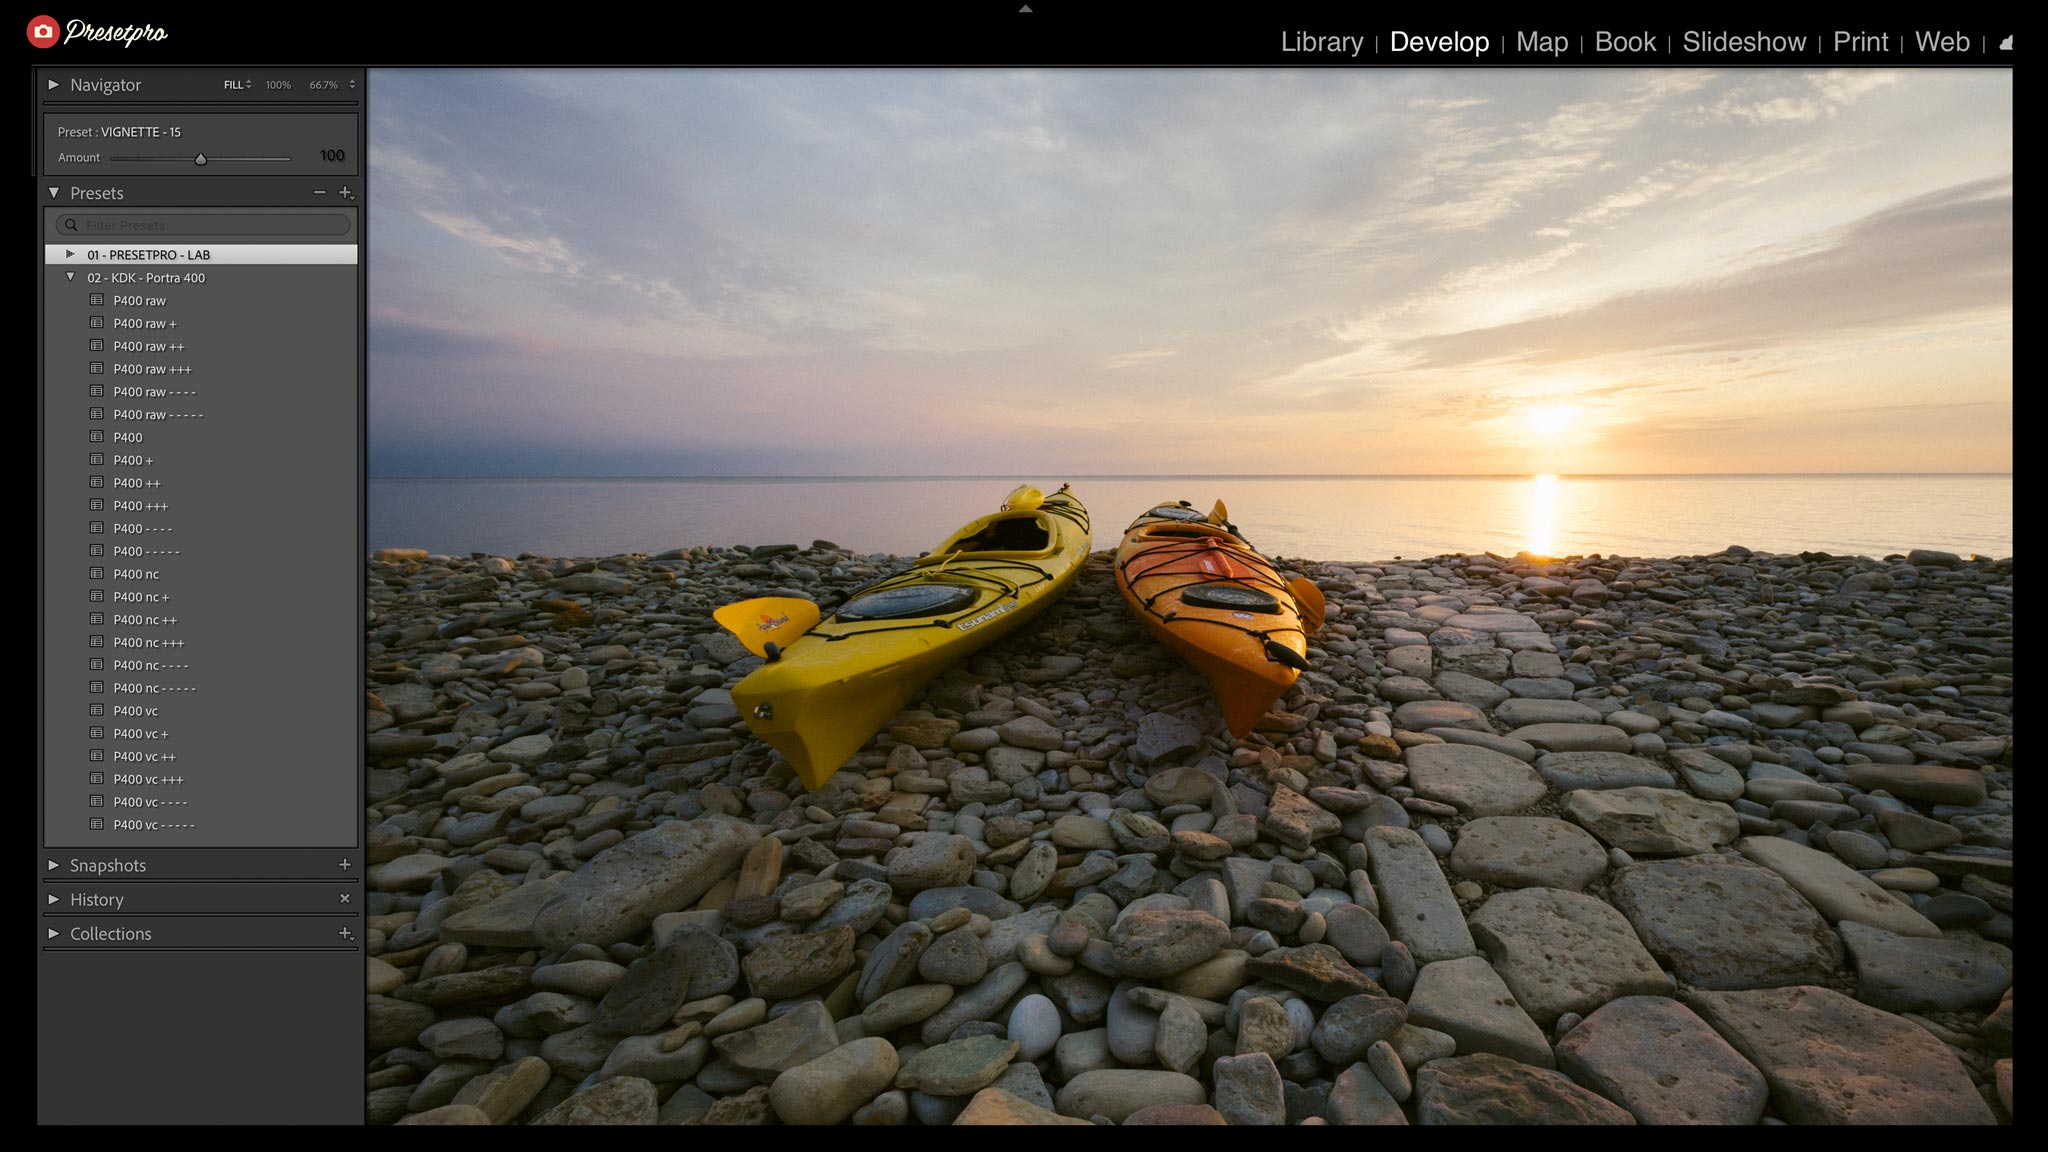
Every look in the collection comes in six strengths, from a gentle fade up to +++. In the video I compare a couple of them on the same frame; stronger rungs deepen the Portra palette without touching your adjustments. On photos where the raw looks do not apply, like JPGs, the eighteen universal looks do the same job with an Amount slider from 0 to 200.
3. Finish with the LAB
The last minute is finishing: a film fade, grain matched to an ISO, a quiet vignette, all from the 64-tool PRESETPRO LAB that ships in the collection. LAB tools stack on any look. One habit worth learning: apply the preset first, then the profile, because a preset always resets the profile to its own bundled choice.
And open the Masks panel while you are in there: the look carries its own AI masking layer, sky, base, diffusion, and grain, each one adjustable like any mask you made yourself.

Why it looks like film and not a filter
Why does the color look this good? Because the color is mixed straight from your RAW file. That’s why skin stays smooth, and highlights roll off like film. The full explanation of what a DCP camera profile is and why it beats slider recipes is in the DCP camera profiles guide.
The short version: presets sit on top of your photo. This is built underneath it. Every supported camera gets its own profile, 759 models across ten brands, and every one is matched against the same master rendering. So the look is the look, on any supported camera.
Quick answers
Which Lightroom do I need?
The six raw looks are a Lightroom Classic feature (Mac and PC), because the cloud version of Lightroom does not support third-party camera profiles. Your download includes a dedicated Cloud Edition with the eighteen universal looks and the full LAB for the cloud app. Install takes about two minutes: see the install guide with video.
Will it work with my camera?
P400 includes camera profiles for 759 camera models across ten brands, including Canon, Nikon, Sony, and Fujifilm. If your camera is newer than the current release, the universal looks still work on every photo, and profile updates are free for the stock you own.
Is the look adjustable?
Two ways. The raw looks are fixed, designed renderings in six strengths, and every slider starts at zero on top of them. The universal looks add an Amount slider from 0 to 200. And the LAB gives you fades, grain, and finishing that stack on any of them.
Ready to try it? Get the RAW Series P400, inspired by Kodak Portra 400, or browse the full RAW Series collection. New to film stocks? Start with the complete film emulation guide.
Kodak and Portra are trademarks of their respective holders. Presetpro is not affiliated with or endorsed by Kodak. Adobe and Adobe Lightroom are trademarks of Adobe Inc.